
How To
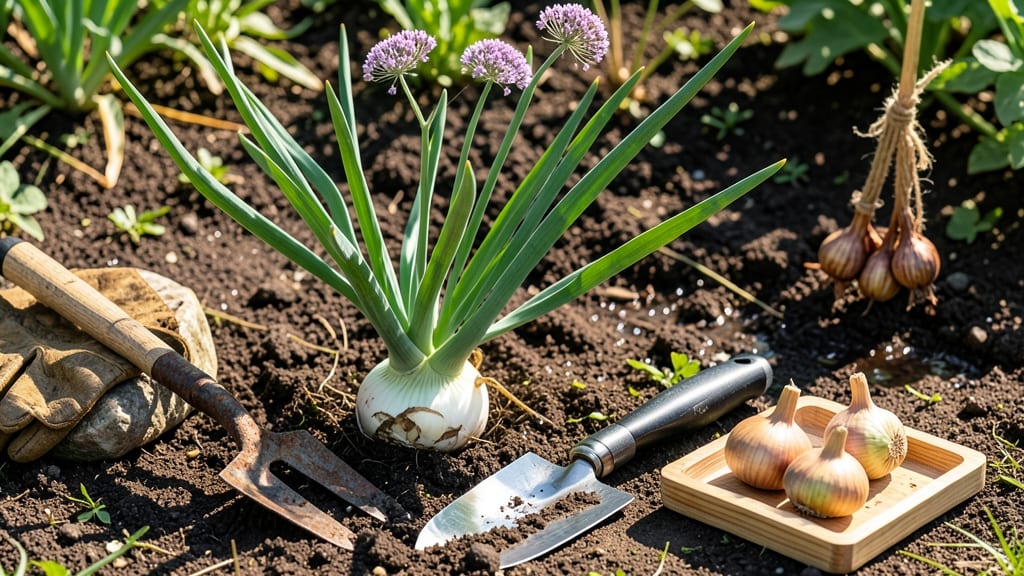
To know when to harvest your 🧄 garlic, watch for the lower leaves turning brown and crispy—this is your plant’s signal that the bulbs are fully matured and ready to pull.
Harvesting garlic at the wrong time can mean the difference between plump, flavorful bulbs and shriveled, pungent cloves—so knowing the exact signs is crucial for every gardener. Whether you’re in Zone 6a or beyond, timing matters more than you might think.
Most varieties need 270 days of growth before harvest, but the real clues are in the stems and leaves: when they snap easily and the skin tightens, it’s go time. Miss these cues, and you risk losing flavor or storage quality.
Below, I’ll walk you through the 5 key visual and physical signs to harvest at peak freshness, plus how to cure and store your garlic for months—no guesswork required.

5 Key signs your garlic is ready for harvest (clue: it’s not just about size)
Harvesting garlic at the right moment transforms your hard work into flavorful, plump bulbs—but timing is everything. Many gardeners focus only on bulb size, but the best harvest cues come from the plant’s visual signals and physical conditions.
Whether you’re growing hardneck or softneck varieties, these signs will tell you exactly when to dig.
Don’t wait until the leaves turn completely brown—that’s often too late. Instead, watch for subtle shifts in the stem, leaves, and soil that indicate the bulbs are mature but still fresh.
Missing these cues can lead to shriveled cloves or even premature sprouting during storage. Let’s break down the 5 key indicators that your garlic is ready to harvest.
🌱 5 Visual & Physical Signs Your Garlic Is Harvest-Ready
- 1. Lower Leaves Turn Brown & Crispy Start with the bottom 1-2 leaves browning and drying—this signals the bulb is fully developed but still fresh.
- 2. Stem Snaps Easily When Bent Gently bend a stem near the bulb—if it snaps cleanly, the bulb is ready. A green stem means wait 1-2 weeks.
- 3. Bulb Skin Tightens & Feels Firm Dig up a test clove—if the papery skin is tight and the bulb feels solid, it’s harvest time. Loose skin means more time in the ground.
- 4. About 50% of Leaves Are Brown Hardneck varieties often show 50% browning first, while softnecks may wait until 75% brown. Adjust for your climate zone.
- 5. Soil Conditions Are Dry & Warm Harvest on a dry, sunny day when soil temps are above 60°F. Wet soil can damage bulbs and encourage rot during curing.
Pro Tip: Hardnecks (like Rocky Mountain) mature 2-3 weeks earlier than softnecks (like Silverskin)—adjust your timing accordingly!
For hardneck varieties, like German Red or Music, the scapes (curly stems) typically appear in early summer, signaling the bulb is growing fast. However, don’t harvest scapes too early—removing them too soon can reduce bulb size.
Once the scapes form, wait 4-6 weeks before checking for harvest readiness.
The soil temperature plays a huge role in timing. In cooler climates (Zones 3-5), garlic often matures 2-4 weeks later than in warmer zones (Zones 6-8). If your area has hot summers, harvest earlier to avoid bulb softening or premature sprouting.
Conversely, in cooler regions, wait until the upper leaves start yellowing.
One of the most common mistakes is harvesting based on size alone. A large bulb doesn’t always mean it’s flavorful or storable. Always check the skin’s tightness—if it’s loose, the bulb may sprout early or develop mold during storage.
A firm, papery skin is your best guarantee of long-term freshness.
After confirming your garlic is ready, harvest on a dry morning to let the bulbs air-dry naturally for 2-3 weeks. Avoid rainy days, as wet bulbs can rot during curing.
Once harvested, trim the roots and braid or hang the stalks in a well-ventilated, dry space to complete the curing process.
Seasonal variations matter too. In northern climates, garlic often matures in late June to early July, while in southern regions, it may be ready as early as May.
Pay attention to your local frost dates—if frost threatens before harvest, dig immediately and cure indoors to preserve bulb quality.
Remember, patience is key. Rushing the harvest can lead to smaller, pungent cloves, while waiting too long risks shriveled or sprouted bulbs. By mastering these 5 key signs, you’ll consistently harvest plump, flavorful garlic that stores beautifully for months.
Garlic harvesting mistakes that ruin your bulbs (and how to avoid them)
Even experienced gardeners can fall into common traps when harvesting garlic, and these mistakes often lead to disappointing results. Harvesting too early results in small, underdeveloped bulbs, while waiting too long can cause the cloves to split or rot. Improper curing is another frequent issue—garlic needs time to dry properly, or you’ll end up with moldy or sprouting bulbs.
Even storage blunders like high humidity or poor airflow can ruin months of hard work. Let’s break down these pitfalls and how to fix them before your crop goes to waste.
One of the biggest mistakes is assuming garlic is ready just because the top leaves turn brown.
While this is a sign, the real indicator is when the lower leaves die back and the bulb feels firm when gently squeezed. Harvesting too late can also backfire—once the bulb starts to sprout or the skin becomes loose, it’s past its prime.
Even a few extra days in the ground can turn your prize bulbs into a mushy mess. Paying attention to these subtle cues is the key to a successful harvest.
⚠️ How Do I Know When to Harvest My Garlic?
Don’t rely on days since planting! Instead, look for these 3 critical signs your garlic is ready:
- Lower leaves turn brown and crispy (top leaves may still be green).
- Bulbs are firm and well-formed when gently squeezed—no soft spots!
- Stems snap easily when bent (a dry, crisp sound means it’s harvest time).
Hardneck vs. softneck tip: Hardneck varieties often signal readiness 2-3 weeks earlier than softneck types. Check your variety’s specific timeline!
Another common mistake is digging up garlic on a rainy day. Wet soil makes the bulbs more susceptible to disease and rot during curing. Always harvest on a dry, sunny day to give your garlic the best start.
After pulling the bulbs, don’t wash them—this removes protective layers and invites mold. Instead, gently brush off excess dirt and let them cure naturally. Skipping this step is a fast track to spoiled garlic.
Improper curing techniques are the downfall of many garlic harvests. Many gardeners rush the process by storing garlic too soon, but bulbs need 4-6 weeks of drying time in a well-ventilated, shady spot. Use mesh bags or hanging bundles to allow airflow around each bulb. If you cure garlic too quickly, the cloves won’t develop their full flavor, and the skins may stay too damp, leading to mold. Place your garlic in a spot with 60-70% humidity and room temperature—a garage or covered porch works well.
Storage mistakes often happen after the harvest is safely cured. Storing garlic in plastic bags or the fridge traps moisture, causing sprouting or rot. Instead, keep it in a cool, dark, and dry place like a mesh bag or paper sack. Never refrigerate garlic—this accelerates spoilage.
For long-term storage, braid the stems to create natural airflow and hang them upside down. This traditional method keeps garlic fresh for months while preventing mold and sprouting.
Finally, forgetting to separate varieties can lead to confusion and uneven storage conditions. Different garlic types (hardneck vs. softneck) have unique storage needs. For example, hardneck varieties store best in cooler conditions, while softneck types tolerate slightly warmer temps.
Label your garlic bundles and store them separately to maintain quality. If you notice any bulbs sprouting or developing mold during storage, remove them immediately to prevent contamination of the rest.