
How To
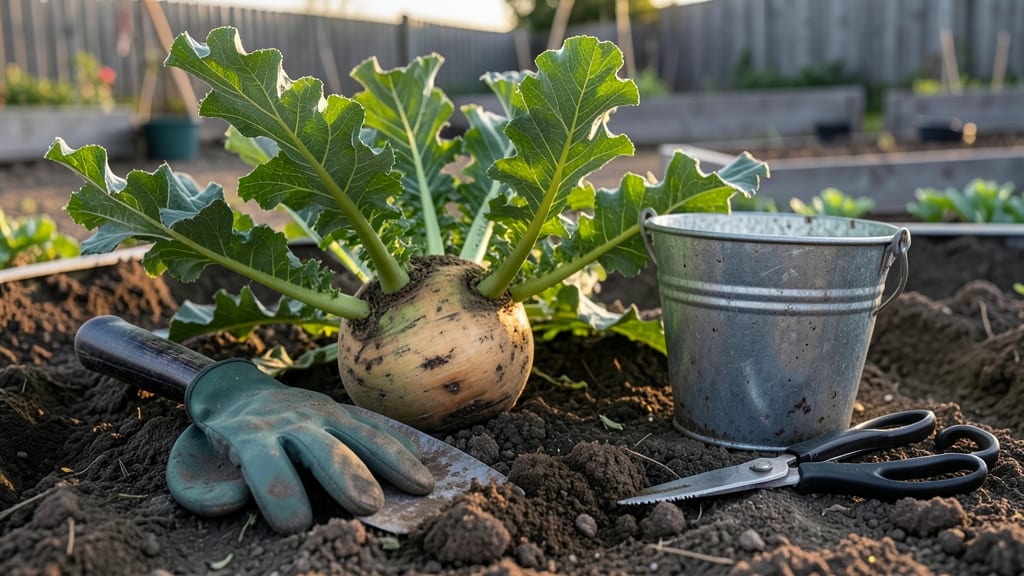
Harvesting rutabaga at the right time ensures sweet, tender roots instead of tough, woody ones—so timing matters more than you might think.
Picture this: you’ve spent months nurturing your 🥬 plants, only to pull them too late and end up with flavorless, stringy roots. Or worse, you harvest too early and miss out on their peak sweetness. The key is knowing when those roots are just right—firm, glossy, and ready to pull.
Most rutabagas reach harvest readiness between 70 and 100 days after planting, but the real test is in the soil. A simple knuckle-depth check tells you when they’re perfect: roots should be 2-3 inches wide, with leaves starting to yellow and stems drying out.
Miss these cues, and you risk wasting your hard work.
In this guide, I’ll walk you through how to spot the perfect harvest moment, avoid common mistakes, and keep your rutabagas fresh for weeks after pulling them from the ground.

How to check rutabaga size and soil depth for perfect harvest timing
Timing your rutabaga harvest is all about balance—too early and you’ll miss out on sweetness, too late and the roots turn woody. The key lies in root size, soil depth, and subtle plant signals that often go unnoticed.
I’ve learned the hard way that skipping these checks means sacrificing flavor for convenience. Let’s fix that with a foolproof method.
Start by understanding that rutabagas thrive in cool weather, and their ideal harvest window falls between 70-100 days after planting. But days alone won’t tell you when your specific plants are ready.
You need to combine three critical checks: root diameter, leaf condition, and a simple soil depth test using your knuckles. This trio ensures you pull roots at their peak—firm, tender, and packed with flavor.
Step-by-Step Rutabaga Harvest Check
-
Step 1: Check Root Size
Gently loosen the soil around the base of the plant with your fingers. Look for roots that are 2-3 inches in diameter. If they’re smaller than a golf ball, wait 1-2 weeks. Larger roots may be past their prime. -
Step 2: Perform the Knuckle-Depth Test
Press your middle knuckle into the soil near the plant. If the root sits just below this depth (about 1.5-2 inches from the surface), it’s ready. Shallower roots risk damage when pulled, while deeper ones may need more time. -
Step 3: Inspect Leaf Color
Healthy rutabaga leaves will start yellowing from the bottom upward. If 50% of the foliage has turned yellow or brown, it’s time to harvest. Green leaves mean more growth time is needed. -
Step 4: Test Stem Firmness
Grip the main stem near the soil. It should feel firm but not woody. A soft stem indicates overmaturity, while a brittle one means the plant is stressed. Both are red flags. -
Step 5: Do the Pull Test
Grasp the stem and gently tug. A ready rutabaga will slide out easily with minimal resistance. If it resists or breaks, wait another week. This final check confirms the root is fully developed.
One of the biggest mistakes I see is relying solely on calendar dates instead of plant signals. Rutabagas grown in cooler climates mature faster than those in warm regions, so blindly following a 90-day rule can lead to disappointment.
Always cross-reference the steps above with your local frost dates. If a hard frost is forecast within 1-2 weeks, harvest even if the roots aren’t perfect—they’ll still be better than frozen or rotted ones left in the ground.
Another common error is overlooking soil conditions. Compacted or rocky soil can stunt root growth, making them lopsided or small. If your rutabagas aren’t reaching the ideal 2-3 inch diameter, amend the soil with compost or sand before replanting next season.
Well-draining soil is non-negotiable for these root crops.
Visual cues are your best friends when harvesting rutabagas. Pay close attention to the skin texture: ready roots have a firm, glossy exterior, while overripe ones develop a dull, wrinkled surface.
The stem base should also be dry and slightly shriveled—this indicates the plant is redirecting energy to the root. Ignore these signs, and you’ll end up with roots that are tougher than a boot.
For those in USDA Zone 6a or colder, timing is especially critical. Rutabagas can tolerate light frosts, but a hard freeze will ruin them. If your area experiences early frosts, prioritize harvesting before October 30 (the average first frost date).
Store any unharvested roots in a cool, dark place for up to 3 months if needed.
Finally, don’t forget to rotate your garden after harvesting. Rutabagas are susceptible to clubroot disease, and planting them in the same spot year after year invites trouble. Crop rotation keeps your soil healthy and your harvests bountiful.
With these steps, you’ll never again guess whether your rutabagas are ready. The next time you’re kneeling in the garden, take a moment to check the size, soil depth, and leaf color. Your future meals—and your taste buds—will thank you.
Rutabaga harvest timing by variety: early vs. late season differences
Not all rutabaga varieties mature at the same time, and knowing these differences can mean the difference between sweet, tender roots and woody, flavorless ones.
Early-season varieties like 'Laurentian' are ready in as few as 70 days, while late-season types like 'Purple Top White Globe' may take up to 100 days to reach peak harvest time. The variety you choose directly impacts when—and how—you should harvest.
Frost tolerance also plays a critical role. Some varieties can handle light frosts and even improve in flavor after a light freeze, while others become tough and pithy if exposed to hard frost conditions.
Understanding these distinctions helps you plan your harvest schedule and storage strategy for maximum freshness. For example, 'Laurentian' can be left in the ground longer, while 'Purple Top White Globe' should be harvested just before the first frost for the best results.
Flavor development is another key factor. Early-season varieties like 'Laurentian' develop their sweetness quickly, making them ideal for gardeners with short growing seasons. Late-season types, such as 'Mammoth Melting', require more time to reach their full potential but reward you with larger, more robust roots.
If you’re growing multiple varieties, stagger your planting times to ensure a continuous harvest throughout the fall.
Storage potential varies by variety too. 'Champion', for example, stores exceptionally well, making it a great choice if you want to enjoy rutabagas well into winter. On the other hand, 'Purple Top White Globe' is best used fresh or stored for only a few months.
Always harvest when roots are firm and glossy to maximize storage life and prevent spoilage.
Pro tip: If you’re unsure whether a rutabaga is fully mature, dig up one root and check its size and texture. If it’s 2-3 inches in diameter and the skin is firm, it’s ready.
If not, give it another week or two before harvesting. This simple check saves you from ending up with underdeveloped roots or waiting too long and risking woodiness.
By understanding these variety-specific differences, you can fine-tune your harvest timing, ensure the best flavor, and enjoy your rutabagas at their peak—whether you’re roasting them, mashing them, or storing them for later use. Happy harvesting! 🥬