
How To
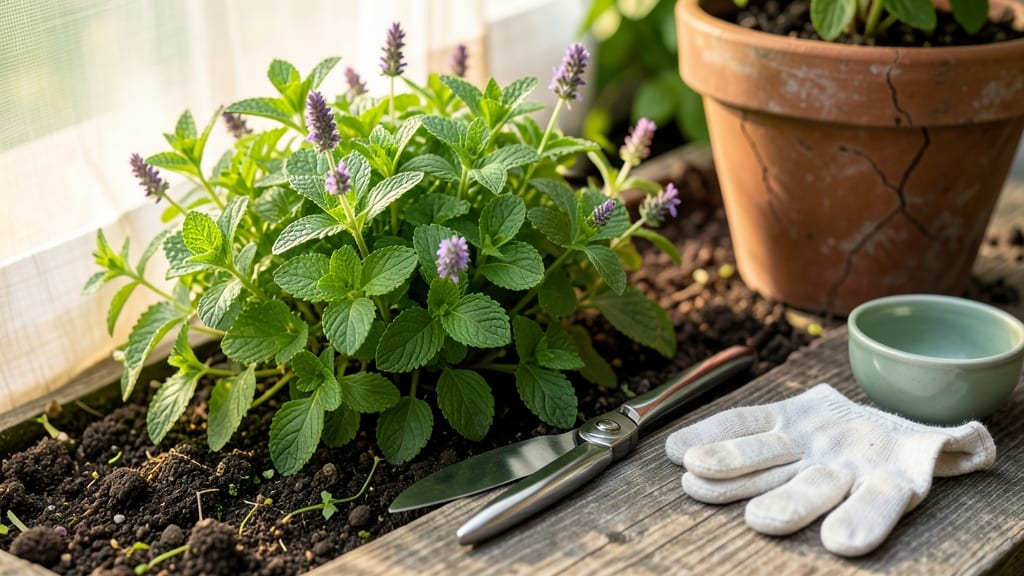
Harvesting fresh mint the right way keeps your plant thriving while giving you a steady supply of flavorful leaves 🌿—and most gardeners get this part wrong.
Picture this: You snip a few stems, only to watch your mint plant turn leggy or bolt to flower. That’s because harvesting isn’t just about cutting—it’s about timing, technique, and knowing when to stop. The good news? With the right approach, you’ll have lush, bushy mint all season long.
In this guide, I’ll walk you through the best time to harvest (spring vs. summer vs. fall), how to cut stems for maximum regrowth, and the tools you’ll need. No more guesswork—just a never-ending supply of fresh mint for teas, cocktails, and cooking.
You’ll also learn how to store your harvest so it stays fresh longer, plus pro tips to keep your mint looking its best. Let’s get started!

Best time and method to harvest mint for maximum growth
Harvesting mint at the right time ensures a steady supply of fresh leaves while keeping your plant healthy and vigorous. Unlike many herbs, mint thrives when you regularly prune it—this encourages bushier growth and prevents it from flowering too soon.
The key is timing: harvest when the plant is actively growing but before it starts to bolt, which reduces flavor and aroma.
Spring and early summer are the ideal seasons for mint harvesting because the plant grows most aggressively. In fall, you can still harvest mint, but growth slows as temperatures drop.
If you live in a mild climate, mint may keep growing through winter, though harvests will be smaller. Understanding these seasonal patterns helps you plan for continuous harvests throughout the year.
How to Harvest Fresh Mint for Maximum Growth
- 1
- 2
- 3
- 4
- 5
When harvesting mint, focus on top pruning rather than side pruning. Cutting the topmost stems encourages the plant to branch out, creating a fuller, bushier plant. Side pruning can be done sparingly to shape the plant, but it’s not necessary for regrowth.
Always leave at least half the plant intact to maintain its vigor.
One common mistake gardeners make is harvesting mint too late in the season. If you let mint flower, the leaves become bitter and less aromatic. To prevent this, keep an eye on your plant and harvest before flower buds form.
This ensures you always have the freshest, most flavorful leaves for cooking or crafts.
For container-grown mint, the same rules apply, but you’ll need to be even more cautious. Since potted mint has limited root space, over-harvesting can quickly deplete its energy reserves.
In containers, harvest only the outer stems first, leaving the center to continue growing. This method helps maintain the plant’s health while still providing a steady supply of leaves.
If your mint plant starts to look leggy or sparse, it’s a sign you’ve been harvesting too aggressively. To revive it, reduce harvesting frequency and focus on fertilizing and watering. A balanced 10-10-10 fertilizer applied every 4-6 weeks during the growing season can help it bounce back.
Pair this with consistent morning watering to keep the soil evenly moist but not soggy.
Pro tip: If you’re growing mint for culinary or medicinal use, always harvest leaves from the outer stems first. These are the most flavorful and mature, while the inner leaves are still developing.
This selective harvesting method ensures you get the best flavor while allowing the plant to regrow efficiently.
Finally, don’t forget that mint is a perennial in most climates, meaning it will regrow year after year if cared for properly. With the right harvesting techniques, you can enjoy a never-ending supply of fresh mint without sacrificing the plant’s health.
Just remember: timing, technique, and moderation are the keys to success.
Step-by-step guide to pruning mint for lush, year-round regrowth
Harvesting mint correctly is the secret to a never-ending supply of fresh leaves without killing your plant. Unlike many herbs, mint regrows aggressively when pruned properly, but improper cutting can lead to woody stems or sparse foliage.
The key lies in timing, technique, and knowing how to encourage bushier growth—all while avoiding common mistakes that stifle your plant’s potential.
Before you grab your shears, gather the right tools: a pair of clean, sharp pruning shears (or even kitchen scissors in a pinch), a small bowl for harvested stems, and a spray bottle with water to refresh wilted leaves.
I always keep a small notebook nearby to track harvest dates—this helps me remember when to prune again for optimal regrowth. With these basics, you’re ready to transform your mint patch into a year-round flavor factory.
How to Harvest Fresh Mint: Step-by-Step
-
Step 1: Choose the Right Time
Harvest mint in the morning after dew dries (6-9 AM) when oils are most concentrated. Avoid harvesting after noon heat, as leaves can wilt faster. -
Step 2: Select Healthy Stems
Look for 4-6 inch stems with 3-4 sets of leaves. Cut just above a leaf node (where leaves meet the stem) to encourage new shoots. -
Step 3: Use the Right Technique
Make clean cuts at a 45-degree angle to increase surface area for water absorption. Never rip leaves—this damages the plant and invites disease. -
Step 4: Prune for Bushier Growth
Trim the top 1/3 of the plant to promote lateral branching. For established plants, cut back woody stems to 2 inches above ground in early spring. -
Step 5: Harvest Regularly
Snip stems every 4-6 weeks during the growing season. This prevents flowering (which reduces flavor) and keeps your mint dense and vibrant. -
Step 6: Refresh and Store
Immediately place harvested stems in ice water for 10 minutes to revive them. Use within 3 days or dry for long-term storage.
After harvesting, don’t just toss the stems! Use them to propagate new plants—simply place cuttings in water until roots form (about 1-2 weeks), then transplant. This is my favorite trick for expanding my mint garden without spending a dime.
Plus, it’s a great way to share fresh mint with friends or neighbors!
One common mistake I see is over-harvesting in late summer, which stresses the plant before winter. Instead, reduce pruning frequency in September and October to let your mint store energy for next year.
A well-rested plant will bounce back stronger in spring, giving you an even bigger harvest. Think of it like giving your mint a spa day before dormancy!
For container-grown mint, prune more aggressively since roots can’t spread as easily. Trim stems to half their height every 3-4 weeks to prevent the plant from becoming leggy. If your mint starts flowering, snip those buds immediately—they signal the plant to stop producing leaves and focus on seeds.
Your goal is to keep it in a leafy, bushy state as long as possible.
With these techniques, your mint will reward you with lush, flavorful growth all season long. Just remember: consistency is key. A little pruning love every few weeks keeps your mint happy, healthy, and ready to brighten up your favorite dishes—without ever looking wilted or woody.
Now grab those shears and get snipping! 🌿✂️