
How To
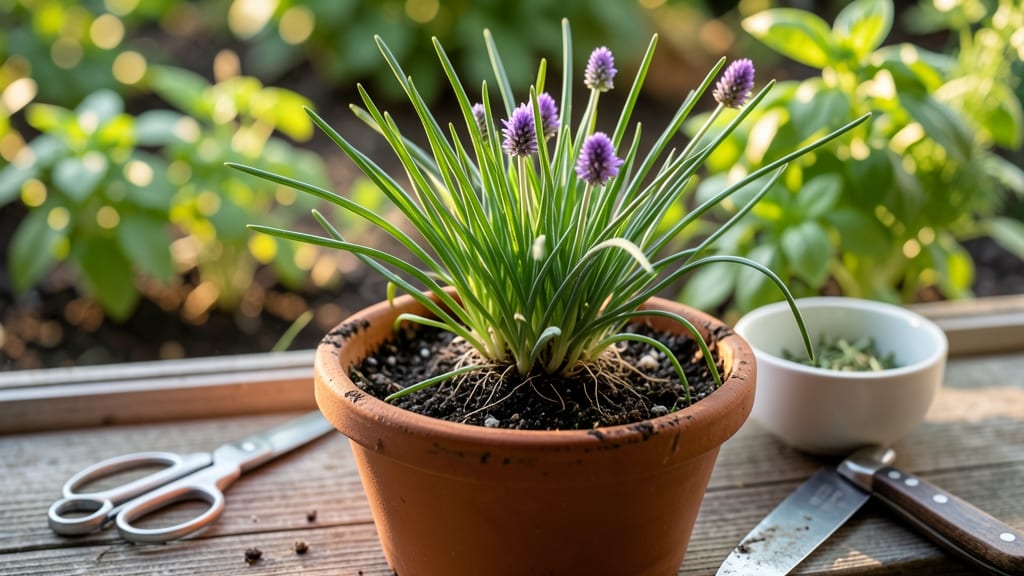
To harvest chives at their peak flavor and encourage regrowth, snip the stems just above the base when they reach 6-8 inches tall or when flowers form.
Chives aren’t just a garnish—they’re a hardworking perennial that rewards you with fresh, flavorful harvests year after year. But timing and technique make all the difference in keeping your 🌿 chives thriving while you enjoy their mild onion flavor.
Harvesting too early or too late can weaken the plant, while the right approach ensures a steady supply from spring through fall. Below, I’ll walk you through the best times, tools, and steps to harvest chives without sacrificing future growth.
You’ll also discover how to spot when chives are ready, avoid common mistakes, and maintain their vitality for continuous harvests—so you never run out of this versatile herb for soups, salads, or baked potatoes.

When and how to harvest chives for maximum regrowth
Harvesting chives at the right time ensures your plants stay healthy and keep producing those flavorful green leaves you love.
The key is understanding when to cut and how to do it without harming the plant. Chives are resilient perennials, but improper harvesting can weaken them or even kill the plant.
The best time to harvest is when the flower stalks begin to form, signaling the plant is ready for a cut.
This spring-to-fall herb thrives when you follow a few simple rules: never cut more than one-third of the plant at once, always snip from the base, and avoid harvesting during extreme heat or cold snaps.
By mastering these techniques, you’ll enjoy a continuous supply of fresh chives all season long.
How to Harvest Chives for Regrowth
- Wait for the right stage: Harvest when flower stalks appear (late spring to early summer) or when leaves reach 6-8 inches tall. This ensures the plant has enough energy to regrow.
- Use clean, sharp scissors: Avoid tearing leaves—use bypass pruners or sharp kitchen shears to make a clean cut just above the base. This prevents damage to the crown.
- Cut only the outer leaves: Never remove more than one-third of the plant at once. Focus on the outer stalks to allow the center to keep growing.
- Harvest in the morning: Pick chives in the early morning after dew has dried but before the sun is too intense. This preserves flavor and moisture.
- Avoid harvesting in winter: Skip cutting during frosty months (November–February in most zones). The plant needs energy to survive dormancy.
- Remove flower stalks if desired: If you want to save seeds, let purple flower clusters form and harvest them separately. Otherwise, snip them off to encourage more leaf growth.
- Water and fertilize after harvesting: Give your chives a drink of water and a light balanced fertilizer (5-10-10) to support regrowth.
Timing your harvests by the season makes a big difference. In spring, start harvesting once the soil warms and new growth appears (usually April–May in Zone 6a). During summer, you can harvest every 2–3 weeks as long as the weather stays mild.
In fall, reduce harvesting by September to let the plant store energy for winter.
One common mistake gardeners make is over-harvesting in late summer, which weakens the plant before winter. If you notice yellowing leaves or stunted growth after cutting, you’re likely harvesting too aggressively. Always leave at least half the plant intact to ensure it recovers.
For container-grown chives, the same rules apply, but be extra cautious with small pots. Overcrowding can stress the plant, so if you’re growing chives in pots, divide and repot every 2–3 years to give roots room to spread. This also encourages healthier regrowth after harvesting.
Did you know? Chives regrow faster in full sun (6+ hours daily) than in partial shade. If your plants seem slow to recover after cutting, check their light exposure—they might need a sunnier spot. A south-facing window works well for container chives.
Pro tip: Mark your harvest calendar to track when you last cut your chives. This helps you avoid over-harvesting and ensures you’re always cutting at the optimal 6–8 inch stage. A simple reminder in your gardening journal keeps your plants thriving season after season.
With the right approach, your chives will reward you with continuous harvests for years. The secret? Patience and precision—cut at the base, leave enough foliage, and give your plants the care they need to bounce back stronger than ever.
Best practices to keep your chives growing strong after harvesting
After harvesting your chives, proper care ensures they bounce back stronger than ever. The key lies in balancing watering, fertilizing, and seasonal adjustments to prevent common issues like yellowing or stunted growth. With the right approach, your chives will regrow quickly and stay productive for years.
First, focus on watering consistency. Chives need about 1 inch of water weekly, but adjust based on your climate. During hot summer months, increase frequency to every 3-4 days to prevent stress. Always water at the base of the plant to avoid fungal diseases from wet foliage.
Next, fertilizing plays a crucial role in post-harvest recovery. Use a balanced 5-10-10 fertilizer every 4-6 weeks during the growing season (spring to early fall). In late summer, switch to a low-nitrogen option to encourage root development before winter dormancy.
🌱 Pro Tip for Post-Harvest Care
After harvesting, never remove more than 1/3 of the plant at once. Trim leaves to 2-3 inches tall to maintain energy reserves. For flowering chives, snip blooms before they seed to redirect nutrients back to leaf growth.
Proper spacing is another game-changer. Chives need 6-12 inches apart to thrive. If crowded, they’ll compete for nutrients, leading to weak growth. Thin seedlings early or transplant mature plants to prevent overcrowding, which invites pests and diseases.
Seasonal care is equally important. In spring, focus on removing dead foliage and adding compost to refresh the soil. During fall, mulch with 2-3 inches of straw to insulate roots from freezing temperatures. This protects your chives through winter for an earlier spring harvest.
Watch for yellowing leaves, a common sign of overwatering or nutrient deficiency. If you notice this, adjust your watering schedule and apply a foliar feed with micronutrients. Regularly check for pests like aphids and treat with neem oil if needed to keep your chives healthy.
With these post-harvest practices, your chives will regrow lush and flavorful, ready for your next culinary adventure. Consistent care turns a simple herb into a year-round harvest powerhouse! 🌿