
How To
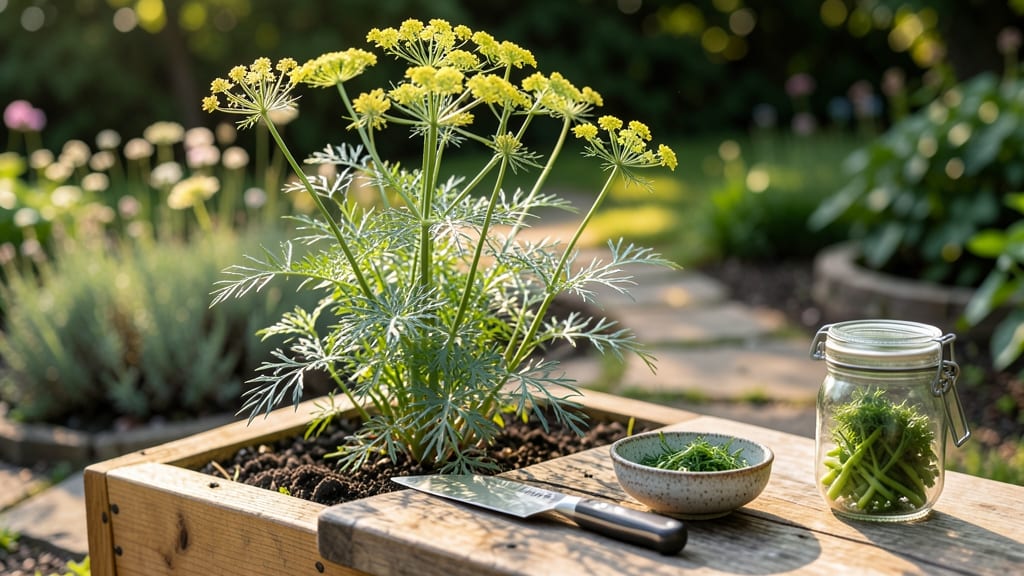
Harvesting dill for pickles at the right time ensures your jars pack the perfect balance of flavor and texture—think crisp stems and aromatic leaves.
Nothing ruins homemade pickles like dill that’s past its prime—harvesting at the perfect moment ensures bold flavor and crisp stems every time. The trick? A simple stem snap test that tells you exactly when to cut.
You’ll want to harvest your 🌿 dill before it flowers for tender leaves, but not so early that the stems are too soft. The ideal window is when your plants hit 6-12 inches tall, with firm stems that snap cleanly when bent.
In this guide, I’ll walk you through the exact steps to test your dill’s readiness, how to cut it for maximum freshness, and storage tips to keep it vibrant until jar time.

When to harvest dill for pickles: the stem snap test explained
Nothing ruins homemade pickles like dill that’s past its prime—harvesting at the perfect moment ensures bold flavor and crisp stems every time. The stem snap test is my go-to method for determining when dill is ready for pickling.
This simple trick helps you avoid woody stems and bitter leaves that ruin your jarred flavors. Whether you're growing bouquet dill, mammoth dill, or dwarf dill, timing is everything for that perfect pickle punch.
For peak freshness, harvest dill when it reaches 6-12 inches tall with fully developed leaves but before flowering. This ensures tender stems and maximum flavor. Different dill varieties mature at slightly different rates, so watch for these visual cues rather than relying solely on days after planting.
The snap test is particularly useful because it accounts for variations in sunlight, soil, and watering conditions that affect growth rates.
Here’s how to master the stem snap test and harvest dill at its prime for perfect pickles:
Select a thick, upright stem from the middle of the plant. Avoid stems near the base or outer edges, as they may be less representative of the plant's overall condition.
Grip the stem about 2 inches from the top with your thumb and forefinger. Make sure your fingers are positioned opposite each other for an accurate test.
Bend the stem slowly and gently toward yourself. Pay attention to the sound and resistance you feel—this is where the magic happens.
A crisp, clean snap means the dill is perfect for pickling. If the stem bends without snapping, it’s too young. If it snaps with a dull thud, the plant is past its prime.
Once you confirm the snap, grab the base of the plant with one hand and the top leaves with the other. Give a firm tug to pull the entire plant out of the soil. This encourages bushier growth for future harvests.
Trim any woody or damaged stems and bundle the remaining dill with a rubber band. Store stems upright in a jar of water in the fridge until ready to pickle.
Timing varies slightly by variety. Bouquet dill, the most common type, typically reaches harvest readiness in 45-60 days after planting. Mammoth dill, with its towering height, may take 60-75 days to snap perfectly, while dwarf dill matures faster at 30-45 days.
Always prioritize the snap test over calendar dates, as environmental factors play a huge role in growth speed.
Harvesting too early results in small, sparse leaves that lack flavor, while waiting too long leads to bitter, woody stems that ruin your pickles. Aim to harvest every 2-3 weeks during the growing season to encourage continuous production.
Regular harvesting also prevents the plant from bolting too quickly, extending your pickle-making season.
For the best pickle flavor, harvest dill in the morning after the dew has dried but before the heat of the day sets in. This ensures the stems are crisp and hydrated.
If you’re short on time, evening harvests work too, but avoid harvesting after heavy rain, as wet stems can develop mold during storage.
Pro tip: If your dill starts flowering, don’t despair! The seed heads can still be used for pickles, though the flavor will be slightly different. Simply remove the flowers and use the stems as usual.
Just be aware that once dill flowers, it’s on a one-way ticket to seed production, so enjoy your harvest while you can.
Once you’ve mastered the snap test, you’ll never second-guess when to harvest again. Your pickles will thank you with bold, bright flavors and perfectly crisp stems every time. Happy harvesting—and may your jars always be full! 🌿
Best practices for cutting and storing dill before pickling
Once you’ve harvested your dill at peak freshness, proper cutting and storage are key to preserving that vibrant flavor for your pickling projects. The way you handle the stems and leaves right after harvest can make or break your final product.
I’ve learned that even the best homegrown dill can lose its punch if not stored correctly.
Start by cutting stems at a 45-degree angle about 1 inch above the soil line. This technique prevents water from pooling and encourages new growth for future harvests.
For pickling, you’ll want to focus on the tender stems and leaves—avoid harvesting any flowers or seed heads, as they can make your pickles bitter.
Pros & Cons: Cutting and Storing Dill for Pickles
| Method | Pros | Cons |
|---|---|---|
| Cutting at Base | Encourages bushier growth; prevents rot | Requires sharp pruners for clean cuts |
| Bundling Stems | Preserves crispness; easy to store in jars | Can dry out if not stored properly |
| Refrigeration | Maintains freshness for 5-7 days | Leaves may wilt over time |
| Freezing | Preserves flavor for up to 6 months | Texture changes after thawing |
After cutting, bundle the stems into small, tight groups of 5-7 stems each. Secure them with a rubber band or twist tie, leaving the leaves exposed. This method mimics how dill is sold in stores and keeps the stems crisp.
For short-term storage, place the bundles in a jar filled with 1 inch of water—this mimics a bouquet and extends freshness for up to a week.
If you’re not pickling immediately, consider freezing your dill. Wash and dry the stems thoroughly, then spread them on a baking sheet lined with parchment paper. Freeze for 1-2 hours until solid, then transfer to a sealed freezer bag.
This method preserves flavor better than refrigeration for long-term use, though the texture will be softer after thawing.
For the best results, always use freshly harvested dill within 24 hours of cutting. The sooner you pickle it, the brighter the flavor will be. If you’re storing dill for later, label your bundles with the date—this helps track freshness and ensures you use the oldest dill first.
Remember, the goal is to keep your dill as crisp and flavorful as possible until jar time. Whether you choose refrigeration or freezing, proper handling will make all the difference in your homemade pickles. Happy gardening—and happy pickling! 🌿✂️