
How To
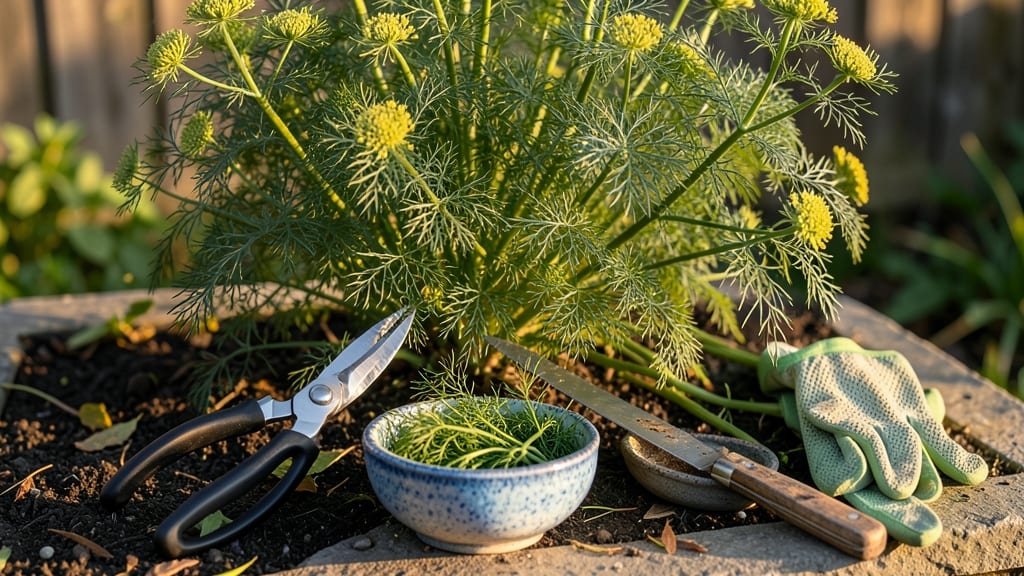
To harvest dill weed at its peak, look for stems that snap easily when bent—this means the leaves are packed with flavor and fragrance 🌿.
Fresh dill isn’t just a garnish—it’s a flavor powerhouse, but harvesting at the wrong time can turn your favorite herb into something bitter and woody. The key is timing: wait until the plant reaches 6-12 inches tall with lush, aromatic leaves before cutting.
Once you’ve spotted the perfect batch, the right technique ensures your dill keeps growing strong. I’ll walk you through how to snip stems without damaging the plant, plus the best tools to use for a clean harvest every time.
You’ll also discover how to preserve your harvest—whether drying, freezing, or storing fresh—so you can enjoy that bright, tangy flavor all season long, even after the plant bolts.

When to harvest dill for maximum flavor and fragrance
Timing your dill harvest is everything—pick too early, and you’ll miss the peak flavor and aromatic oils that make fresh dill so irresistible. Too late, and the leaves turn bitter while the plant focuses energy on seed production.
The secret lies in watching for three key signals: stem firmness, leaf maturity, and the plant’s growth stage.
Dill thrives in cool-season climates, but even in warm regions, it follows a predictable pattern. In USDA Zone 6a (like much of the Midwest), dill planted in April-May typically reaches harvest readiness by mid-July.
However, coastal areas with milder summers may see harvests as early as June, while hotter inland zones might delay readiness until August.
- 01
- 02
- 03
- 04
Climate plays a surprising role in dill’s readiness. In humid climates (like the Southeast), dill grows faster but may flower earlier—watch for buds by late June. Meanwhile, arid regions (e.g., Southwest) often see delayed growth; dill might not snap until September.
Adjust by monitoring leaf size rather than relying solely on calendar dates.
Pro tip: Crush a leaf between your fingers. If it releases a bright, citrusy aroma, it’s harvest-ready. A weak or earthy scent means the plant needs more time. This simple trick beats guessing based on height alone—some varieties (like Bouquet dill) mature faster than Mammoth dill.
For continuous harvests, space cuts 2-3 weeks apart. Each time you trim, the plant responds by producing new side shoots, extending your harvest window.
Just avoid cutting more than ⅓ of the plant at once to prevent stress. In my garden, this method keeps dill productive until first frost in October.
One common mistake? Waiting until the plant is over 2 feet tall. By then, the lower leaves often yellow and taste bland. Prioritize early, frequent harvesting—even small cuts encourage bushier growth. I’ve found that harvesting young leaves (6-12 inches tall) yields the most aromatic, tender foliage.
If you’re growing dill for seeds (like for pickling spices), let 2-3 stems flower and seed. The rest can be harvested as usual. Dill seeds are ready when they turn brown and rattle in their pods—usually 8-10 weeks after flowering.
But for culinary use, always harvest leaves before seeds form.
🌿
Step-by-step guide to harvesting dill without damaging the plant
Harvesting dill correctly keeps your plant productive and flavorful. The key is using the right cutting techniques to encourage bushier regrowth while avoiding overharvesting. Whether you're harvesting leaves or stems, timing and method matter—especially if you want that bright, fresh dill flavor for your favorite dishes.
Start by choosing the right harvesting tools. A clean, sharp pruning shears or scissors is ideal for making precise cuts without crushing stems. Avoid using your fingers or dull tools, as they can damage the plant and invite pests.
For small batches, even kitchen scissors work, but invest in a small pair of garden shears for larger harvests.
- 1 Choose the right time: Harvest in the morning after dew dries but before midday heat for peak flavor and moisture.
- 2 Select leaves or stems: For leaves only, pinch off individual leaves from the outer stems. For whole stems, cut just above a leaf node (where leaves grow).
- 3 Use proper technique: Hold the stem firmly and make a clean cut at a 45-degree angle to avoid water pooling. Never rip leaves—this damages the plant.
- 4 Leave 2-3 inches of growth: Always leave at least 2-3 inches of stem to encourage new leaf production. This prevents woody stems and keeps the plant healthy.
- 5 Avoid overharvesting: Never take more than one-third of the plant at once. Overharvesting stresses dill and can stunt regrowth or even kill the plant.
- 6 Prune flowers for leaf growth: If your dill starts flowering, remove flower buds to redirect energy to leaf production. This keeps the flavor milder and sweeter longer.
- 7 Clean tools between cuts: Wipe your shears with a rubbing alcohol wipe or soapy water between plants to prevent spreading disease. This is especially important if you’re harvesting from multiple plants.
One of the most common mistakes gardeners make is harvesting dill too late. Once the plant flowers and seeds form, the leaves become bitter and woody. Always harvest before flowering for the best flavor.
Another mistake is cutting stems too short, which leaves no room for new growth. Aim to leave at least 2-3 inches of stem after each harvest.
After harvesting, store your dill properly to maintain freshness. Rinse the leaves gently under cool water and pat dry with a paper towel. Place them in a sealed container with a damp paper towel to keep them crisp for up to 5-7 days in the refrigerator.
For long-term storage, consider freezing or drying the stems.
With the right techniques, your dill plant will thrive and produce abundant, flavorful leaves all season long. Regular harvesting not only gives you fresh dill for cooking but also encourages the plant to grow fuller and bushier, making it a win-win for your garden and kitchen.