
How To
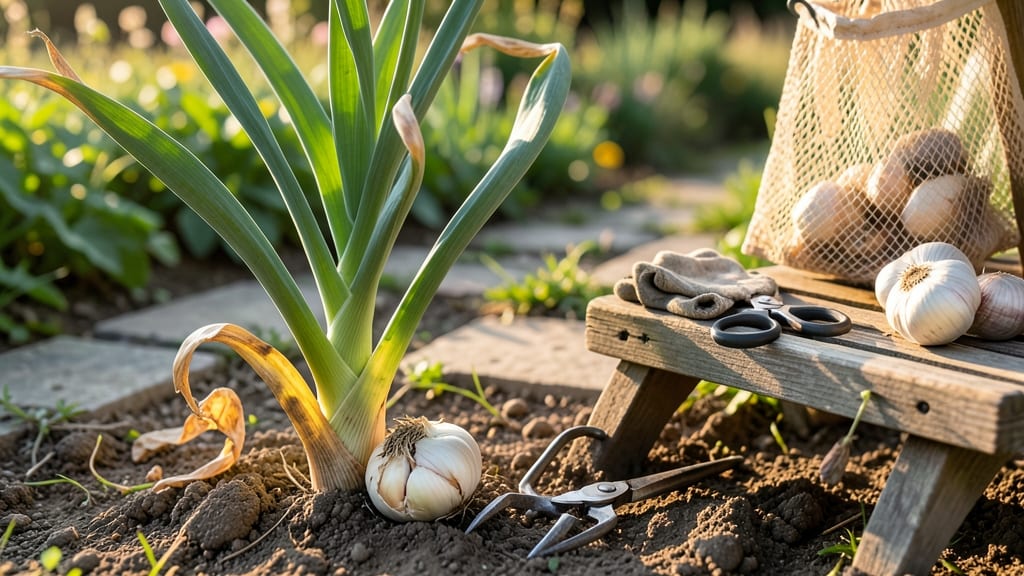
Harvesting garlic bulbs at the right time ensures you get the largest, most flavorful cloves 🧄 — and missing the window means shriveled, weak harvests.
You’ve nurtured your garlic all season, but one wrong move at harvest can ruin months of work. The key is watching for those telltale brown leaves and firm bulbs, then acting fast to dig, dry, and store them properly.
In this guide, I’ll walk you through the exact signs to look for, the step-by-step harvesting process, and the best curing methods to keep your garlic fresh through next summer.
Whether you’re a first-time grower or a seasoned gardener, these tips will help you avoid common mistakes and maximize your harvest’s potential.

When to harvest garlic bulbs: signs leaves turn brown and what they mean
Harvesting garlic at the right time ensures you get the largest, most flavorful bulbs packed with those plump, papery-clad cloves we all love.
The key lies in reading your plants' leaf color signals, which tell you exactly when the bulbs are mature and ready to be lifted from the soil.
For most gardeners, this happens when 50-60% of the leaves turn brown, but there are nuances depending on whether you're growing hardneck or softneck varieties.
Hardneck garlic typically signals readiness when half the leaves brown and the lower ones start to crisp up. Softneck varieties, however, often need to wait until 70-80% of leaves turn brown before they reach full maturity.
These differences occur because hardnecks focus their energy on bulb development earlier in the season, while softnecks continue growing longer. Ignoring these signs can lead to overmature bulbs that split open or undermature bulbs that stay small and pithy.
Regional climate plays a huge role in timing too. In cooler northern climates (USDA Zones 3-5), garlic often matures earlier—sometimes as early as late June—while warmer southern regions (Zones 7-9) may need to wait until mid-to-late July.
The general rule is to harvest when your area's average last frost date is 4-6 weeks away, giving the bulbs time to cure properly before winter storage.
Here’s a quick visual guide to help you spot the perfect harvest window:
| Sign | Hardneck Garlic | Softneck Garlic | Action |
|---|---|---|---|
| Lower leaves | 50-60% brown | 70-80% brown | Start monitoring closely |
| Leaf texture | Crispy and dry | Dry and papery | Harvest in 3-5 days |
| Bulb firmness | Firm when squeezed | Solid and heavy | Dig and cure immediately |
| Stem reaction | Snaps easily | Breaks cleanly | Ready for harvest |
| Clove separation | Paper skin visible | Cloves distinct | Perfect harvest time |
One of the biggest mistakes I see gardeners make is waiting until all leaves turn brown. By then, the bulbs may have already started to split or rot in the ground. Instead, focus on the lower leaves first—they’re the first to signal maturity.
If you’re unsure, gently squeeze a bulb through the soil. If it feels firm and solid, it’s ready. If it’s still soft, give it another week or two.
Another critical factor is weather conditions leading up to harvest. If you’re experiencing hot, dry spells followed by rain, your garlic may mature faster. Conversely, cool, wet springs can delay the process.
Pay attention to your local 7-day forecast—you’ll want to harvest before any heavy rains or storms roll in, as damp soil can lead to mold during curing.
Hardneck garlic often produces a scape (that curly green shoot) in early spring. Removing this scape doesn’t affect bulb size but directs energy toward the bulb.
Interestingly, some gardeners claim that not removing scapes can actually delay maturity by a week or two, so timing your harvest around scape removal is another way to fine-tune when you dig.
For organic gardeners, it’s worth noting that over-fertilizing with nitrogen can lead to lush green leaves but smaller bulbs. A balanced 10-10-10 fertilizer applied in early spring is ideal, but avoid late-season feeds, which can encourage leafy growth at the expense of bulb development.
The goal is to balance leaf and bulb growth, and the color changes in the leaves are your best indicator of success.
If you’re in a warmer climate where garlic grows year-round, the leaves may yellow and brown more gradually. In these cases, watch for the paper skin forming between cloves—this is a foolproof sign that the bulbs are ready.
For cooler climates, the process is more abrupt, with leaves turning brown and crispy within a 2-3 week window. Plan accordingly to avoid missing the harvest window.
Finally, don’t forget to mark your calendar based on your planting date. Most garlic varieties take between 240-300 days to mature. If you planted in October, you’ll likely harvest in late June or July. Adjust for earlier or later plantings accordingly. The more you grow garlic, the
Step-by-step guide to digging, drying, and braiding garlic for long-term storage
Once your garlic leaves turn brown and dry, it’s time to harvest before rain or pests ruin your hard work. Proper harvesting techniques ensure plump bulbs that store well. I’ll walk you through the exact steps—from digging to braiding—to keep your garlic fresh for months.
Gather your tools: a garden fork, pruners, a clean basket, and a well-ventilated drying space. Avoid wet weather, as moisture causes mold. Timing is key—harvest too early, and bulbs won’t mature; too late, and they’ll split or rot.
How to Harvest Garlic Bulbs
- Step 1: Loosen Soil Use a garden fork to gently lift bulbs 2-3 inches deep, avoiding damage to the paper skins.
- Step 2: Shake Off Dirt Gently tap bulbs on a hard surface to remove loose soil—don’t scrub or wash them.
- Step 3: Trim Stems Cut stems to 1-2 inches above the bulb with pruners to reduce moisture loss.
- Step 4: Cure in Sun Place bulbs in a shady, dry spot with airflow for 2-3 weeks to toughen skins.
- Step 5: Braid for Storage Tie 3-5 bulbs together with twine, leaving roots intact for long-term storage.
After harvesting, let bulbs cure properly—this is critical for preventing mold. A dry, dark space with temperatures between 60-70°F works best. Avoid plastic bags, as trapped moisture encourages spoilage.
Common mistakes include harvesting too soon (bulbs won’t store) or too late (they’ll split). Also, never wash bulbs before curing—this invites rot. If you notice soft spots or mold, discard those bulbs immediately.
Once cured, store braided garlic in a mesh bag or paper sack in a cool, dark place. Check periodically for spoilage. With proper care, your garlic can last 6-12 months while retaining flavor.