
How To
Harvesting iris seeds from those brown, cracking pods is your chance to grow new 🌸 plants for free—but timing is everything.
Miss the moment, and the wind or rain will scatter them before you can collect a single seed. One wrong move, and you could lose your harvest entirely. That’s why knowing exactly when to act and how to handle those pods makes all the difference.
In this guide, I’ll walk you through the key signs that iris seed pods are ready, the step-by-step process to collect and store them properly, and how to avoid common mistakes that ruin seed viability.
By the end, you’ll have a stash of iris seeds ready to plant—and maybe even share with fellow gardeners. Let’s get started.

When and how to identify iris seed pods ready for harvesting
Harvesting iris seeds at the perfect moment ensures high seed viability and strong future plants. The key lies in watching for visual maturity cues that signal readiness.
When your iris blooms fade and seed pods form, they’ll transform from green to brown over 4-6 weeks, marking their journey to harvest readiness.
Timing is everything—harvest too early, and seeds won’t germinate; wait too long, and they’ll scatter on the wind. The ideal window falls in late summer to early fall (August-October in most climates), when pods naturally dry and crack open.
This is your golden opportunity to collect seeds before they’re lost to nature.
Look for brown, papery pods that begin to split naturally along their seams. These are your prime candidates! The best time to harvest is on a dry, sunny morning between 9 AM and 11 AM, when humidity is low and seeds are at peak viability.
Avoid harvesting after rain or in the evening, as moisture can reduce seed quality.
Not all pods are worth harvesting. Discard any that remain green or firm, as these seeds are underdeveloped. Also skip pods that are moldy or damaged by pests, as they’ll produce weak or non-viable seeds. Healthy pods should feel lightweight and brittle when gently squeezed.
Once pods crack open, seeds inside should be dark brown to black and firm to the touch. If they’re still light-colored or mushy, they’re not ready. The seed coat should feel slightly waxy—this indicates proper maturation.
Collect seeds within 24 hours of pod cracking to prevent them from drying out or being carried away by wind.
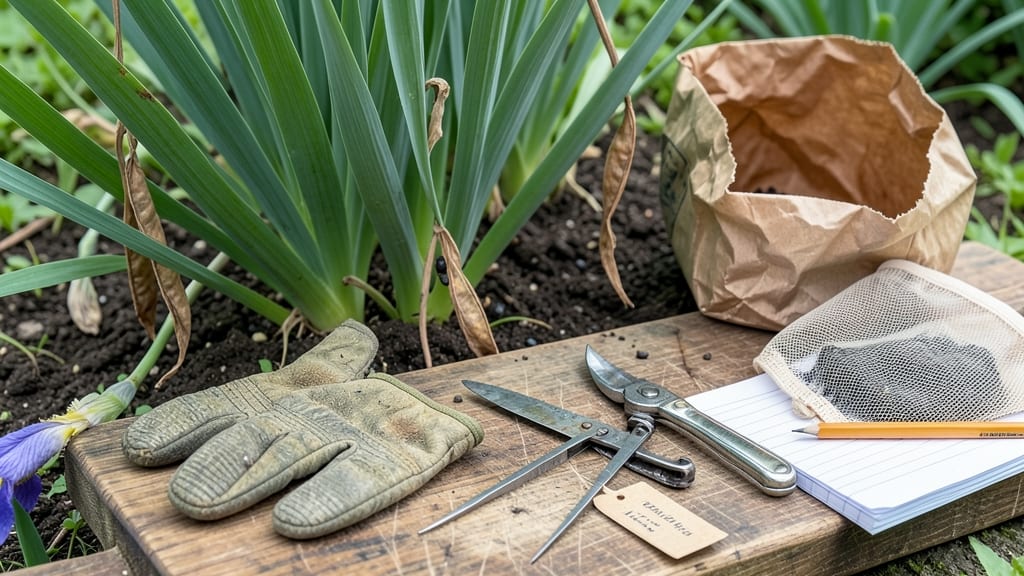
Pro tip: Use a fine mesh bag or paper envelope to collect seeds directly from the plant. This prevents damage and keeps seeds organized by variety. Label each container with the iris type and harvest date for future reference. Proper labeling helps track which seeds produce the best blooms!
If you’re unsure whether a pod is ready, perform the "gentle squeeze test". Hold the pod between your fingers and apply slight pressure. If it cracks easily and seeds are visible inside, it’s harvest-ready. If it resists or stays intact, wait another 2-3 days before checking again.
Harvesting iris seeds requires patience and attention to detail. By mastering these visual cues and timing your collection perfectly, you’ll maximize your chances of growing healthy, vibrant irises from seed. The reward? A garden filled with your very own propagated beauties! 🌸
Step-by-step process for harvesting and storing iris seeds
Once your iris seed pods turn brown and crack open, timing is everything. Harvest too early, and the seeds won’t germinate; wait too long, and they’ll scatter into the wind.
The best time to collect iris seeds is on a dry, sunny morning when the pods are fully mature but haven’t yet released seeds. This ensures maximum viability and makes the process smoother for you.
Gently grasp the dried seed pod between your thumb and forefinger, avoiding any sharp edges that could puncture the seeds. Twist or pull it away from the plant stem—never cut it—to prevent damaging the iris rhizome.
Place the harvested pods in a paper bag or breathable container to allow airflow while keeping them contained.
How to Harvest Iris Seeds
- Step 1: Wait for pods to brown and crack – Harvest only when pods are fully dried and splitting open naturally.
- Step 2: Harvest on a dry morning – Collect seeds between 8-10 AM to avoid humidity-related spoilage.
- Step 3: Twist pods gently from the stem – Avoid cutting to protect the plant; use fingers to detach pods cleanly.
- Step 4: Open pods and remove seeds – Place pods in a paper bag and let them dry further for 2-3 days.
- Step 5: Separate seeds from chaff – Use fingers or a sieve to isolate clean, dark seeds for storage.
After harvesting, spread the seeds on a clean, dry surface like a mesh screen or paper towel in a well-ventilated, shaded area for 1-2 weeks. This slow drying process prevents mold while maintaining seed viability.
Avoid direct sunlight or high humidity, as these can cause seeds to dry too quickly or develop fungal issues.
For long-term storage, place the dried seeds in paper envelopes or breathable cloth bags labeled with the harvest date. Store them in a cool, dark place like a seed vault or refrigerator drawer.
Iris seeds typically remain viable for 1-2 years under ideal conditions, though germination rates drop after the first year. Avoid airtight containers, as trapped moisture can lead to mold.
When ready to plant, sow iris seeds directly in well-draining soil during early spring or fall. Press them lightly into the soil—no need for deep planting—and keep the area moist until germination, which can take 4-8 weeks. Patience is key, as iris seeds often require stratification before sprouting.