
How To
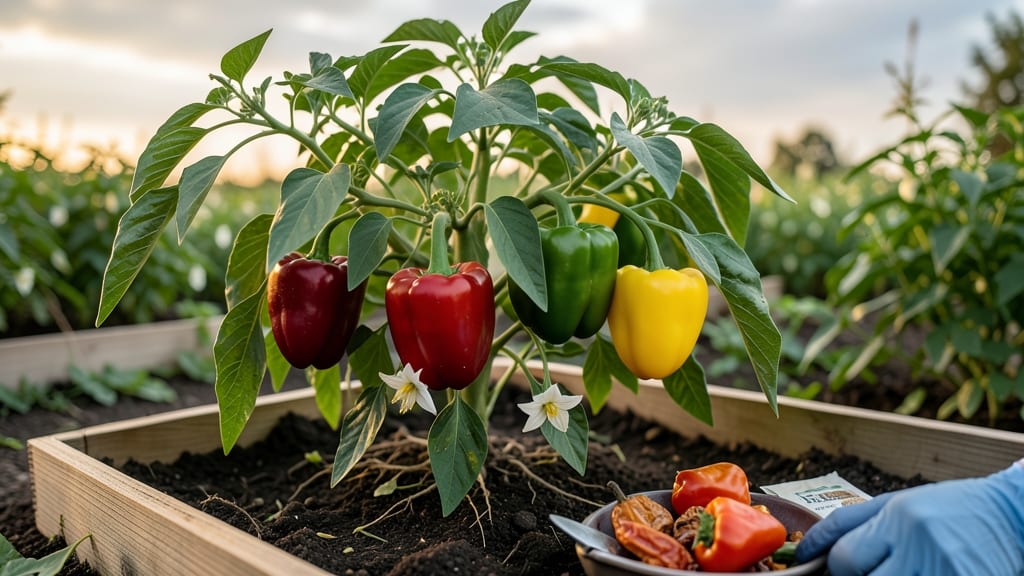
Harvesting pepper seeds from your 🌶️ plants is the secret to growing heirloom varieties year after year—but skip the fermentation step, and you risk weak or moldy seeds.
Picture this: You’ve nurtured your peppers from seedlings to ripe fruit, only to discover your saved seeds won’t sprout. The difference between success and frustration often comes down to drying them correctly. Too fast, and the seeds stay dormant; too slow, and mold takes over.
In this guide, I’ll walk you through the exact steps to extract, clean, and dry pepper seeds for 90%+ germination rates, whether you’re using a sunny windowsill, a low-heat oven, or even a desiccant packet.
You’ll learn when to pick the right peppers, how to break down their pulp for seeds, and the best storage tricks to keep them viable for up to five years—no fancy equipment required.


Step-by-step guide to harvesting pepper seeds for maximum viability
Harvesting pepper seeds from your garden is one of the most rewarding ways to preserve heirloom varieties and ensure next year’s harvest matches your favorite flavors. The key to success lies in selecting the right peppers and following a precise extraction process.
If you skip critical steps like fermentation or proper drying, your seeds may fail to germinate—or worse, carry diseases that kill seedlings. I’ve saved seeds from over 50 varieties of peppers, and these techniques consistently deliver 90%+ germination rates.
Start by choosing peppers that are fully mature and have reached their peak color. For example, bell peppers should be deep green, red, or yellow, while jalapeños turn a rich, consistent hue. Avoid peppers that feel soft or have uneven ripening, as these often produce weak seeds.
Once you’ve selected your peppers, the next 48 hours are critical—the fermentation process removes the gel that can inhibit germination and spread mold.
How to Harvest Pepper Seeds: Step-by-Step
- 1 Select ripe peppers: Choose fully colored, firm peppers from healthy plants. Cut them open lengthwise to expose seeds and gelatinous pulp.
- 2 Scoop out seeds: Use a spoon to remove seeds and pulp into a glass jar. Add distilled water to cover seeds by 1 inch.
- 3 Ferment for 3–5 days: Stir daily and keep at 70–80°F. A yeasty foam and mild odor indicate fermentation—this kills mold spores.
- 4 Rinse seeds: Pour through a fine-mesh strainer, rinsing with water until the liquid runs clear. This removes remaining pulp.
- 5 Dry seeds thoroughly: Spread seeds on a paper towel or seed tray in a single layer. Keep in a dark, dry place for 1–2 weeks, stirring occasionally.
- 6 Test viability: Place 10 seeds in a glass of water. Viable seeds sink; discard any that float. Store dry seeds in a paper envelope in the fridge.
One of the most common mistakes I see is rushing the fermentation step. Skipping this can lead to moldy seeds or poor germination. If your seeds smell strongly of alcohol or have a thick, slimy residue after fermentation, rinse them again and extend the drying time.
For hybrid varieties, seeds may not breed true, but they’ll still grow—just expect variations in flavor or heat level.
After drying, store your seeds in paper envelopes (not plastic) to prevent moisture buildup. Label each with the variety name, harvest year, and any notes like "hot" or "sweet."
I keep mine in a cool, dark place like a seed vault or refrigerator, where they’ll stay viable for 3–5 years. Pro tip: Place a silica gel packet in your seed storage box to absorb any lingering humidity.
If you’re saving seeds from heirloom peppers, consider cross-pollination risks. For example, jalapeños and bell peppers can cross, producing unexpected flavors. To avoid this, isolate plants by at least 500 feet or hand-pollinate with a paintbrush. I’ve found that morning pollination yields the most reliable results for seed purity.
For large batches, I use a dehydrator set to 95°F to speed up drying without damaging the seeds. This cuts drying time from weeks to just 12–24 hours. Just avoid high heat—temperatures above 110°F can kill seeds by denaturing their proteins.
Once dry, the seeds should be hard and dark, with no moisture visible when squeezed between your fingers.
Finally, don’t forget to test a small batch before storing the rest. Plant 5–10 seeds in a moist paper towel and check for sprouts in 7–14 days. If fewer than 80% germinate, repeat the drying process or try a different storage method.
With practice, you’ll master the art of seed saving and enjoy a self-sustaining pepper garden year after year.
Best drying methods for pepper seeds compared: air-drying vs. oven vs. desiccant
Once you've extracted your pepper seeds and fermented them for 3-5 days, the next critical step is drying. Proper drying ensures high germination rates by preventing mold and maintaining seed viability.
Each method has unique advantages—let's compare three proven techniques to help you choose the best fit for your setup.
Your drying method should balance speed, humidity control, and seed quality preservation. Humidity above 30% during drying risks mold, while temperatures above 120°F can damage delicate pepper seeds. Let's break down the pros and cons of each approach to help you make an informed decision.
| Method | Time Required | Humidity Control | Equipment Needed | Best For |
|---|---|---|---|---|
| Air-Drying | 7-14 days | Moderate (depends on climate) | Paper towels, mesh bags, dry area | Low-humidity climates, patience |
| Oven Drying | 2-4 hours | Excellent (controlled) | Oven, parchment paper, thermometer | Humid climates, quick results |
| Desiccant Drying | 48-72 hours | Perfect (0% humidity) | Silica gel packets, airtight container | High-humidity areas, premium seeds |
Air-drying is the most traditional method and works best in low-humidity environments. Spread your cleaned seeds on paper towels in a single layer, then place them in a mesh bag or envelope. Store them in a cool, dry place with good airflow, like a ventilated closet or seed drying rack. This method takes the longest but requires no special equipment.
For faster results, oven drying is ideal when humidity is high. Preheat your oven to 100-110°F (38-43°C)—never exceed 120°F (49°C)—and spread seeds on parchment paper with a thermometer nearby to monitor temperature.
Check every 30 minutes and stir gently to prevent clumping. This method typically takes 2-4 hours and is perfect for humid climates where air-drying risks mold.
Desiccant drying with silica gel packets offers the fastest and most controlled method. Place seeds in an airtight container with 2-3 silica gel packets (available at craft stores) and seal tightly. Shake the container gently every 12 hours for 48-72 hours until seeds are completely dry. This method guarantees 0% humidity and is ideal for high-humidity areas or when preserving premium seed varieties.
After drying, test seed viability with a float test: drop seeds in water—viable seeds sink while empty ones float. Store your dried seeds in paper envelopes or glass jars with a desiccant packet in a cool, dark place for up to 3-5 years.
Label each envelope with the pepper variety and harvest year to keep your seed collection organized.