
How To
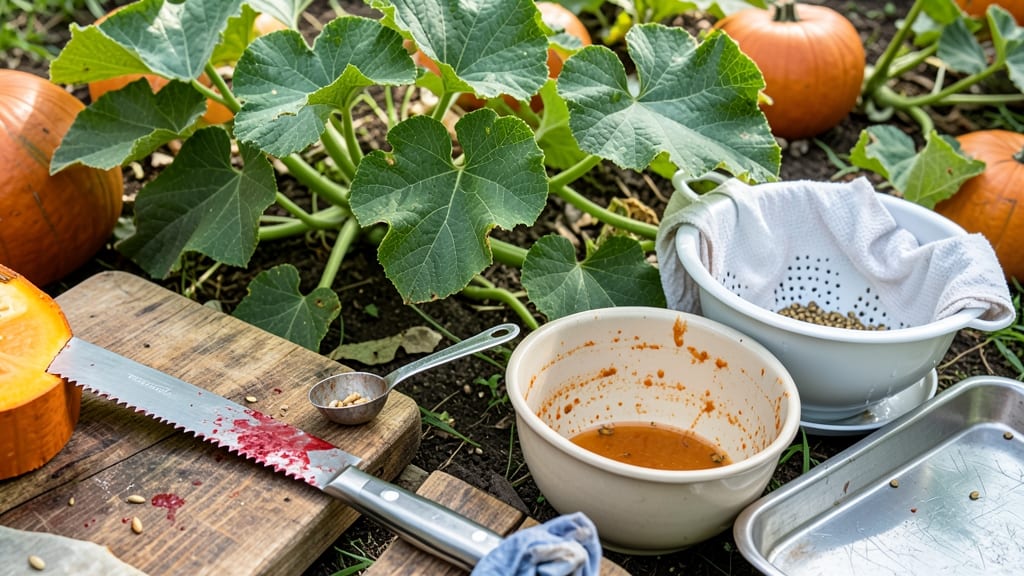
Harvesting pumpkin seeds from your mature 🎃 is simpler than you think—and it’s the secret to free plants next season.
Did you know that saving pumpkin seeds from your harvest can give you free, organic plants for next year—while also creating healthy snacks? Harvesting and storing pumpkin seeds properly ensures high germination rates and delicious treats, but most gardeners miss critical steps that waste their seeds.
From scooping out the seeds to drying them just right, the process is straightforward once you know the key tricks. A little patience now means a bountiful harvest of pumpkins—and maybe even some roasted seeds—without spending a dime on new seeds.
Below, I’ll walk you through every step, from cutting open the pumpkin to storing seeds for years. You’ll learn how to avoid common mistakes that ruin seeds and even how to test their viability before planting.

Step-by-step guide to harvesting pumpkin seeds from ripe pumpkins
Harvesting pumpkin seeds is one of my favorite parts of the growing season—it turns your hard work into next year’s plants and delicious snacks! The key to success lies in timing and proper handling after harvest.
If you wait too long, seeds lose viability, and if you rush, they may still be too moist. I’ve learned that 3-5 days after vine death is ideal for harvesting pumpkins, but seed extraction should happen within 24-48 hours of cutting open the fruit.
Before you begin, gather your tools: a sharp knife, gloves (to protect from stringy pulp), a colander, and paper towels. Work in a clean, dry space to prevent contamination.
The process is simple, but each step—from cutting to drying—directly impacts your seed germination rates and storage success. Let’s break it down so you can maximize every seed!
How to Harvest Pumpkin Seeds
- 1 Cut open the pumpkin: Use a sterilized knife to slice the pumpkin in half horizontally. Place it on a clean cutting board or tray to catch seeds and pulp.
- 2 Scoop out seeds and pulp: Use a spoon to gently remove seeds along with the stringy fibrous pulp. Avoid pressing hard—this can damage seeds.
- 3 Rinse seeds thoroughly: Place seeds and pulp in a colander under running water. Rub gently to remove all pulp—this prevents mold during drying.
- 4 Separate seeds from pulp: Drain and transfer seeds to a clean towel. Pat dry with another towel to remove excess moisture—damp seeds spoil quickly.
- 5 Inspect and remove debris: Pick through seeds to discard any damaged or shriveled seeds. Healthy seeds are plump, firm, and free of cracks.
- 6 Dry seeds completely: Spread seeds on a paper towel-lined tray in a warm, dry place (like a sunny windowsill). Stir every 2-3 hours for even drying—aim for 5-7 days total.
One of my biggest mistakes early on was rushing the drying process. I thought seeds would dry faster in direct sunlight, but overheating can crack seed coats and reduce germination. Instead, I now use a dehydrator on low heat (95°F) or a well-ventilated indoor spot.
Test for dryness by pressing a seed—if it’s hard and doesn’t leave a mark, it’s ready!
After drying, store seeds in a paper envelope or airtight container with a silica gel packet to absorb moisture. Label with the pumpkin variety and harvest year—this helps track germination rates over time.
I’ve had seeds last up to 5 years with proper storage, though viability drops after 3 years.
Pro tip: Save a small sample of seeds for a germination test before storing the rest. Place 10 seeds between damp paper towels in a sealed bag.
After 5-7 days, count how many sprout—aim for 80%+ success for reliable planting. If results are poor, try drying seeds longer next time.
Harvesting pumpkin seeds is a rewarding skill that saves money and ensures heirloom varieties for future gardens. By following these steps, you’ll avoid common pitfalls like moldy seeds or low germination—and enjoy the bonus of homemade snacks!
Next, we’ll cover the best methods for long-term storage to keep your seeds viable year after year.
🎃
Best methods for cleaning, drying & storing pumpkin seeds long-term
Once you’ve harvested your pumpkin seeds, proper cleaning and drying are critical to prevent mold growth and maintain seed viability for years. Skipping these steps can turn your seeds into a mushy mess—so let’s dive into the proven techniques that work for me every year.
The key is controlling humidity levels and using the right drying methods to ensure your seeds stay fresh and ready for planting.
After scooping out seeds, I always rinse them under cool water to remove the sticky pulp residue. This step is non-negotiable—leftover pulp attracts mold and pests. Next, I spread the seeds on a clean kitchen towel or paper towel to air-dry for 24 hours.
This initial drying removes excess moisture before moving to a more controlled environment. For best results, place the towel in a well-ventilated area away from direct sunlight.
| Method | Drying Time | Humidity Control | Best For |
|---|---|---|---|
| Paper Towel | 24-48 hours | Low humidity | Quick initial drying |
| Oven (Low Heat) | 2-4 hours | Controlled environment | Fast drying in cold climates |
| Dehydrator | 4-6 hours | Consistent airflow | Large batches |
| Sun-Drying | 3-5 days | Outdoor conditions | Warm climates only |
For long-term storage, I transfer the fully dried seeds into airtight containers like glass jars or mylar bags. These containers block moisture and light, two enemies of seed viability. I always label each container with the pumpkin variety and the harvest year to keep my seed collection organized.
Store the containers in a cool, dark place like a pantry or basement, where temperatures stay between 40-50°F.
To test seed viability before planting, I perform a simple germination test. Place 10 seeds between damp paper towels in a sealed bag. Keep them in a warm spot for 5-7 days. If 80% or more sprout, your seeds are ready for planting.
This test saves me from wasting time with seeds that might not germinate. If viability drops below 50%, I’ll try stratification—a cold treatment—to encourage sprouting.
Properly stored pumpkin seeds can last 3-5 years without losing viability. I’ve successfully grown pumpkins from 5-year-old seeds, though germination rates may drop slightly. The key is consistency—dry thoroughly, store properly, and test before planting.
With these methods, you’ll have a reliable source of organic seeds for years to come.
Don’t forget to roast a small batch of seeds for snacks while you’re at it—just save the best seeds for planting! 🎃