
How To
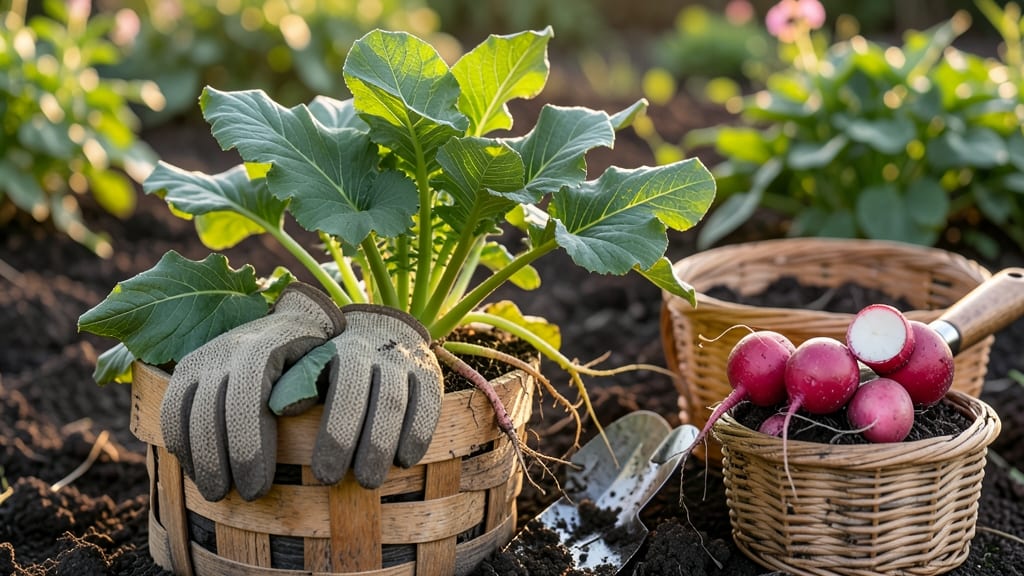
To harvest radishes at their crisp, sweetest peak, pull them when they reach 1-2 inches in diameter and the skin resists gentle pressure—any later and they turn woody.
Radishes are one of the fastest-growing vegetables in your garden, but timing their harvest wrong can turn crisp, sweet roots into tough, pithy disappointments.
You might think bigger means better, but overgrown radishes lose their signature snap and develop a bitter edge. The key is watching for those telltale signs: deep color, a firm but not hard texture, and leaves that haven’t yellowed yet.
In this guide, I’ll walk you through the exact steps to harvest your radishes—when to pull them, how to do it gently, and what to do next to keep them fresh for weeks.

The perfect time to harvest radishes for maximum crispness and flavor
Radishes are one of the quickest rewards in your garden, but knowing when to harvest makes all the difference between a crisp, sweet bite and a woody, pithy disappointment.
Most varieties mature in just 20-30 days, so timing is everything. The key lies in watching for visual maturity signs and understanding how different radish types behave.
Fast-growing varieties like Cherry Belle or Easter Egg reach harvest size in about 25 days, while slower types such as Black Spanish or Daikon may need up to 60 days.
Always check your seed packet for variety-specific guidelines, but don’t rely solely on days—physical cues are your best indicator of readiness.
Here’s a quick reference for the most reliable harvest readiness signs:
| Sign | Description | Action |
|---|---|---|
| Size | 1-2 inches in diameter (standard varieties) or ½ inch (small types) | Harvest when roots fill the expected size range |
| Color | Deep, consistent hue (no green tops left too long) | Pull when color matches variety’s mature shade |
| Firmness | Skin resists gentle pressure (firm but not hard) | Test with fingers—like a ripe apple |
| Leaf Condition | Leaves begin to yellow if left too long | Harvest before yellowing starts |
| Soil Check | Green stem end is no longer visible (fully buried) | Dig gently to confirm root size |
One of the biggest mistakes gardeners make is waiting too long to harvest radishes. When roots overgrow, they develop a wooden core and lose their signature crunch.
I’ve seen even the most eager gardeners pull radishes that were three times their intended size, only to find them tough and bitter. Always harvest when the roots reach their expected mature size, even if it means pulling some early.
For fast-growing varieties, I recommend checking the soil every 5-7 days starting around day 20. Use a small trowel to gently loosen the soil and check a few roots—this is called test harvesting.
If they’re ready, harvest the entire batch immediately. For slow-growing types, wait until day 30 or until the roots are noticeably larger than your fingers.
Another pro tip: Harvest in the morning when temperatures are cooler. This preserves moisture and keeps the roots crisp and fresh longer. Avoid harvesting after heavy rain, as wet soil can make the roots muddy and prone to rot.
Always use a sharp knife or garden fork to lift radishes gently from the soil to prevent damage.
If you notice uneven ripening in your radish patch, it’s often due to inconsistent soil moisture or uneven planting depth. To fix this, water consistently and plant seeds at the same depth (½ inch) for uniform growth.
Some gardeners also use succession planting, sowing new seeds every 2 weeks to ensure a steady harvest window.
Finally, don’t forget about the greens! Radish tops are edible and packed with nutrients. If you’re not using them, consider composting them or sharing them with neighbors who might appreciate a free harvest.
Just remember, once you pull the root, the greens will wilt quickly—use them within a day or two for the best flavor.
Timing your radish harvest correctly ensures you’ll enjoy crisp, sweet roots all season long. With these tips, you’ll never again end up with a batch of overgrown, tough radishes—just perfect, flavorful bites straight from your garden. Happy harvesting! 🥕
Step-by-step radish harvesting techniques to preserve root integrity
Harvesting radishes at the right time ensures crisp, sweet roots instead of tough, woody ones. The key lies in gentle extraction and proper handling to avoid bruising. Whether you're a beginner or seasoned gardener, these techniques will help you pull perfect radishes every time.
Timing is everything—waiting too long turns radishes bitter, while harvesting too early means small, underdeveloped roots. Check maturity by size (1-2 inches for standard varieties) and color (deep, consistent hues). Once ready, use the right tools and methods to preserve their integrity.
How to Harvest Radishes
- 1 Choose the right tool: Use fingers for loose soil or a fork for compacted soil. Avoid sharp tools that can puncture roots.
- 2 Loosen the soil: Gently loosen soil around the radish with your fingers or fork. Work slowly to avoid damage.
- 3 Grip the greens: Hold the leafy tops firmly and pull upward with steady pressure. The root should slide out easily.
- 4 Inspect for damage: Check for bruises or cuts. Discard any damaged radishes immediately to prevent spoilage.
- 5 Clean gently: Rinse radishes under cool water to remove dirt. Use a soft brush for stubborn soil, but avoid scrubbing the skin too hard.
After harvesting, store radishes in the crisper drawer of your fridge for up to 2 weeks. For longer storage, trim the greens and store roots in a perforated plastic bag with a damp paper towel to retain moisture. Avoid washing until ready to use to prevent mold.
Common mistakes like pulling too early or using improper tools can ruin your harvest. Always check for maturity signs and handle radishes with care. With these techniques, you’ll enjoy crisp, flavorful radishes all season long.
Pro tip: Save the greens for regrowth! Place the trimmed radish tops in water, and they’ll regrow into edible microgreens in just a few days.