
How To
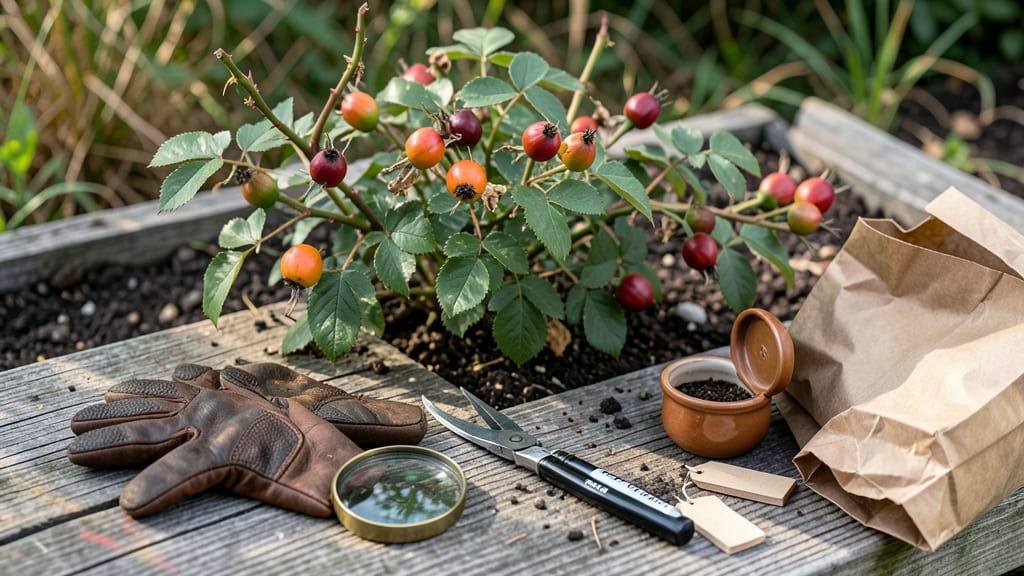
Harvesting rose seeds from ripe hips is the simplest way to grow new 🌹 plants from your existing garden favorites—and it only takes 4 easy steps once you know when to look.
Did you know that every rose hip hiding in your garden holds the potential to grow a new rose plant? Harvesting rose seeds is a rewarding way to propagate your favorite roses—but timing and technique are everything.
Most gardeners overlook the hips until they’re past their prime, missing the perfect window for seed extraction. The key is waiting until they turn deep red or orange and feel soft when squeezed, usually in late fall or early winter.
In this guide, I’ll walk you through how to collect, clean, and store rose seeds for the highest chance of germination—plus, how to troubleshoot common mistakes that kill viability.

When and how to collect rose hips for maximum seed viability
Did you know that every rose hip hiding in your garden holds the potential to grow a new rose plant? Harvesting rose seeds is a rewarding way to propagate your favorite roses—but timing and technique are everything.
The best time to collect rose hips is between late fall and early winter, when the hips have fully ripened and the seeds reach peak viability. This window ensures you capture seeds at their most robust stage before they dry out or lose potency.
Identifying ripe rose hips is the first critical step. Look for hips that have turned a deep red, orange, or yellow color and feel slightly soft when gently squeezed. They should also begin to wrinkle slightly and detach easily from the stem.
These visual and tactile cues signal that the seeds inside are ready for harvest and will have the highest germination potential.
Timing your harvest correctly is essential because rose hips contain cyanogenic glycosides, which can affect seed viability if collected too early. Waiting until after the first frost—typically in November or December—allows the hips to fully mature while minimizing the risk of mold or rot.
This patience ensures you’re working with seeds that are primed for successful germination.
Gathering rose hips should be done carefully to avoid damaging the seeds inside. Use clean pruning shears or gloves to pick the hips directly from the stem, placing them in a breathable container like a paper bag or mesh sack. Avoid plastic bags, as they can trap moisture and encourage mold growth during storage.
Once collected, store the hips in a cool, dry place with good airflow, such as a well-ventilated basement or garage. This environment prevents premature drying or spoilage while maintaining seed viability.
Keep them away from direct sunlight and extreme temperatures, as these conditions can degrade the seeds before you’re ready to extract them.
| Stage | Action | Timing |
|---|---|---|
| Identify Ripe Hips | Check for deep color, soft texture, and slight wrinkling | Late fall (Nov-Dec) |
| Collect Hips | Use clean shears; store in breathable container | After first frost |
| Store Hips | Keep in cool, dry, well-ventilated space | Until seed extraction (winter) |
| Prepare for Extraction | Allow hips to dry naturally before opening | Early spring (Jan-Feb) |
If you’re harvesting hips from hybrid roses, be aware that their seeds may not produce plants identical to the parent due to hybrid vigor. However, wild or species roses often yield true-to-type offspring, making them ideal for seed collection.
For best results, focus on hips from healthy, disease-free plants, as these will produce the most vigorous seeds.
To maximize seed viability, avoid harvesting hips that show signs of pest damage or fungal spots. Damaged hips may contain compromised seeds or attract mold during storage. If you notice any discoloration or unusual textures, discard those hips immediately to protect the quality of your entire collection.
Once you’ve gathered your hips, resist the urge to open them right away. Allow them to dry naturally for 1-2 weeks in a dry, shaded area before extracting the seeds. This drying period reduces moisture content, making the seeds easier to separate and less prone to spoilage during storage.
Proper storage is the final key to maintaining seed viability. Place dried hips in paper envelopes or breathable cloth bags and store them in a dark, cool place like a refrigerator or seed vault.
Label each bag with the rose variety and harvest date to track freshness. Under these conditions, rose seeds can remain viable for 1-2 years, though germination rates decline over time.
By following these steps, you’ll ensure your rose seeds are collected at peak viability, setting the stage for successful germination and the growth of new rose plants.
Whether you’re propagating heirloom varieties or experimenting with wild roses, mastering this process unlocks a world of gardening possibilities—all from the humble rose hip.
Step-by-step guide to extracting seeds from rose hips at home
Once you've collected your ripe rose hips, the real magic happens when you extract those tiny seeds. This process transforms your fall harvest into future rose plants—if done correctly.
The key lies in gentle handling and patience, as rose seeds are delicate and require careful separation from the hip pulp and outer flesh.
Before diving in, gather your tools: a sharp knife or scissors, a bowl of cool water, a colander, paper towels, and a small container with ventilation holes for drying.
Safety first! Wear gloves if you're sensitive to rose prickles, and work in a well-ventilated area to avoid inhaling hip pulp dust.
How to Harvest Rose Seeds: Step-by-Step
-
Step 1: Rinse the Hips
Place 20-30 rose hips in a bowl of cool water for 5 minutes to soften the outer flesh. This makes the seeds easier to separate. -
Step 2: Slice Open the Hips
Use a sharp knife to make a small cut along the hip seam. Gently squeeze to pop open the seed pod inside. Avoid crushing the seeds! -
Step 3: Extract the Seeds
Rinse the opened hips under running water to remove pulp and debris. The seeds will sink to the bottom—use your fingers to separate them from the flesh. -
Step 4: Dry the Seeds
Spread seeds on a paper towel in a single layer. Place in a warm, dry location (like a sunny windowsill) for 3-5 days, flipping daily to prevent mold. -
Step 5: Store for Germination
Once completely dry, transfer seeds to a paper envelope or breathable container. Label with the rose variety and harvest date. Store in a cool, dark place (like a fridge) for up to 2 years.
Hybrid roses often produce sterile seeds, meaning they won’t grow true to the parent plant. For reliable results, focus on wild or heirloom roses, which yield viable seeds with higher germination rates.
If your seeds don’t sprout after 6-8 weeks, they may need stratification (a cold treatment to break dormancy).
Troubleshooting is part of the process! If seeds stick together, soak them in lukewarm water for 12 hours to loosen the mucilage. Discard any seeds that appear discolored or shriveled—these won’t germinate. Patience is key; even the best seeds may take 3-4 months to sprout.
With these steps, you’ll unlock the potential of your rose garden—turning humble hips into new life for next season’s blooms. Happy harvesting! 🌹