
How To
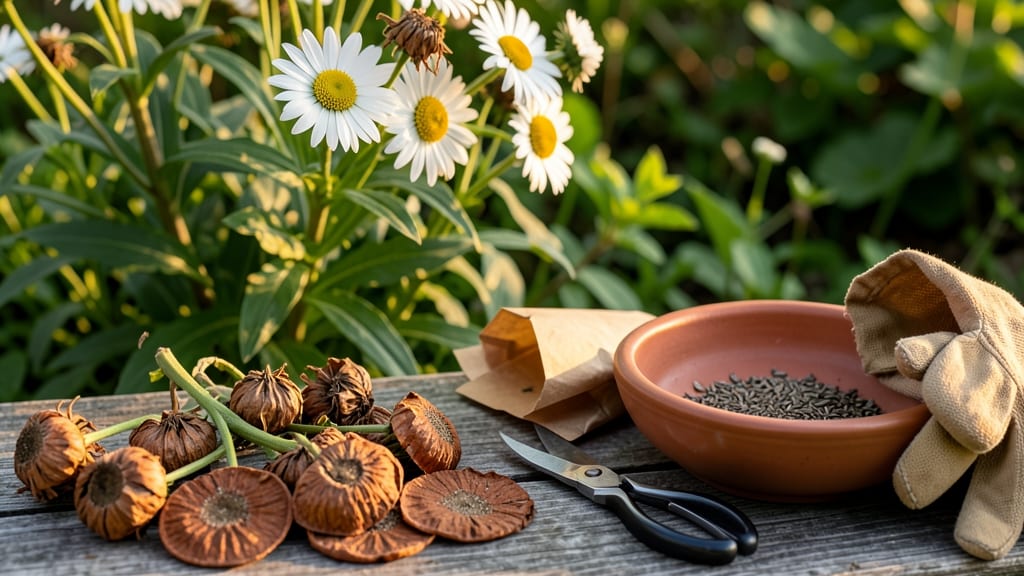
Harvesting Shasta daisy seeds at the right time ensures viable germination for next year’s blooms—miss the window, and you’ll end up with seeds that won’t sprout.
Picture this: you’ve spent all spring nurturing your 🌼 Shasta daisies, only to watch them fade into brown seed heads. But not all of those seeds are ready to collect. Cutting too early means immature seeds; waiting too long risks losing them to wind or pests.
The key is knowing exactly when those seed heads are fully mature—and how to handle them once you’ve got them.
In this guide, I’ll walk you through the step-by-step process of identifying ripe seed heads, harvesting them properly, and storing them for the best chance of success. Whether you’re a first-time gardener or a seasoned pro, these tips will help you avoid common mistakes that kill germination.
By the end, you’ll know when to cut, how to dry seeds correctly, and even how to test their viability before planting. Ready to save money and expand your garden? Let’s get started.

When to harvest Shasta daisy seeds for maximum germination success
Timing is everything when harvesting Shasta daisy seeds—cut too early, and the seeds won’t germinate; leave them too long, and they’ll scatter or lose viability. The ideal window is late summer to early fall, typically August through October in USDA Zone 6a.
This aligns with the plant’s natural cycle when flower heads mature and seeds reach peak germination potential.
Look for fully brown, papery seed heads that feel dry to the touch. The central disk should turn from green to a deep brown, and the petals will have fallen off naturally.
If you shake the head and hear a faint rattling sound, that’s your cue—seeds are ready for harvest. Ignoring these signs often leads to premature seed drop or moldy seeds.
Weather plays a critical role too. Harvest on a dry, sunny day with temperatures between 60°F and 75°F. Humidity can cause seeds to mold, while rain may make them too damp for proper drying.
Avoid harvesting after a heavy dew or if frost is forecasted within 48 hours—this can ruin your seed stash before it even dries.
Here’s a quick reference to help you spot the perfect moment:
| Stage | Visual Cues | Action | Best Time |
|---|---|---|---|
| Early Bloom | Bright white petals, green central disk | Do nothing—seeds aren’t mature | June-July |
| Late Bloom | Petals wilt and fall, disk turns brown | Monitor for full maturity | July-August |
| Seed Maturity | Completely brown head, rattling seeds, dry texture | Harvest and dry immediately | August-October |
| Overripe | Head cracks open, seeds scatter, or mold appears | Too late—discard or compost | Late October+ |
Pro tip: Use a pair of clean pruning shears to snip the seed heads just above the first set of leaves. This prevents damage to the plant and makes drying easier.
Place the cut heads in a paper bag (not plastic!) to allow airflow while you transport them to your drying station.
If you’re unsure whether a seed head is ready, perform the "shake test". Hold the head over a sheet of paper and give it a gentle shake.
If brown seeds rain down, they’re ready. If green or partially brown seeds fall, wait 3-5 more days before harvesting. Patience here ensures higher germination rates later.
One common mistake is harvesting seeds from overcrowded plants. If your Shasta daisies are packed too tightly, some flower heads may not mature properly due to competition for nutrients.
Thin out excess stems in early summer to give remaining blooms room to develop plump, viable seeds. This simple step can double your seed yield!
Finally, avoid harvesting seeds from hybrid varieties if you want true-to-type plants. Many Shasta daisies sold commercially are hybrids, meaning their seeds won’t grow into identical parents. Stick to heirloom or open-pollinated varieties for reliable seed-saving results. Always check the plant tag or do a quick online search to confirm.
Once you’ve identified the perfect seed heads, the next step is proper drying. Spread the heads out in a single layer on a screen or mesh tray in a warm, dry, and well-ventilated area.
Avoid direct sunlight, which can overheat the seeds and reduce viability. With these steps, you’ll be ready to store your seeds for next spring’s planting.
Step-by-step guide to cutting and processing Shasta daisy seeds
Once you’ve identified your Shasta daisy seed heads are fully mature, the next step is harvesting them properly to preserve viability. Cutting too early or too late can drastically reduce your germination rates, so timing and technique matter.
I’ll walk you through the entire process—from gathering the right tools to storing seeds for next year’s garden.
Start by selecting healthy seed heads that are completely brown and dry, with seeds that rattle when shaken. Avoid any heads showing signs of mold or pests, as these can contaminate your entire seed batch.
On a dry, sunny day, use clean, sharp tools to ensure a clean cut that won’t damage the remaining plant or seed pods.
How to Harvest Shasta Daisy Seeds
- 1 Gather your tools: You’ll need clean pruning shears, a paper bag, and a permanent marker for labeling. Avoid metal containers to prevent moisture buildup.
- 2 Cut the seed heads: Snip the entire flower head (about 4-6 inches from the base) when fully brown and dry. Place each head in a labeled paper bag to keep seeds contained.
- 3 Dry the seed heads: Store bags in a cool, dry place (like a garage or shed) for 1-2 weeks. This allows seeds to fully dry out before processing. Avoid direct sunlight to prevent overheating.
- 4 Extract the seeds: Once dry, gently rub the flower heads between your fingers or use a fork to separate seeds from chaff. Sift through a fine mesh sieve to remove debris.
- 5 Test viability: Place 10 seeds on a damp paper towel in a sealed bag. Store in a warm location for 7-10 days. If 50% or more sprout, your seeds are viable for planting.
- 6 Store seeds properly: Transfer viable seeds to an airtight container with a silica gel packet to absorb moisture. Label with the harvest date and store in a cool, dark place for up to 2 years.
After processing, you’ll want to test seed viability before planting. Place a small sample of seeds in a damp paper towel and keep them in a warm, dark location.
If at least half sprout within 10 days, your seeds are ready for planting. This simple test saves you from wasting time on non-viable seeds.
Store your Shasta daisy seeds in a sealed container with a moisture absorber, like silica gel packets, to extend their shelf life. Label each container with the variety name and harvest year to keep track of your collection.
With proper storage, these seeds can remain viable for up to 2 years, giving you plenty of time to plan your next planting season.
Once your seeds are stored, you’re ready to sow them in early spring. Shasta daisies grown from seed may take 2-3 years to reach their full mature size, but the wait is worth it for the stunning blooms they’ll produce. Happy harvesting!