
How To
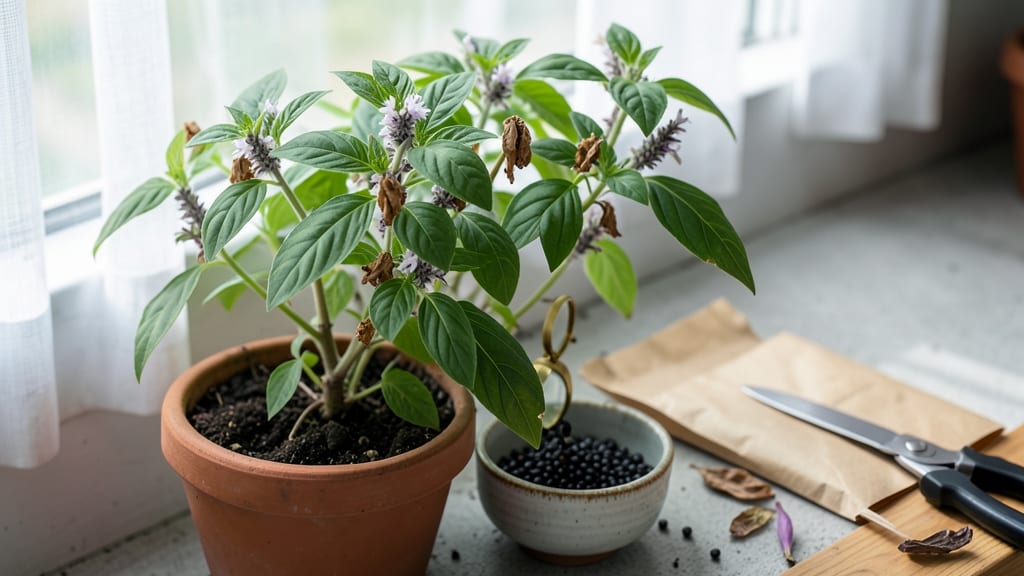
Harvesting Thai basil seeds 🌿 from those delicate white flowers is your ticket to free, homegrown plants for years—but timing and technique make all the difference.
You might think any seeds will do, but Thai basil’s seed pods need to dry just right before you collect them. Skip this step, and you’ll end up with moldy seeds or poor germination.
The secret? Watching for the perfect moment when flowers turn white, then waiting for the pods to brown and crack open.
In this guide, I’ll walk you through the exact visual cues to spot ripe seed pods, the best drying methods (including air-drying vs. paper bags), and how to store them for the highest germination rates.
You’ll also learn how to test seed viability before planting—so you’re not left with dead starts.
By the end, you’ll know the best time to harvest, how to avoid common mistakes, and even how to troubleshoot if your seeds aren’t cooperating. Ready to turn those flowers into next year’s garden?

When and how to spot Thai basil flowers ready for seed harvesting
Harvesting Thai basil seeds at the perfect moment ensures high germination rates and healthy new plants. The key is watching for flower color changes from white to dry brown—this signals seeds are mature. Miss this window, and you’ll either harvest seeds too early (underdeveloped) or too late (scattered by wind).
Thai basil produces two types of stems: those bearing leaves for cooking and others with seed-bearing flowers. The seed stems are thinner, with small white blooms that eventually turn brown. Prune leaf-heavy stems to redirect energy toward seed production if you’re prioritizing seeds.
Start monitoring your Thai basil plants in late summer (around August) when flowers first appear. The transition from white blooms to brown seed pods happens quickly—often within 7-10 days—so check daily. Use a magnifying glass to spot tiny seeds forming inside pods.
| Stage | Visual Cues | Action Required |
|---|---|---|
| Early Bloom | White flowers appear | Monitor daily for color change |
| Transition | Flowers turn pale yellow | Stop harvesting leaves |
| Seed Maturity | Pods turn brown, crack open | Harvest immediately |
| Overripe | Seeds scatter, pods empty | Too late—no viable seeds |
Pay close attention to the stem texture—mature seed-bearing stems feel dry and papery when rubbed between fingers. If stems snap easily, seeds are ready. Avoid harvesting if stems bend without breaking, as seeds may still need time to mature.
Distinguish seed stems from leaf stems by their height and branching. Seed stems grow straight and tall (up to 2 feet), while leaf stems bush out wider. Use pruning shears to cut seed stems at the base when pods turn brown, leaving leaf stems intact for continued harvests.
Harvest on a dry, sunny morning to prevent humidity from causing mold. Lay cut stems on brown paper bags or newspaper in a well-ventilated area (like a garage or shed) for 1-2 weeks. Shake pods gently daily to release seeds—this mimics natural wind dispersal.
Test seed readiness by gently crushing a brown pod. If it releases tiny black seeds, they’re ready for storage. If pods are still green inside, wait 3-5 more days. Store seeds in a paper envelope in a cool, dark place for up to 2 years.
Pro tip: Label your seed envelopes with the harvest year and variety (e.g., "Thai Basil 2024"). This prevents mix-ups and helps track germination rates over time. Plant a few seeds immediately to test viability before storing the rest.
If you miss the seed harvest window, don’t worry—Thai basil plants often rebloom in fall, giving you a second chance. Just prune back leaf stems to encourage new flower growth. With practice, you’ll spot the perfect moment every time!
Step-by-step guide to collecting and drying Thai basil seeds for planting
Once your Thai basil plants produce those signature white flowers, you’ve got a golden opportunity to harvest seeds for next season’s garden. The key is acting at the right moment—too early, and the seeds won’t be viable; too late, and they’ll scatter before you can collect them.
I’ve learned this the hard way, so let me walk you through the perfect timing and methods to ensure high-quality seeds ready for planting.
Start by selecting only the healthiest stems with fully bloomed white flowers that have begun to wilt. These are your seed-bearing stems, and they’ll produce the best germination rates. Avoid cutting stems with green buds—they won’t yield mature seeds.
Use clean, sharp pruning shears to make a clean cut just above the leaf node, leaving the rest of the plant to keep producing leaves for your kitchen.
- Step 1: Cut flowering stems when white flowers wilt and turn slightly brown. Look for hardened seed pods forming at the base of the flowers.
- Step 2: Bundle 5-10 stems together and hang upside down in a dry, well-ventilated area (like a paper bag or mesh bag). Avoid plastic bags to prevent mold.
- Step 3: Let seeds dry for 2-3 weeks until pods turn brown and crispy. Gently crush pods to release seeds—this ensures maximum viability.
- Step 4: Store seeds in a paper envelope or glass jar with a silica gel packet to absorb moisture. Label with the harvest date for tracking.
- Step 5: Test seed viability by placing 10 seeds on damp paper towels. If 50%+ sprout within 7-10 days, your seeds are ready to plant!
For faster drying, I recommend using paper bags instead of air-drying on stems. Place the cut stems in a paper bag, tie it loosely, and hang it upside down.
This method speeds up the process and keeps seeds contained. Just be sure to check daily for mold or pests—a damp environment is their playground.
Proper storage conditions are non-negotiable. Once dried, transfer seeds to an airtight container with a moisture absorber. Store in a cool, dark place (like a pantry) where temperatures stay between 40-50°F. Viable seeds can last 2-3 years if stored correctly, though germination rates drop after the first year.
Before planting, always test a few seeds to confirm viability. Place them on a damp paper towel in a warm location (like on top of your fridge).
If most seeds sprout within 7-10 days, you’re good to go. If fewer than 50% sprout, consider refreshing your seed stock or adjusting storage conditions.
Remember, patience is key—rushing the drying process or skipping the viability test can lead to disappointing germination rates. With these steps, you’ll have a reliable supply of Thai basil seeds ready to grow into lush plants for your garden next season. Happy seed saving! 🌱💧