
How To
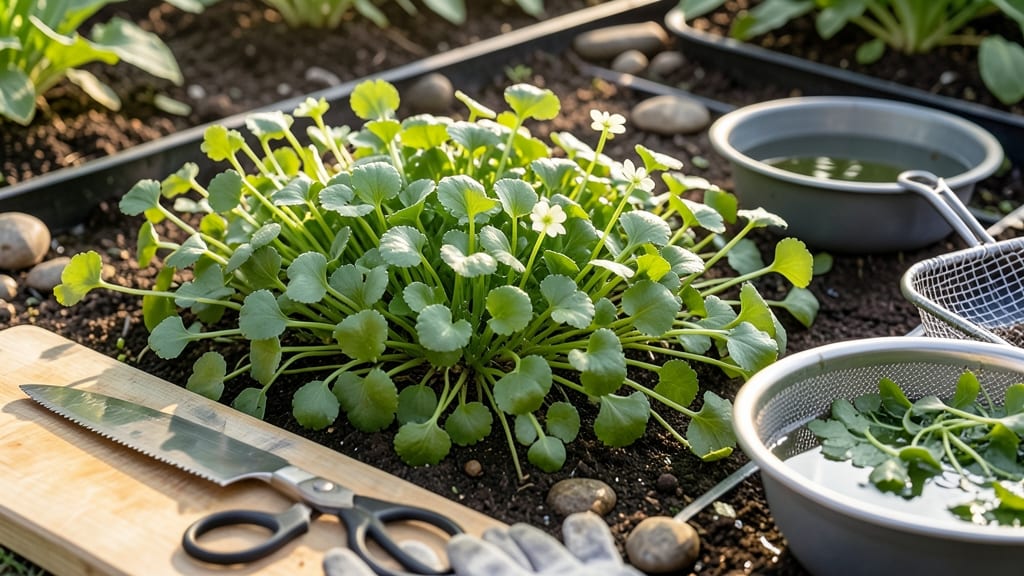
To harvest watercress at its peak flavor and texture, focus on young leaves and stems before they flower—this is the key to unlocking its signature peppery kick.
Watercress isn’t just a nutrient-packed superfood—it’s also one of the easiest greens to harvest, but timing is everything to unlock its boldest flavor and most vibrant texture. 🌱 One wrong move, and you’ll end up with bitter, tough leaves that taste more like overcooked spinach than the fresh, crisp green you crave.
Most gardeners assume you can just snip and go, but the real secret lies in knowing when to cut and how to do it without stunting future growth. A little patience here saves you from a patch of sad, leggy plants that never bounce back.
In this guide, I’ll walk you through the 3 clear signs your watercress is ready, the best tools to use, and how to harvest it again and again without sacrificing your plant’s health—or its flavor.

3 Clear signs your watercress is ready for harvesting
Harvesting watercress at the right moment transforms it from a simple green to a flavor-packed superfood with crisp texture. The key lies in recognizing three visual and tactile cues that signal peak readiness.
These indicators ensure you're picking your plants when they're most vibrant and nutritious, not before they've fully developed or after they've started to bolt.
First-time growers often wonder how to distinguish between immature leaves that are too small and overgrown plants that have lost their delicate flavor. The secret is in the leaf size, stem firmness, and color intensity—all of which I’ll break down in detail below.
Mastering these signs will help you harvest consistently throughout the growing season while encouraging your watercress to regrow lushly for your next harvest.
- 1 Leaf Size: Leaves should be 2-4 inches long with deep, vibrant green color. Smaller leaves (under 2 inches) are still developing their full flavor profile, while larger leaves may become bitter or tough.
- 2 Stem Firmness: Gently pinch a stem—it should bend easily without snapping. Woody or tough stems indicate the plant is past its prime, while stems that break too easily suggest the plant is still too young.
- 3 Aroma Test: Crush a leaf between your fingers—ready-to-harvest watercress releases a fresh, peppery scent. A lack of aroma means the plant isn’t fully mature, while a rancid or musty smell signals it’s overgrown.
Timing your harvest based on these three clear indicators ensures you're always picking watercress at its peak. For example, I once harvested a batch too early because the leaves were just 1.5 inches long, and the flavor was disappointingly mild.
The next time, I waited until the leaves reached 3 inches and noticed a noticeable difference in taste and texture. This simple adjustment made all the difference in my salads!
Another pro tip: Always harvest watercress before flower buds appear. Once your plants start bolting, the leaves become bitter and stringy, ruining their delicate flavor. I recommend checking your plants every 5-7 days during peak growing season (May-October) to catch that sweet spot between underdeveloped and overgrown.
For continuous harvests, never take more than one-third of the plant at a time. This practice encourages regrowth while maintaining the plant's vigor. I’ve found that watercress grown in shallow water (1-2 inches deep) tends to regrow faster than those in soil, possibly because the roots stay consistently moist.
If you’re growing in containers, this method works particularly well for urban gardeners with limited space.
Color is another critical factor—dark green leaves with slight red veins indicate optimal maturity. Pale or yellowing leaves suggest nutrient deficiencies or too much sun exposure, while leaves with brown edges may be suffering from overwatering or drought stress.
I once had a batch turn slightly purple in hot afternoons, which I later learned was a sign of heat stress. Providing afternoon shade solved the issue and kept my watercress looking vibrant.
One common mistake I see is waiting until the entire plant looks ready before harvesting. Instead, focus on individual leaves and stems—mature leaves can be picked while others continue growing. This approach gives you a steady supply throughout the season.
For example, in my garden, I’ll harvest the outer leaves first, allowing the inner growth to mature while I enjoy fresh greens every few days.
Finally, pay attention to the time of day when you harvest. Early morning is ideal because the leaves are crispest and most flavorful after a night’s rest. If you harvest in the afternoon, the leaves may wilt faster, especially in hot weather.
I always rinse my freshly picked watercress in cool water to remove any dirt or pests before storing it in the fridge for up to 5-7 days.
By mastering these three signs—leaf size, stem firmness, and aroma—you’ll never miss a harvest window again. Your watercress will stay productive, flavorful, and ready to elevate everything from salads to sandwiches all season long. 🌿
Step-by-step watercress harvesting techniques for maximum yield
Harvesting watercress the right way ensures you get bold flavor and continuous regrowth—not a single, sad harvest that leaves your plant struggling. The key is to use gentle techniques that encourage new growth while avoiding stress to the plant.
Unlike many greens, watercress thrives when harvested regularly, so mastering these methods will keep your patch productive all season long.
I’ve found that most gardeners make one of two mistakes: either they yank the whole plant out by accident, or they wait too long, letting the leaves turn bitter. Both approaches waste your hard work.
Instead, focus on selective harvesting—taking only what you need while leaving enough behind to keep the plant happy and growing. This method works whether you’re growing watercress in shallow water, moist soil, or containers.
-
Step 1: Choose the Right Tools
Use a pair of sharp scissors or clean pruning shears to avoid crushing stems. I recommend sterilizing your tools with rubbing alcohol before use to prevent disease spread.
-
Step 2: Identify Ready Leaves
Look for 2-4 inch leaves with dark green color and tender stems. Avoid harvesting leaves with visible flower buds—they’ll taste bitter and won’t regrow well.
-
Step 3: Cut at the Base
Hold the leaf stem at a 45-degree angle and cut just above the soil line or water surface. This encourages new side shoots to grow from the base, giving you a bushier plant.
-
Step 4: Harvest Strategically
For maximum yield, harvest outer leaves first, leaving the inner, younger growth intact. This method mimics natural pruning and keeps your plant productive for 6-8 weeks or longer with proper care.
-
Step 5: Time Your Harvests
Harvest in the morning after dew dries for the freshest flavor. Avoid harvesting in extreme heat, which can stress the plant. In cooler climates, you can extend harvests into early fall before frost.
-
Step 6: Post-Harvest Care
After harvesting, give your watercress a light watering to encourage regrowth. Remove any yellow or damaged leaves to prevent pests and diseases from taking hold.
One of the biggest misconceptions about watercress is that you have to harvest all the leaves at once. In reality, partial harvesting is the secret to a continuous supply. I’ve seen gardeners double their yield simply by switching from full harvests to selective cutting.
Even better, this method keeps the plant compact and flavorful, rather than letting it bolt into tough, woody stems.
Seasonal timing also plays a role in your success. In spring and early summer, watercress grows rapidly, so you can harvest every 7-10 days without issue. As temperatures rise in late summer, growth slows, and you’ll need to space harvests out to every 2-3 weeks.
Always check for new growth before harvesting again—if the plant looks leggy or sparse, it’s time to let it recover.
Remember, watercress is a cut-and-come-again crop, meaning the more you harvest correctly, the more you’ll get in return. With these techniques, you’ll enjoy fresh, peppery watercress straight from your garden for weeks—no bitter surprises here! 🌿