
How To
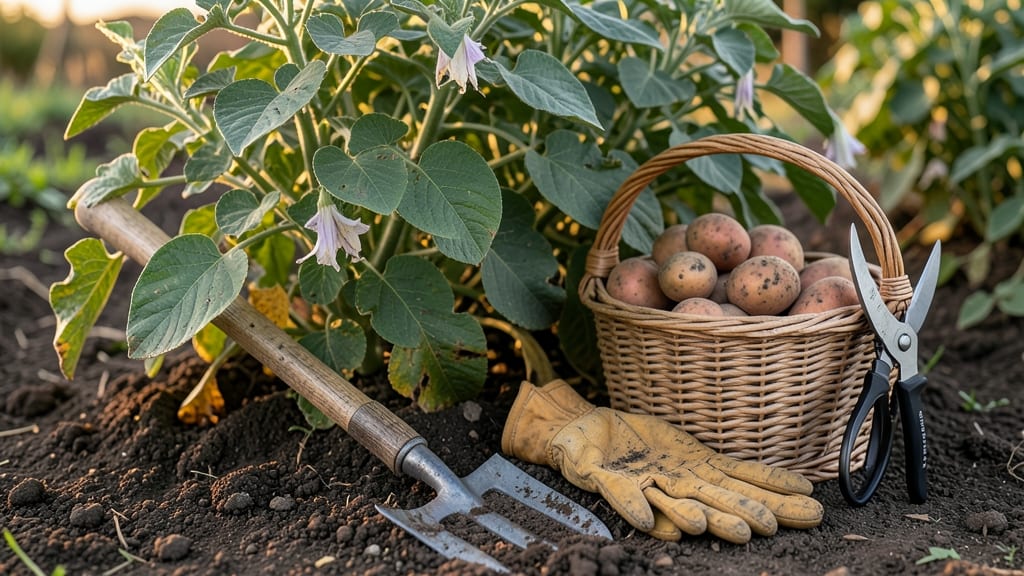
Harvesting russet potatoes at the right time ensures you get flavorful, crisp tubers—not small, watery ones or mealy leftovers.
Picture this: you dig up your 🥔 potatoes, only to find they’re still green or barely sized. Or worse, they’ve sprouted in storage. Timing is everything, and the skin snap test is your secret weapon for knowing exactly when to pull them.
Most russets are ready 90 to 120 days after planting, but don’t rely solely on the calendar. Instead, watch for yellowing foliage and that telltale skin that resists pressure—no more digging until then.
In this guide, I’ll walk you through the perfect harvest window, how to dig without damaging tubers, and what to do if you’re too early or too late. Let’s make sure your potatoes are golden, firm, and ready for storage!

When to harvest russet potatoes: the skin snap test & other key signs
Harvesting russet potatoes at the right time makes all the difference between crisp, flavorful tubers and disappointing mealy or sprouted potatoes. Most russets need 90-120 days from planting to reach peak maturity, but don't rely solely on days—watch for these key signs instead.
The skin snap test is my go-to method, but I also track foliage changes and soil conditions to avoid mistakes.
Start by checking your potatoes' foliage health. When the leaves yellow and die back naturally (a process called senescence), it's a strong signal that the tubers below are ready. This usually happens 2-3 weeks before the first frost in your region.
In warmer climates, this might occur as early as late summer, while cooler zones may see harvests stretching into early fall.
| Sign | Description | Action |
|---|---|---|
| Skin Snap Test | Press thumbnail into skin—it should resist and snap like a dry twig | Ready to harvest |
| Foliage Color | Leaves turn yellow-brown and wilt naturally | Harvest in 1-2 weeks |
| Stem Condition | Stems brown and dry at base | Ideal harvest window |
| Tuber Size | Tubers are firm and well-formed (3-6 inches) | Dig immediately |
| Soil Temp | Soil cools to 50-60°F at night | Final harvest time |
The skin snap test is my favorite trick for confirming readiness. Gently press your thumbnail into a potato's skin—if it resists pressure and makes a clean snap sound, it's ready. If the skin punctures easily, wait another week.
This test works best on tubers near the soil surface, so avoid digging blindly—always check a few first. For russets, I also look for thick, papery skin, which indicates full maturity.
Climate plays a huge role in timing. In short-season zones (USDA 3-5), russets often mature by late July to August, while longer growing seasons (USDA 6-10) can extend harvests until October or November.
Pay attention to your first frost date—russets need 2-3 weeks of warm soil before harvest to develop flavor. If frost threatens before maturity, dig early and cure the potatoes indoors to improve texture.
Don't ignore the weather forecast either. A sudden dry spell can stress plants, causing early foliage death, while excess rain may lead to disease. I always harvest russets 2-3 days after rain to let the soil dry slightly, making tubers easier to dig without damage.
If your area gets hot afternoons, harvest in the morning to prevent sunburn on exposed tubers.
One common mistake is harvesting based on flowering alone. While russet flowers signal maturity, they don't guarantee tuber readiness. Some varieties bloom early but keep producing tubers for weeks after.
Instead, combine flower presence with the skin snap test and foliage yellowing for accuracy. I've seen russets with perfect flowers but underdeveloped tubers—always dig a test potato to check!
For new gardeners, I recommend marking planting dates and tracking growth. Use a garden journal to note when foliage changes or flowers appear—this helps predict future harvests.
In my experience, russets planted in cool spring soil (50-60°F) mature faster than those in hot summer conditions, which can slow tuber development. Adjust your expectations based on your local climate patterns.
Finally, avoid the temptation to harvest all potatoes at once. Russets often produce multiple harvests over 2-3 weeks. Start with a small dig when the first signs appear, then check weekly.
This staggered approach ensures you get both small new potatoes (for early eating) and large mature tubers (for storage). Just remember: once the foliage dies completely, it's your last chance to harvest before the tubers start breaking down.
With these signs and a little patience, you'll master the perfect russet potato harvest every time. The key is observation—your plants will tell you exactly when it's time to dig! 🥔
How to properly dig up russet potatoes without damaging tubers
Harvesting russet potatoes at the right time ensures flavorful, crisp tubers instead of mealy or sprouted ones. The key is patience—wait until foliage yellows and the skin snaps easily when gently pressed.
Digging too soon leads to small potatoes, while waiting too long risks sprouting or rot. Follow these steps to harvest like a pro while keeping your tubers intact.
Before you dig, gather your tools: a sharp garden fork, gloves, a bucket or basket, and a soft cloth or burlap sack to handle the potatoes gently. Avoid using a shovel, as it can pierce tubers and cause bruising.
Work on a dry, sunny day to minimize soil clinging and speed up curing. Timing matters—harvest in the morning after a light rain for easier digging and cleaner potatoes.
Step-by-Step Russet Potato Harvest Guide
- 1 Prep the soil: Gently loosen the soil around the base of plants with your garden fork, inserting it 6-8 inches deep to avoid damaging tubers. Work in a circular motion to lift the soil without stabbing downward.
- 2 Lift tubers carefully: Grip the fork’s tines and lift the plant gently upward, shaking off excess soil. Avoid dropping potatoes or letting them roll on hard surfaces, which causes bruising. Place them in your bucket or burlap sack immediately.
- 3 Inspect for damage: Remove any small or misshapen tubers (they won’t store well) and set aside large, firm potatoes for curing. Trim off green stems or excess foliage with a clean knife, leaving a 1-inch stub to prevent rot.
- 4 Cure the potatoes: Spread tubers in a single layer in a cool, dark, dry place (60-70°F) for 7-10 days. This hardens the skin, improving storage life and flavor. Avoid direct sunlight or humidity, which causes greening or sprouting.
- 5 Store properly: After curing, store potatoes in a dark, well-ventilated area (like a paper bag or cardboard box) at 45-50°F. Avoid refrigeration, which turns starches to sugar, making them sweet and mealy.
After harvesting, resist the urge to eat your potatoes right away. The curing process is crucial for developing a thick, protective skin that prevents spoilage. Store them in a cool, dark place (like a basement or root cellar) where temperatures stay consistent and above freezing.
Check stored potatoes monthly for sprouts or soft spots, removing any affected tubers immediately to prevent rot from spreading.
If you’re harvesting russets in cooler climates, like USDA Zones 3-5, aim to finish digging before the first frost (typically mid-October). In warmer zones (Zones 6-10), you can harvest through early winter, but avoid digging in wet soil, which clumps and damages tubers.
Always rotate crops the following year to prevent disease buildup in the soil.
Pro tip: Save your largest, healthiest tubers for next year’s seed potatoes. Cut them into 1-ounce pieces with at least one “eye” each, let them cure for 24 hours, and store in a cool, dark place until planting. This ensures strong, disease-free starts for your next harvest.