
How To
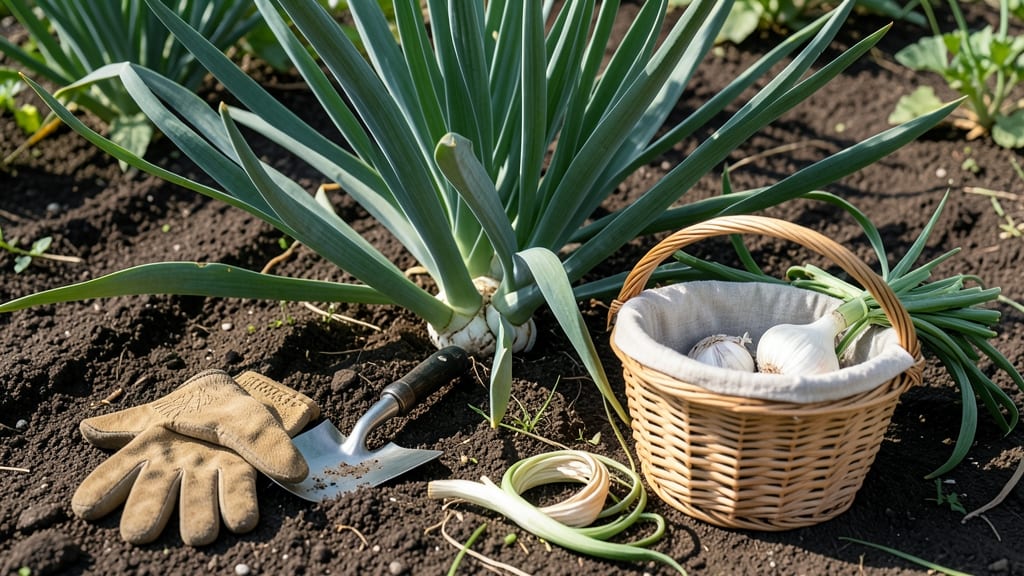
Harvesting garlic at the right time means the difference between flavorful bulbs and a sad, split mess — and the key is knowing when those lower leaves turn brown and the stems dry just enough to snap.
Picture this: You’ve waited months for your 🧄 garlic to grow, only to wonder if those crispy brown leaves mean it’s finally ready or if you’ve waited too long.
The truth? Timing is everything, and missing the window by even a week can ruin your harvest. Here’s how to nail it every time.
Look for three clear signs: the bottom leaves should be brown and papery, the bulbs should feel firm when gently squeezed, and the stems should bend (not break) easily. Weather matters too — harvest on a dry day when temps are above 50°F to avoid mold during curing.
In this guide, I’ll walk you through the exact visual cues, regional timing tips (yes, hardneck vs. softneck matters), and the post-harvest care steps that keep your garlic fresh until next year. No more guesswork — just perfect harvests.

How to identify the perfect garlic harvest time by visual & physical cues
Timing your garlic harvest correctly ensures bulbs develop full flavor and store well. The key is watching for visual and physical cues that signal maturity—like browning lower leaves and firm bulbs when squeezed. Unlike many crops, garlic doesn’t ripen after picking, so missing these signs means lost potential.
I’ve harvested garlic for over a decade, and I can’t stress enough how critical this window is—just a few days too early or late changes everything.
Most gardeners plant garlic in fall (October-November) for a late spring harvest (May-June), but timing varies by variety. Hardneck garlic (like Rocambole or Purple Stripe) matures slightly earlier than softneck varieties (like Silverskin or Artichoke).
Even within the same variety, climate plays a role—cooler regions may need an extra week or two. Paying attention to your local frost dates helps too, since garlic needs 7-8 months to mature before winter sets in.
Here’s the golden rule: Harvest when 50-60% of the lower leaves have turned straw-colored and crispy, but before the entire plant flops over. This balance ensures bulbs are fully developed yet still intact.
I’ve seen gardeners pull garlic too soon, only to find small, underdeveloped cloves with weak flavor. On the flip side, waiting too long leads to split bulbs or even rot if rain follows harvest.
| Cue Type | Hardneck Garlic | Softneck Garlic | What to Do |
|---|---|---|---|
| Leaf Color | Lower leaves brown & crispy (50-60%) | Lower leaves yellow-brown (60-70%) | Harvest in 3-5 days |
| Stem Condition | Stem dries but doesn’t shatter | Stem browns fully | Dig carefully with fork or spade |
| Bulb Feel | Firm when gently squeezed | Rounded and papery skin | Avoid rainy days for curing |
| Harvest Window | Late May-June (Zone 5-7) | June-July (Zone 8+) | Use sharp pruners to trim tops |
| Red Flags | Leaves fully collapse | Bulbs split or rot | Discard damaged bulbs immediately |
The stem condition is one of the most overlooked cues. A dry but not brittle stem means the bulb is ready. If the stem snaps easily, you’ve waited too long—those bulbs are past their prime.
I once left my garlic in the ground for an extra week, and when I pulled them, the stems shattered at the touch. The bulbs were split and unusable. To test, gently bend a stalk—if it bends without breaking, it’s time to harvest.
Don’t ignore the weather forecast either. Aim to harvest garlic on a dry, sunny day with warm temperatures (70-80°F). This gives bulbs time to dry properly before curing. If rain is in the forecast, harvest early and rush the curing process indoors.
I’ve had to dig garlic ahead of storms, then lay it out on wire racks under a carport to speed-dry. The key is minimizing moisture during the first 24 hours post-harvest.
For hardneck varieties, watch the scapes—those curly green shoots that appear in spring. Once scapes form, it’s a sign the plant is shifting energy toward bulb development. I always harvest scapes first (they’re delicious in pesto!) and use the timing as a rough 6-week countdown to bulb maturity.
Softneck garlic, however, doesn’t produce scapes, so you’ll rely solely on leaf color and bulb firmness.
One trick I learned from a master gardener is to dig up one bulb as a test when the lower leaves start browning. Gently brush away the soil and check the bulb size and skin condition. If the cloves are plump and wrapped in papery skin,
Common harvesting mistakes that ruin your garlic bulbs
Harvesting garlic at the wrong time can turn your hard work into a disappointing pile of split bulbs or moldy cloves. One of the biggest mistakes I see is waiting too long—when bulbs stay in the ground past their prime, they split open, making them unusable.
Even a few extra days can ruin an entire harvest, especially in humid climates where moisture accelerates spoilage.
The second major blunder is harvesting after rain. Wet soil makes digging difficult and increases the risk of disease during curing. I’ve learned the hard way that soggy garlic bulbs develop mold faster, no matter how carefully you dry them afterward.
Always check the weather forecast before pulling your garlic to avoid this common pitfall.
Here’s the worst mistake of all: using the wrong tools. Many gardeners try to dig garlic with their hands or basic garden forks, which can bruise the bulbs or leave them dirty.
A hula hoe or digging fork with narrow tines lifts bulbs cleanly without damaging the papery skins. Trust me, your storage life will thank you for the right equipment.
⚠️ When Is It Time to Harvest Garlic?
Don’t wait until the bottom leaves turn completely brown and crispy—this is your cue! If you see green leaves still standing, the bulbs aren’t fully mature yet. For hardneck varieties, harvest when 3-4 lower leaves die back (usually late spring to early summer). Softneck garlic takes slightly longer—wait until half the leaves brown before digging.
✅ Ready Signs: Bulbs feel firm when squeezed, stems snap easily, and skins are dry but not shattering.
Another red flag is ignoring bulb size. Small, underdeveloped bulbs mean you harvested too early, while oversized bulbs that feel hollow are a sign of overripeness. Aim for bulbs that are 1.5–2 inches in diameter—they’ll store best and have the most flavor.
If your bulbs feel light for their size, they’re likely splitting inside, which happens when moisture gets trapped during curing.
Let’s talk about post-harvest handling, because even perfect timing can go wrong if you don’t cure garlic properly. After digging, shake off excess soil but don’t wash the bulbs—this removes protective layers.
Instead, braid or hang them in a dry, shaded spot with good airflow for 2–4 weeks. High humidity or direct sunlight will cause mold, so avoid basements or garages unless they’re well-ventilated.
To avoid these mistakes, keep an eye out for these red flags before harvest: rain in the forecast, bulbs pushing above soil, or stems falling over. If you spot any, it’s time to dig!
Use a checklist to stay on track—mark off each sign as it appears, and you’ll never miss the perfect harvest window again.