
How To
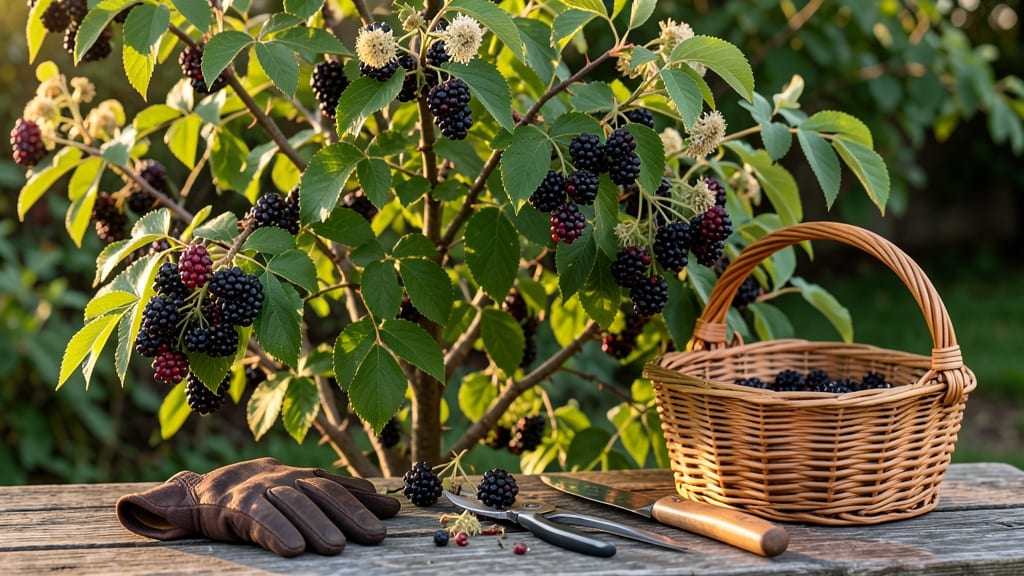
Harvest elderberries when they turn deep purple-black and soften to the touch — the sweet spot for jam, syrup, and medicinal use.
Picture this: you’ve waited all season for your 🫐 elderberry shrubs to burst with color, only to pick berries that taste bitter or fall apart in your hands. That’s the difference between a perfect harvest and a wasted effort.
Timing is everything—too early, and the seeds are hard; too late, and the birds beat you to them. The key lies in watching for that uniform dark hue and a gentle give when you press a berry.
Below, I’ll walk you through the exact cues, regional tweaks, and post-harvest tips to make the most of your crop.
Ready to turn your bush into a pantry staple? Let’s dive into how to nail that harvest window every time.

How to identify perfect elderberry ripeness by color and seed
Timing your elderberry harvest correctly transforms your shrub from a bitter disappointment to a flavor-packed treasure. The key lies in two simple but critical clues: berry color and seed softness.
When these signs align, you’ve hit the sweet spot for jam, syrup, or fresh eating. Let’s break down what to look for in your garden.
Start by examining the berry color—this is your first visual cue. Unripe elderberries begin as bright green and gradually shift through pinkish-purple stages. The moment they turn a deep, glossy purple-black, they’re ready.
This color shift signals the berries have reached their peak sugar content and antioxidant levels. Ignore any lingering green spots, as those indicate underripe clusters that’ll taste harsh.
Color alone isn’t enough—you must also perform the seed softness test. Gently squeeze a berry between your thumb and forefinger. If the seeds inside feel soft (almost like a ripe plum pit), it’s time to harvest. Hard seeds mean the berry is still maturing, while mushy seeds suggest it’s overripe and past its prime. This tactile check ensures you’re picking berries at their optimal flavor and texture.
🌿
| Ripeness Stage | Color Cue | Seed Test | Harvest Ready? |
|---|---|---|---|
| Underripe | Green to light pink | Hard seeds | ❌ No |
| Partially Ripe | Purple with green patches | Firm seeds | ⚠️ Wait |
| Perfectly Ripe | Deep purple-black | Soft seeds | ✅ Yes |
| Overripe | Dark purple-black with wrinkles | Mushy seeds | ❌ No |
Don’t rely on cluster uniformity alone—some berries in a bunch may ripen faster than others. Check multiple clusters across your elderberry shrub to ensure consistency. If most berries meet both the color and seed tests, it’s time to harvest.
Pro tip: Use a small harvesting basket or container to avoid crushing the delicate berries during collection.
Another visual cue to watch is the stem condition. As berries ripen, the stems begin to brown and dry out. This signals the plant is directing energy toward seed dispersal, meaning the berries are nearing their peak ripeness window.
If you notice birds flocking to your shrub, you’re likely just days away from the perfect harvest—so act fast!
For first-time harvesters, I recommend testing a few berries by tasting them raw. Ripe elderberries should be sweet with a slight tartness, not bitter or astringent.
If they taste harsh, wait another 2-3 days before harvesting. This simple taste test is your final quality check before committing to a full harvest.
Once you’ve confirmed ripeness, harvest on a dry, sunny morning when berries are at their firmest. Use clean pruners or scissors to snip clusters, leaving about 1/3 of the stem attached.
This helps preserve the berries’ integrity during storage or processing. Store harvested elderberries in the fridge for up to 3 days or freeze them immediately for long-term use.
Remember, elderberries won’t ripen further once picked, so timing is everything. By mastering these color and seed cues, you’ll transform your harvest from hit-or-miss to consistently delicious. Happy harvesting—your future jams and syrups will thank you!
✂️
Best practices for elderberry harvesting: timing by region and weather
Timing your elderberry harvest correctly ensures the best flavor and medicinal properties. Since elderberries thrive in USDA zones 3-9, harvest windows vary by region, but most plants ripen between late August and early October.
Understanding these regional differences helps you avoid bitter, underripe berries or overripe ones that birds will snatch first.
Weather plays a crucial role too. Elderberries need consistent warm temperatures (70-85°F) and full sunlight (6+ hours daily) to ripen properly. Cool, cloudy summers can delay ripening, while hot, dry spells may cause berries to shrivel. Always check the forecast before harvesting to ensure ideal conditions for picking and processing.
- 🌡️ USDA Zones 3-5: Harvest in late August to mid-September—cooler climates ripen earlier.
- 🌞 USDA Zones 6-8: Aim for mid-September to early October for peak sweetness.
- ☀️ USDA Zones 9-11: Berries may ripen as early as July-August—watch for color shifts.
- 🌧️ Rainy weather: Avoid harvesting if rain is forecasted—berries absorb moisture, spoiling faster.
- 🌡️ Temperature tip: Harvest on days with 60°F+ temperatures to prevent berries from chilling.
In northern regions (zones 3-5), elderberries often ripen faster due to shorter growing seasons. I’ve found that in Minnesota or Maine, berries are ready by mid-September if planted in full sun.
Meanwhile, in southern states (zones 9-11), like Florida or Texas, berries may start ripening as early as July, so stay vigilant.
Sunlight directly impacts ripening. Elderberries need 6+ hours of direct sun daily to develop their signature deep purple-black color. If your shrubs are in partial shade, berries may stay green or develop uneven ripeness. Prune nearby trees or relocate shrubs if sunlight is insufficient—this ensures uniform ripening across clusters.
Watch for temperature drops before harvesting. A sudden cold snap below 50°F can halt ripening. I always check the 10-day forecast to plan my harvest around stable, warm weather. This prevents berries from fermenting on the plant, which ruins their flavor and increases mold risk.
Finally, harvest on a dry, sunny morning for the best results. Berries picked after rain may stain or spoil faster. Use clean, sharp pruning shears to snip clusters, leaving a small stem attached. This preserves flavor and extends shelf life—perfect for jams, syrups, or drying.