
How To
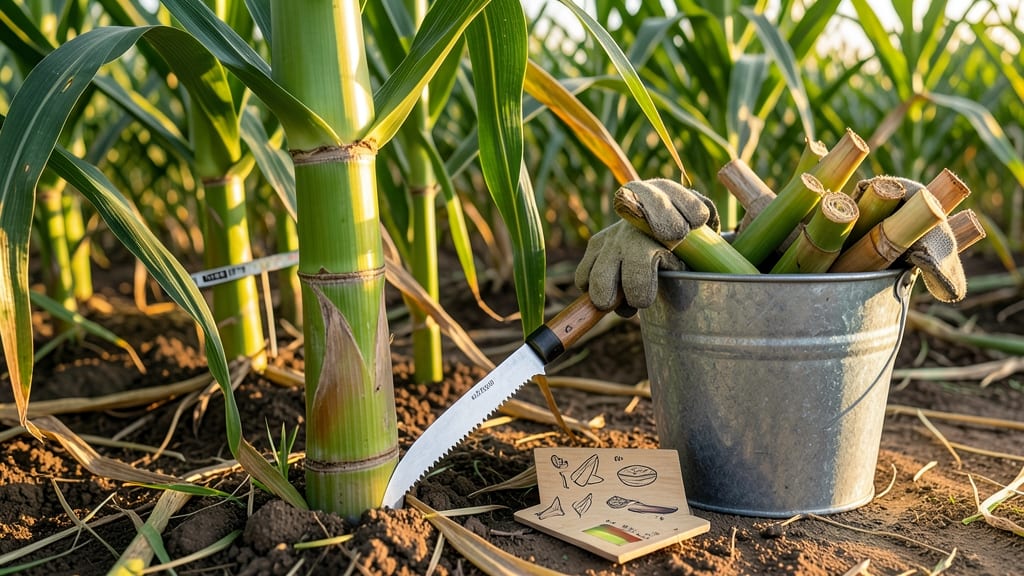
Harvesting sugar cane at the right time ensures the sweetest, most flavorful stalks 🌱 — and missing that window can turn your crop into bitter, unusable waste.
Picture this: you’ve spent months nurturing your towering sugar cane, only to wake up to a frost warning. That’s the moment you’ll wish you’d known the three visual cues that signal peak ripeness before cold sets in.
From stalk thickness to juice sweetness, these clues help you time your harvest perfectly. But regional frost risks add another layer—what works in Florida’s year-round warmth won’t cut it in California’s coastal microclimates.
Below, I’ll walk you through the exact signs to look for, how to calculate your local frost window, and the one mistake that ruins flavor faster than cold weather ever could.

3 Visual cues to identify perfectly ripe sugar cane for harvesting
Harvesting sugar cane at the right time transforms your 12-24 month investment into the sweetest, most flavorful stalks possible. The difference between peak ripeness and bitter overripeness often comes down to three key visual cues: stalk thickness, leaf color, and juice quality.
Ignore these signs, and you risk harvesting stalks that are either woody or filled with starch instead of sugar.
I’ve learned through trial and error that sugar cane doesn’t announce its readiness—it’s all about observing subtle changes in its appearance. For example, a 1-inch diameter stalk might seem mature, but if the leaves are still vibrant green, it’s likely too young.
The real magic happens when these three visual cues align perfectly, signaling that your stalks are packed with natural sugars and ready for harvest.
| Cue | Perfectly Ripe Sugar Cane | Overripe Sugar Cane |
|---|---|---|
| Stalk Thickness | 1-2 inches in diameter, firm to touch | Thicker than 2 inches, woody texture |
| Leaf Color | Yellowish-green at base, dry edges | Brown or crispy leaves, fully dried |
| Juice Quality | Rich, sweet, milky white when cut | Watery or bitter, dark yellow juice |
The first cue to watch is stalk thickness. When your sugar cane reaches 1-2 inches in diameter, it’s a strong indicator of maturity. To test, gently press your thumb against the stalk—if it feels firm but not hard, it’s likely ready.
I’ve found that stalks thicker than 2 inches often become woody and less sweet, so don’t wait too long. Think of it like harvesting corn: you want it at the sweet spot, not past its prime.
Next, focus on the leaf color at the base of the stalk. When the leaves start showing yellowish-green hues and the edges dry out slightly, this is your plant’s way of saying, “I’m ready!”
I once harvested a batch where the leaves were still vibrant green, and the juice tasted watery and bland. The moral? Yellowing leaves = sweetness. If the entire leaf turns brown or crispy, you’ve missed your window.
But the real test comes when you cut into the stalk. The juice quality is the ultimate indicator of ripeness. A perfectly ripe stalk will ooze milky white juice that tastes rich and sweet—almost like liquid candy.
If the juice runs watery or bitter, your cane is either underripe or overripe. Pro tip: Cut a small section near the base of the stalk to test. This is where the highest sugar concentration accumulates.
One mistake I’ve seen gardeners make is relying solely on stalk height. While sugar cane can grow 10-20 feet tall, height alone isn’t a reliable cue. A tall stalk might still be fibrous and tough if it hasn’t developed the right thickness or juice quality.
Always combine these three visual cues for the most accurate assessment. For example, a 6-foot stalk with yellowing leaves and sweet juice is ready, but the same height with green leaves and watery juice? Not yet.
Regional variations can also affect these cues. In warmer climates like Florida or Hawaii, sugar cane may mature faster and show these signs earlier in the year. Meanwhile, in cooler zones like Southern California, you might need to wait until late fall.
Always adjust your harvest timeline based on your local frost dates—more on that in the next section. The key is to harvest 3-4 weeks before the first frost, as cold temperatures convert sugars into starch, ruining the flavor.
If you’re growing sugar cane in containers, these visual cues still apply, but monitor them more closely due to limited root space. Container-grown cane may mature slightly slower, so pay extra attention to the juice test.
I’ve had success with dwarf varieties in pots, but even they follow the same ripeness rules. Just ensure your container is at least 18 inches deep to accommodate the roots and stalks.
Finally, remember that harvesting too early is better than waiting too long. Underripe cane might not be as sweet, but it won’t turn bitter like overripe stalks. If you’re unsure, cut a small test section and taste the juice.
Your taste buds are the best tool in your gardening arsenal! With these three visual cues, you’ll never miss the perfect harvest window again.
How to calculate the frost window: when to harvest before cold kills sweetness
Sugar cane thrives in warm climates, but a single frost event can destroy its sweetness and render stalks bitter or unusable. Since sugar cane grows best in USDA Zones 10-12, most gardeners in cooler regions must time their harvest carefully to avoid 32°F (0°C) temperatures.
The key is calculating your frost window—a 3-4 week period before the first frost when you must harvest to preserve flavor.
Start by checking your local frost dates using the USDA Plant Hardiness Zone Map or your local agricultural extension office. For example, gardeners in Zone 9b might face frost as early as November 15th, while those in Zone 10 could delay until December 15th.
Subtract 3-4 weeks from your first frost date to determine your harvest window.
However, don’t rely solely on the calendar. Microclimates—like urban heat islands, slopes, or bodies of water—can delay frost by 1-2 weeks. For instance, a garden near a lake may stay frost-free longer than one in a valley.
Observe your yard’s behavior over past years to adjust your timeline accordingly.
⚠️ callout-warning ⚠️
Sugar cane cannot tolerate frost. Even a light freeze (30°F/-1°C) will turn stalks woody and bitter. If your frost window arrives before stalks are ready, consider:
- Harvesting early (slightly less sweet but usable)
- Using row covers to extend the season by 2-3 weeks
- Growing in containers and moving indoors near a sunny window
Pro Tip: Monitor your local weather forecast daily in the weeks leading up to frost. A sudden cold snap can force an emergency harvest.
Once you’ve nailed down your frost window, focus on the 3-4 week harvest window before temperatures drop. Sugar cane’s sweetness peaks when stalks reach 1-2 inches in diameter and leaves show yellowing at the base.
If frost threatens before stalks mature, harvest early—even if slightly less sweet—to avoid wasting your crop entirely.
To further protect your sugar cane, consider these frost-prevention strategies:
- Mulch heavily with straw or leaves to insulate roots
- Use frost cloth to trap heat around stalks
- Water deeply before expected frost to add insulation
Finally, remember that regional variations matter. Gardeners in Florida or Hawaii can harvest year-round, while those in Southern California may face frost risks in winter. Always tailor your frost window calculation to your specific location for the sweetest, most rewarding harvest. 🌱