
Plants
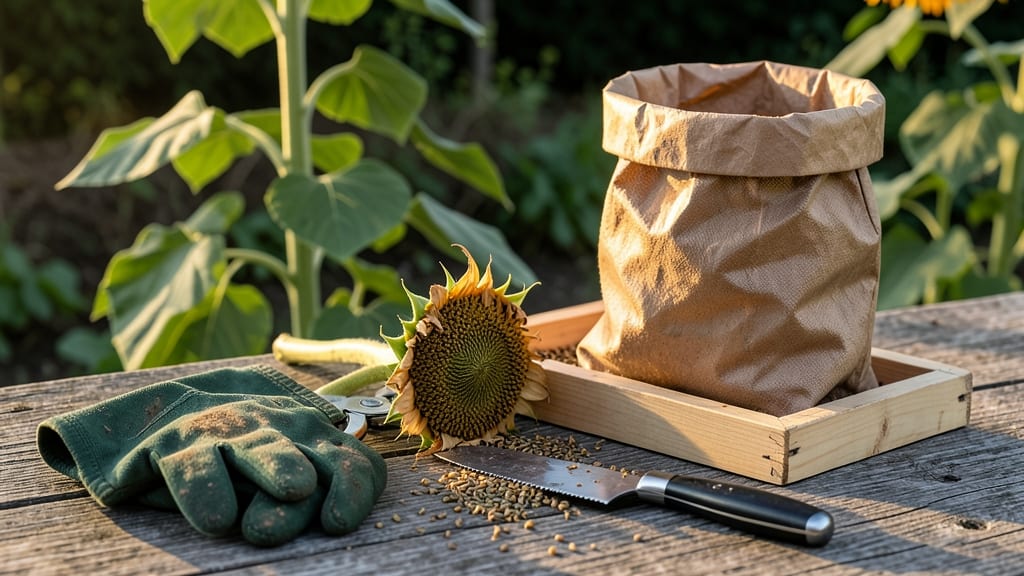
Harvest sunflower seeds from the plants when the back of the head turns yellow-brown and the petals fall off naturally 🌻 — that’s the sweet spot for flavor and yield.
Picture this: you’ve nurtured your towering 🌻 sunflowers all summer, only to wonder if you’ve waited too long or rushed the harvest. The truth? Timing is everything, and missing it means either bitter, underdeveloped seeds or wasted effort.
But here’s the good news: with just a few simple visual cues, you can nail the perfect moment every time.
Most gardeners in USDA Zone 6a (like me!) know the harvest window falls between late August and October, but the exact day depends on your local climate and variety. Too early, and the seeds won’t be fully mature; too late, and they’ll scatter or spoil.
I’ll walk you through the three foolproof signs to watch for—plus how to handle tricky weather or unexpected delays—so you can confidently harvest seeds at their peak.
By the end, you’ll know exactly when to harvest sunflower seeds for maximum flavor, how to test them for readiness, and even how to store them properly for months of snacking ahead. Let’s get started!

3 Visual signs your sunflower seeds are perfectly ripe for harvesting
Harvesting sunflower seeds at the right moment transforms your garden into a nutritious treasure chest. But miss the window, and you’ll end up with bitter, underdeveloped seeds or wasted effort. The key lies in three visual cues that reveal when your sunflowers have reached peak maturity.
These signs—petal color, seed head firmness, and seed color—work together to signal the perfect harvest time.
First, I always check the petals. When they begin to wilt and drop, it’s nature’s way of telling you the seeds are maturing. But don’t rush—wait until all petals have fallen completely.
This usually happens between late summer and early fall, depending on your USDA zone. In my Zone 6a garden, I’ve found the ideal window falls around mid-to-late September.
Next, I look for the seed head color. The back of the head should turn from green to a rich yellow-brown. This color change indicates the seeds inside have fully developed and are ready for harvest.
If you see any green streaks, the seeds aren’t fully mature yet—wait a few more days. This visual cue is one of the most reliable indicators of readiness.
Finally, I perform the shake test. A ripe sunflower seed head should rattle when shaken—this sound means the seeds are dry and loose inside. If the head feels soft or spongy, it’s not ready.
Overripe heads may crack open on their own, releasing seeds prematurely. Timing is everything, and these visual signs help me avoid common mistakes that ruin harvests.
Petals Fall Completely
Wait until all petals have dropped naturally. This usually happens 2-3 weeks after flowering.
Seed Head Turns Yellow-Brown
The back of the head should be dry and yellow-brown. Avoid harvesting if any green remains.
Seeds Rattle Inside Head
Gently shake the head—dry seeds will make a distinct rattling sound. If it feels soft, wait longer.
One mistake I see often is harvesting too early because the petals have just started to wilt. Premature seeds taste bitter and won’t store well. I’ve learned to wait until the entire head is dry and the seeds are plump and dark-colored.
This ensures the best flavor and longest shelf life. In my experience, patience pays off—rushing the harvest leads to disappointment.
Another common error is ignoring weather conditions. Harvest on a dry, sunny day to prevent mold growth. If rain is forecasted, bring the seeds indoors to dry immediately.
I always cut the seed head with a few inches of stem attached and hang it upside down in a well-ventilated, dry area. This method helps the seeds finish drying naturally.
For dwarf varieties, like 'Teddy Bear', the signs are similar but may appear slightly earlier. These smaller sunflowers mature faster, so I keep a closer eye on their petal drop and seed head color.
Even with faster varieties, I never compromise on the yellow-brown back or the rattle test. These cues are universal and work for all sunflower types.
Once you’ve confirmed all three signs, it’s time to harvest. Use a sharp pair of pruners to cut the head cleanly. Remove any remaining chaff or debris from the seeds, then let them dry for another 1-2 weeks in a cool, dark place.
Proper drying ensures your seeds stay crisp and flavorful for months. With these visual cues, you’ll never miss the perfect harvest window again.
Mastering these three signs has transformed my sunflower harvests from hit-or-miss to consistently perfect. Whether you’re growing sunflowers for edible seeds, bird feed, or simply to enjoy their beauty, knowing when to harvest is the key to success.
Now, go check your garden—your sunflowers might be ready sooner than you think! 🌻
How to test sunflower seed readiness: the 3-Step touch-and-taste method
Harvesting sunflower seeds at the wrong time can leave you with bitter, underdeveloped seeds or wasted effort. The 3-step touch-and-taste method gives you a foolproof way to confirm ripeness without guesswork.
This tactile approach combines weight testing, shell hardness, and a simple bitterness check to ensure your seeds are perfectly ready.
Start by selecting a healthy sunflower head with dried petals that have naturally fallen off. The back of the head should be yellow-brown, not green. These visual cues are your first indicators, but the real test comes from touching and tasting.
This method works for all sunflower varieties, from dwarf types to towering giants.
Step-by-Step Seed Readiness Test
-
Step 1: Weight Test
Gently shake the seed head over a brown paper bag. If seeds rattle loudly and fall freely, they're ready. If they feel light or hollow, wait 3-5 more days. -
Step 2: Shell Hardness Check
Press a seed between your thumb and forefinger. It should feel firm but not rock-hard. If it crushes easily, it's underripe. Overripe seeds will be brittle and cracked. -
Step 3: Bitterness Taste Test
Shell one seed and taste a tiny piece. Ready seeds have a mild, nutty flavor. If it's bitter or chalky, harvest later. Overripe seeds may taste rancid or stale.
Premature seeds often feel soft and squishy inside their shells, while overripe ones may crumble when handled. If you're harvesting in humid climates, prioritize the weight test first—moisture can mask other signs of ripeness. For dry climates, the bitterness test becomes more reliable as seeds dry faster.
Timing matters most in late summer to early fall (typically August-October in most USDA zones). If your seeds pass all three tests but the weather forecast predicts rain, harvest immediately to prevent mold or sprouting in the head.
Store harvested seeds in a cool, dry place for up to 6 months before processing.
Pro tip: Harvest on a dry morning after dew has evaporated. This reduces humidity in your storage containers and extends shelf life. For large sunflower varieties, use pruning shears to cut the entire head—leave a 6-inch stem to hang upside down for drying.
By mastering these three simple tests, you'll never waste another sunflower harvest. The key is patience—wait for seeds to pass all checks before cutting, and you'll reward yourself with plump, flavorful seeds perfect for snacking or saving for next year's garden. 🌾