
Flowers
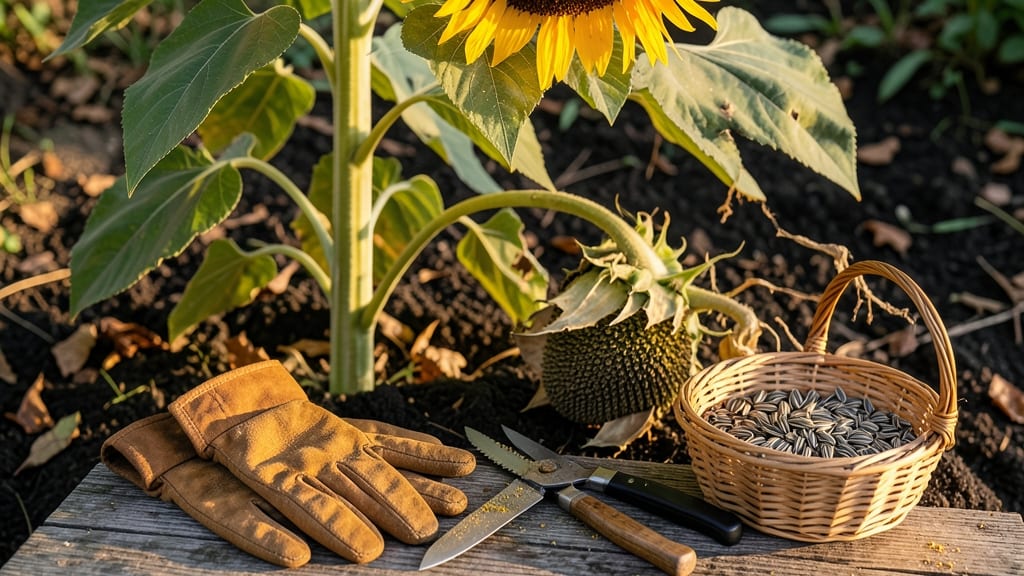
Harvesting sunflowers at the right time ensures sweet, flavorful seeds and perfect storage potential.
Imagine months of care poured into your 🌻 sunflowers, only to pull them too early and end up with bitter seeds—or worse, none at all.
The difference between a rewarding harvest and wasted effort often comes down to timing, and knowing when those seeds are truly ready can save you from disappointment.
Sunflowers mature in stages, and each phase offers clues about seed readiness. From the moment the petals begin to droop to when the back of the head turns a golden brown, these visual cues tell you exactly when to act.
Miss them, and you risk losing your crop to birds, frost, or poor storage quality.
In this guide, I’ll walk you through the key signs of maturity, how to test seed readiness, and the best methods for harvesting and storing your sunflowers—so you can enjoy their full potential from garden to table.

Sunflower seed maturity stages: how to identify the perfect harvest time
Harvesting sunflowers at the right time ensures you get the best flavor and longest storage life for your seeds. The key lies in understanding the three distinct maturity stages—each marked by visible changes in the seed head and petals.
Missing these cues can lead to bitter, underdeveloped seeds or wasted effort if harvested too late.
For example, dwarf varieties like 'Teddy Bear' mature faster (around 60 days) than giant varieties like 'Russian Giant' (up to 120 days). Even within the same variety, environmental factors like sunlight exposure and temperature swings can shift the timeline by 1-2 weeks.
That’s why visual cues matter more than days since planting.
| Stage | Visual Cues | Seed Condition | Harvest Time |
|---|---|---|---|
| Early Maturity | Petals begin wilting (not fully brown), back of head turns light yellow | Seeds greenish-white, soft when pressed | Not ready for harvest |
| Mid Maturity | Petals fully brown and dropped, back of head turns tan/brown | Seeds cream-colored, firm but not hard, rattle when shaken | Ideal for fresh eating or short-term storage |
| Late Maturity | Seed head fully brown and dry to touch, petals completely gone | Seeds dark brown/black, hard and dry, no moisture | Best for long-term storage (up to 1 year) |
At the mid-maturity stage, your sunflowers are primed for fresh seed snacking. The petals will have fallen completely, and the back of the seed head will turn a tan or brown hue.
This is also when you’ll hear the telltale rattle if you shake the head—seeds are fully formed but still plump. For storage seeds, wait until the late-maturity stage, where the head feels paper-thin and dry.
Pay close attention to the seed color—it’s your best indicator. At mid-maturity, seeds are cream-colored with a slight sheen. By late maturity, they’ll be dark brown or nearly black, resembling the seeds you’d buy in stores.
If you’re unsure, perform the thumbnail test: press a seed between your nails. If it crushes easily, it’s too early; if it resists pressure, it’s ready.
Environmental factors like humidity and temperature can accelerate or delay maturity. In hot, dry climates, sunflowers may mature 2 weeks faster than in cooler, wetter regions. If you’re in a high-humidity area, watch for mold risk—harvest slightly earlier to avoid spoilage.
Always prioritize dry weather for harvesting to prevent fungal growth on your seed heads.
One common mistake is harvesting based on flower color alone. While wilted petals signal progress, the back of the seed head is the true maturity marker.
For instance, a 'Autumn Beauty' sunflower might have reddish petals that stay vibrant longer, but the back will still follow the same yellow-to-brown progression. Ignoring this can lead to green, bitter seeds that aren’t suitable for eating or storing.
For storage seeds, aim to harvest in the morning after a dry night. This ensures the seed heads are fully dry and less prone to moisture absorption during curing.
Cut the stems 2-3 inches below the head and hang them in a well-ventilated, dry space (like a garage or shed) for 1-2 weeks1 year.
If you’re harvesting for immediate fresh use, like roasting or snacking, mid-maturity is perfect. The seeds will be softer and sweeter, with a higher oil content than fully dried seeds. Shell them by hand or use a nutcracker for small batches.
For large harvests, a seed huller or even a rolling pin works—just place the dried head on a towel and roll until seeds pop out.
Remember, patience is key—rushing the harvest can ruin your seeds. If you’re unsure, harvest a few test heads and check their readiness. With practice, you’ll develop an eye for the perfect moment to harvest, ensuring your sunflower seeds are flavorful, nutritious, and ready for your table or storage.
Best practices for harvesting sunflower seeds for storage vs. fresh use
Harvesting sunflower seeds at the right time ensures maximum flavor and storage potential. For fresh use, you can harvest slightly earlier when seeds are plump but still soft.
However, for long-term storage, wait until seeds are fully mature and dry. The key difference lies in moisture content and seed head condition.
Ideal weather conditions for harvesting include dry, sunny days with temperatures above 50°F (10°C). Avoid harvesting after rain or when dew is present, as moisture accelerates spoilage.
Morning harvests are best because seed heads are driest then. Always use sharp pruning shears or a clean knife to avoid damaging the stem.
Here’s how to decide between storage and fresh use based on your sunflower’s maturity stage:
Harvesting Sunflowers: Storage vs. Fresh Use
🌾 Storage
- When: Fully dry, brown seed heads
- Test: Seeds rattle inside head
- Tools: Pruners, drying rack
- Pros: Long shelf life (up to 1 year)
- Cons: Requires drying/curing time
🌱 Fresh Use
- When: Seeds plump but still soft
- Test: Petals wilted, seeds don’t rattle
- Tools: Knife, bowl
- Pros: Ready-to-eat, no drying needed
- Cons: Shorter shelf life (days to weeks)
To test seed readiness, use the thumbnail test: Squeeze a seed between your thumb and nail. If it’s soft and white, it’s fresh-ready. If it’s hard and dark, it’s storage-ready.
For storage seeds, let them dry on the plant or indoors for 2-3 weeks in a well-ventilated area before shelling.
After harvesting, remove seeds by rubbing the dried head over a clean sheet or bucket. Store seeds in a cool, dark place in an airtight container with a silica gel packet to absorb moisture. Label containers with the harvest date and variety for organization.
For fresh seeds, roast them immediately in a 350°F (175°C) oven for 30-45 minutes until golden brown. Store in the fridge for up to 2 weeks or freeze for longer freshness. Always prioritize dry conditions to prevent mold growth in both storage and fresh seeds.