
How To
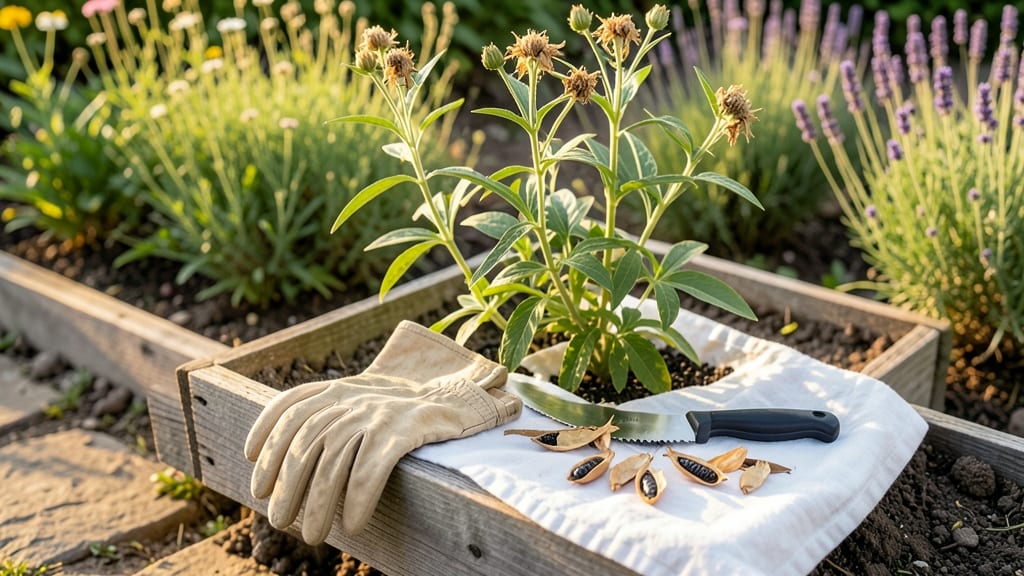
Harvesting chia seeds at the right time turns your 🌱 chia plants into a nutrient powerhouse that lasts for months.
Picture this: you’ve nurtured your chia from tiny seeds planted in spring, and now the moment of truth arrives—when to pluck those dried pods without losing a single seed to the wind or birds. Miss the window, and you’re left with brittle stalks or seeds that won’t store well.
Get it right, and you’ll walk away with a harvest so rich in omega-3s and fiber, it feels like striking gold in your own backyard.
Timing is everything with chia. You’ll know it’s go-time when the seed heads turn a deep, papery brown and rattle like a tiny drum when you shake them.
But here’s the catch: harvest too early, and the seeds won’t be fully mature; wait too long, and they’ll scatter before you can bag them.
Below, I’ll walk you through the exact steps to snag your chia at peak freshness—plus how to dry and store them so they stay good for up to a year.
Whether you’re growing chia for smoothies, salads, or even sprouts, mastering this process means never buying chia again. Ready to turn your garden into a seed stash? Let’s dive in.

When to harvest chia seeds for peak flavor and nutritional value
Timing your chia seed harvest correctly is the secret to unlocking their full nutritional potential and shelf life. If you pick too early, your seeds will be underdeveloped and lack that signature earthy flavor.
Harvest too late, and you risk losing seeds to birds or compromising their quality. The perfect window arrives when your plants show 3 key maturity signs—all of which I’ll break down for you.
First, let’s talk about the ideal harvest window, which typically falls between 80-120 days after planting, depending on your climate.
In my experience growing chia in USDA Zone 6a, I’ve found the sweet spot is around 100 days—just as the first morning frosts begin to hint at autumn. This timing ensures seeds have fully developed their omega-3 fats and antioxidant-rich profiles while remaining crisp and easy to process.
Here’s the summary-table breaking down the exact visual cues and conditions you should watch for to nail your harvest:
One of the biggest mistakes I see new growers make is harvesting chia seeds when they’re still slightly green. These immature seeds won’t have developed their full nutritional profile—think lower fiber content and omega-3 levels.
I once harvested a batch too early, and my seeds had a bitter aftertaste that ruined my smoothie recipes. Since then, I’ve made it a rule to wait until the seed heads are completely brown and the pods crack open easily.
Pay close attention to the seed moisture levels, which should be below 10% at harvest. You can test this by crushing a few seeds between your fingers—if they feel dry and crumbly, they’re ready.
If they’re still slightly damp or sticky, give them another 24-48 hours to dry on the plant. Overripe seeds, on the other hand, can sprout prematurely or attract pests like weevils, so don’t let your plants linger past their prime.
Climate plays a huge role in harvest timing. In cooler regions, chia seeds may take the full 120 days to mature, while in warmer climates, you might be looking at 80-90 days.
I’ve even seen chia plants bolt (flower prematurely) in hot, dry summers, which can drastically reduce seed quality. To mitigate this, I always plant my chia in early spring and provide light shade during peak afternoon heat if temperatures exceed 85°F.
Pro tip: Harvest on a dry, sunny morning to minimize humidity during drying. I like to cut the entire plant at the base and bundle the stems with twine, then hang them upside-down in a well-ventilated area.
This method ensures even drying and makes it easier to separate the seeds from the chaff later. If you’re short on space, lay the stems on a clean tarp in a single layer and flip them daily for 3-5 days until completely dry.
Finally, don’t overlook the storage implications of your harvest timing. Seeds picked at peak maturity will stay fresh for 6-12 months when stored properly, while those harvested too early may only last 3-4 months.
I store my chia seeds in glass jars with oxygen absorbers in a cool pantry, and I always label them with the harvest date to track freshness.
With the right timing, you’ll end up with seeds that are richer in flavor, more nutrient-dense, and perfect for everything from baking to sprinkling on yogurt.
🌱
Step-by-step chia seed harvesting process: tools and techniques
Once your chia plants reach maturity with dry, brown seed heads, it's time to harvest. This process requires precision to avoid damaging the delicate seeds while maximizing your yield per plant.
The key steps—cutting, drying, threshing, and cleaning—each play a critical role in preserving seed quality and nutritional value.
Start by gathering your essential tools: sharp pruning shears, a clean tarp or cloth, a fan or mesh screen, and a storage container.
Work on a dry, sunny day to ensure optimal drying conditions. Humidity is your biggest enemy, so avoid harvesting if rain is forecasted within 24 hours.
How to Harvest Chia Seeds
- 1 Cut the seed heads: Use clean pruning shears to snip the entire seed stalk just above the base. Bundle 5-10 stalks together and secure with a rubber band for easier handling.
- 2 Dry the stalks: Hang bundles upside down in a well-ventilated, dry area (like a garage or shed) for 7-10 days. Ensure airflow circulates around them to prevent mold. Test dryness by gently crushing a seed pod—if it crumbles easily, it's ready.
- 3 Thresh the seeds: Place dried stalks on a clean tarp and gently rub or stomp to dislodge seeds from pods. Alternatively, use a clean cloth to rub pods between your hands. Avoid excessive force to prevent seed damage.
- 4 Separate seeds from chaff: Spread the mixture on a mesh screen or sieve and use a fan or gentle breeze to blow away lighter debris. The heavier chia seeds will remain on the screen. Repeat until only seeds remain.
- 5 Store immediately: Transfer cleaned seeds to an airtight container (like a glass jar) and store in a cool, dark place (e.g., pantry or fridge). For long-term storage, freeze seeds to extend shelf life beyond 6 months.
Proper humidity control is critical during drying. If your climate is naturally humid, consider using a dehumidifier or drying rack with a fan to speed up the process. Avoid direct sunlight during drying, as it can cause seeds to overheat and lose viability.
For organic chia growers, ensure all tools and containers are thoroughly cleaned before use to prevent contamination. If you notice any mold or discoloration during drying, discard affected batches immediately to protect your harvest.
With these techniques, you'll harvest high-quality chia seeds that retain their nutritional benefits and store well for months. Happy harvesting! 🌱