
How To
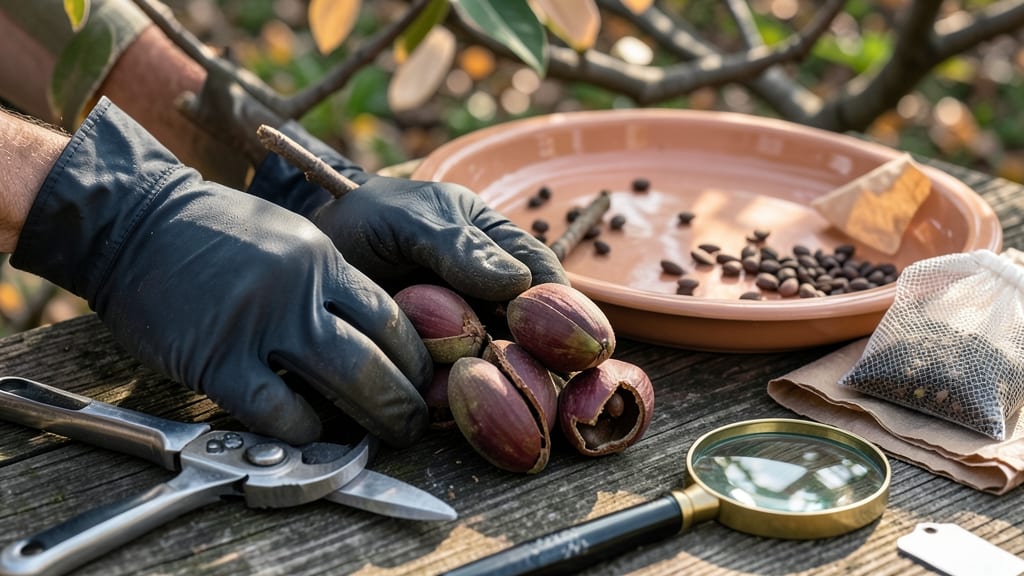
Harvesting magnolia seeds 🌸 requires patience and precision to ensure viable germination for your future tree.
Picture this: you’ve watched your magnolia’s seed pods turn from green to dry and brittle, finally splitting open to reveal the promise of new growth. But if you harvest too early or too late, those seeds won’t sprout—no matter how carefully you plant them.
The key lies in timing, tools, and technique. Late fall to winter is your window, when pods are fully brown and seeds fall out easily. Below, I’ll walk you through every step—from identifying the perfect moment to extracting, cleaning, and storing seeds for successful germination.
Whether you’re a beginner or a seasoned gardener, these proven steps will help you avoid common mistakes and maximize your chances of growing a thriving magnolia from seed.

When and how to identify ripe magnolia seeds for harvesting
Harvesting magnolia seeds at the right moment is crucial for ensuring high germination rates. These seeds require precise timing—typically between late fall and winter—when the seed pods mature and open naturally. Missing this window can result in seeds that either won’t germinate or lose viability too quickly.
To identify ripe magnolia seeds, focus on three key visual cues: the color of the seed pods, the texture of the seeds, and how easily they release from the pod.
When pods turn a deep, dry brown color and split open on their own, it’s a clear sign that the seeds inside are ready for collection.
I always recommend harvesting seeds when they’re fully dry and dark-colored, as this indicates they’ve completed their natural drying process. If you pick them too early, the seeds may still be moist and sticky, which can lead to mold or rot during storage.
Here’s a quick reference guide to help you spot the perfect moment for harvesting:
| Indicator | Description | Action |
|---|---|---|
| Pod Color | Deep brown, dry, and fully open | Harvest immediately |
| Seed Texture | Dark, dry, and not sticky | Collect and store |
| Seed Release | Seeds fall out easily when pods are shaken | Ready for processing |
| Seasonal Timing | Late fall to winter (October–January) | Avoid harvesting before frost |
The ideal time to harvest magnolia seeds is typically between October and January, depending on your climate zone. In colder regions, like USDA Zone 6a, seeds often mature later, while warmer zones may see earlier ripening.
Always monitor the pods closely, as they can dry and release seeds quickly once mature.
When collecting seeds, use a small pruning shears or your hands to gently remove the pods from the tree. Place them in a paper bag to allow airflow, which helps prevent moisture buildup. Avoid plastic bags, as they can trap humidity and cause the seeds to spoil.
One common mistake I see is harvesting seeds that are still partially green or moist. These seeds often fail to germinate because they haven’t fully matured. Always wait until the pods are completely brown and dry—this ensures the seeds inside are viable and ready for storage or stratification.
If you’re unsure whether your seeds are ripe, perform a simple shake test: Hold a pod over a paper bag and gently shake it. If seeds fall out easily, they’re ready.
If they stick or the pod resists, wait a few more days. This test saves time and ensures you only collect the best seeds for propagation.
Once you’ve confirmed the seeds are ripe, store them in a cool, dry place with good ventilation. I recommend using a paper envelope or breathable container to maintain airflow until you’re ready to stratify them. Proper storage is just as important as timing when it comes to maximizing germination success.
Remember, magnolia seeds have a dormancy period that requires cold stratification before they’ll sprout. Even if you harvest them at the perfect time, they won’t germinate without this critical step. Plan ahead and prepare for stratification right after collection to set your seeds up for success.
Step-by-step process for extracting, cleaning, and stratifying magnolia seeds
Once you’ve harvested your magnolia seeds, proper processing is critical to ensure high germination rates. The seeds must be carefully extracted, cleaned, and stratified to break their natural dormancy. Skipping these steps can leave you with seeds that refuse to sprout, no matter how patient you are.
Let’s walk through the exact process I use to prepare magnolia seeds for successful germination.
Start by placing your harvested seed pods in a dry, well-ventilated area for 1-2 weeks. This allows any remaining moisture to evaporate, preventing mold growth during storage.
Avoid rushing this step—wet seeds are far more prone to rot during stratification. Once the pods are completely dry, you’re ready to extract the seeds.
How to Extract, Clean, and Stratify Magnolia Seeds
-
Step 1: Extract the Seeds
Gently open the dry seed pods using a small knife or your fingers. Avoid crushing the seeds—magnolia seeds are delicate and can be damaged easily. Place the extracted seeds in a clean, dry container.
-
Step 2: Remove the Pulp
Rinse the seeds under lukewarm water to remove any remaining pulp or debris. Use a fine-mesh strainer to separate seeds from the pulp. Pat them dry with a paper towel or let them air-dry for 24 hours in a shaded area.
-
Step 3: Inspect for Viability
Discard any seeds that are shriveled, moldy, or discolored. Healthy magnolia seeds should be dark brown and firm to the touch. Store only the viable seeds in a paper envelope or breathable container.
-
Step 4: Cold Stratification
Place the seeds in a sealed plastic bag with a damp paper towel to maintain moisture. Store them in your refrigerator’s crisper drawer (35-40°F) for 60-90 days. This mimics winter conditions and breaks dormancy.
-
Step 5: Monitor and Prepare for Sowing
After stratification, check the seeds periodically for signs of mold or rot. If they look healthy, they’re ready to sow in well-draining potting mix or outdoors after the last frost.
One common mistake I see is skipping the cold stratification step—this is non-negotiable for magnolia seeds. Without it, germination rates can drop to nearly zero. Another pitfall is using moisture-retentive containers during storage, which can cause mold. Always opt for breathable materials like paper envelopes or mesh bags.
Once stratified, your magnolia seeds will be ready for sowing in early spring. Plant them in a sandy, well-draining mix and keep the soil consistently moist but never soggy. With patience and the right preparation, you’ll soon see those first tender sprouts emerging—proof that your efforts paid off! 🌱