
How To
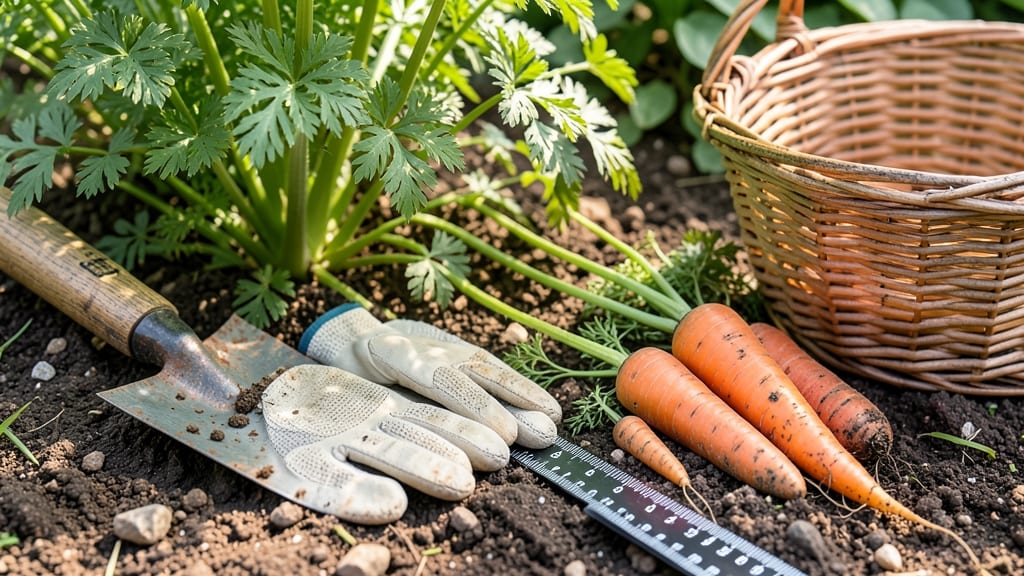
Telling when to harvest carrots 🥕 hinges on three simple cues: soil resistance, root size, and leaf health—but most gardeners miss the first one.
Picture this: you’ve nurtured your patch for 70 days, and now the question looms—are they ready? Pull one too soon, and you’ll get tiny, bitter roots. Wait too long, and they turn woody. The secret? A quick finger-dip test that reveals the perfect moment before flavor fades.
Beyond the finger test, timing matters. Spring-planted carrots in Zone 6a hit peak sweetness in June, while fall crops shine in October. But soil conditions—like moisture and drainage—can shift that window by weeks.
Learn how to read the signs (and avoid common mistakes) so your harvest delivers crisp, vibrant roots every time.
Inside, you’ll discover the exact steps to test ripeness, adjust for your climate, and troubleshoot issues like uneven growth. No more guesswork—just perfectly timed carrots straight from the garden to your plate.

The finger-dip test: how to Check carrot ripeness in the soil
Nothing beats the satisfaction of pulling perfectly sweet, crisp carrots from your garden—but timing is everything. Harvest too early, and you’ll get small, underdeveloped roots. Wait too long, and they’ll turn woody and bitter.
The finger-dip test is my go-to method for pinpointing the exact moment to harvest, combining tactile feedback with visual cues for foolproof results.
This simple technique works by assessing soil resistance and carrot firmness without digging up every root. It’s especially useful for baby carrots or varieties with uneven growth, where traditional size-based harvesting falls short. Plus, it saves you from accidentally uprooting immature carrots during routine weeding.
Before you begin, gather these tools: a small hand trowel, a moistened finger (cleanliness matters!), and a notebook for tracking growth patterns. Work on a cloudy day or in the early morning when soil is damp but not soggy—this ensures accurate resistance readings.
How to Perform the Finger-Dip Test
- 1 Locate the carrot crown: Gently brush away topsoil around the foliage base (the shoulder) to expose the 1-2 inches of root beneath. Look for the taproot where the leaves meet the soil.
- 2 Dip your finger: Moisten your index finger and press it 1 inch deep into the soil beside the exposed root. Pay attention to the resistance level—this tells you how firmly the carrot is anchored.
-
3
Assess soil resistance:
- Firm resistance = Carrot is ready to harvest (ideal for 70-80 days after planting).
- Loose soil = Root is still growing (wait 7-10 more days).
- Excessive resistance = Soil is compacted or carrot is overcrowded (thin plants or loosen soil).
- 4 Check visual cues: If the exposed root is 1-3 inches long, has a vibrant color (deep orange, purple, or yellow), and the foliage is 4-6 inches tall, it’s a good candidate. For baby carrots, aim for ½ to 1 inch in diameter.
- 5 Test with gentle tug: Grasp the foliage and pull upward with light pressure. If the carrot slips free with minimal resistance, it’s ready. If it resists strongly, leave it for 3-5 more days and retest.
- 6 Harvest method: Use a hand fork to loosen soil around the root, then pull gently. For sandy soil, a quick tug often works. In clay soil, use a knife to slice the root free to avoid damage.
Pro Tip: Test 3-5 carrots per row to account for growth variations.
Why does this method work so well? The finger-dip test accounts for soil type variations—sandy soil loosens easily, while clay holds roots tighter.
It also helps you avoid the common mistake of harvesting based solely on leaf size, which can mislead you if the plant is stressed or stunted.
For heirloom varieties like Purple Haze or Danvers Half Long, I’ve found the test is especially reliable because these types develop uneven growth patterns. Even if one carrot in a row feels firm, another might need 5 more days—the test reveals these differences instantly.
If you’re growing carrots for storage, harvest when the shoulders are fully exposed and the foliage starts yellowing (a sign of maturity stress). For immediate eating, aim for 60-70 days and use the finger test to confirm tenderness.
Remember: Over-mature carrots develop a woody core, making them inedible.
After harvesting, rinse gently and store in the crisper drawer for up to 3 weeks. For long-term storage, cure them in a dry, shaded spot for 24 hours before refrigerating. This preserves their
Carrot harvesting timing: days to maturity and seasonal factors
Understanding carrot maturity timing is key to avoiding woody, bitter roots. Most varieties take 70 days to reach full size, but seasonal factors like temperature and soil type can shift this window by weeks.
For example, cool-season varieties like 'Danvers' mature faster in spring, while heat-tolerant types like 'Nantes' stretch their timeline in summer.
Your local climate zone also plays a role.
In USDA Zone 5, carrots planted in early spring may need 80 days to mature, while a fall crop in Zone 9 might be ready in just 60 days. Soil conditions matter too—loose, sandy soil speeds up growth, while heavy clay can delay harvest by 10-15 days.
Adjust your expectations based on these variables to avoid disappointment.
| Factor | Impact on Harvest Time | Adjustment Tip |
|---|---|---|
| Variety | 50-80 days to maturity | Plant 'Baby Danvers' for 50-day harvests or 'Chantenay' for 75+ days |
| Climate Zone | ±10 days per zone | Zone 5: +10 days; Zone 10: -10 days from standard timeline |
| Soil Type | ±15 days growth rate | Amend clay soil with compost; avoid rocky beds |
| Season | Spring: faster; Summer: slower | Use shade cloth in summer to maintain speed |
| Baby Carrots | 30-40 days to harvest | Thin seedlings to 2" apart for quick, tender roots |
For baby carrots, you can harvest as early as 30 days when roots reach 1-2 inches. These tender young carrots are perfect for salads and stir-fries. To encourage baby growth, thin seedlings aggressively to 2 inches apart—this prevents competition and speeds up maturity.
If you're growing for full-sized carrots, wait until the shoulders are visible above soil and the foliage reaches 4-6 inches tall.
Watch for seasonal cues too. In early spring, carrots may mature faster due to cooler temperatures, while late summer heat can slow growth and cause bolting. If your carrots start flowering, they've passed their prime—harvest immediately or expect bitter, fibrous roots.
Always harvest in the morning after watering to make pulling easier and preserve crispness.
One final pro tip: Mark your planting dates and track growth using a garden journal. Note when you see the first visible shoulders—this helps you predict future harvests. With practice, you'll develop an intuitive sense for when your specific varieties are ready, ensuring perfectly timed harvests every season.
🌱