
Planting
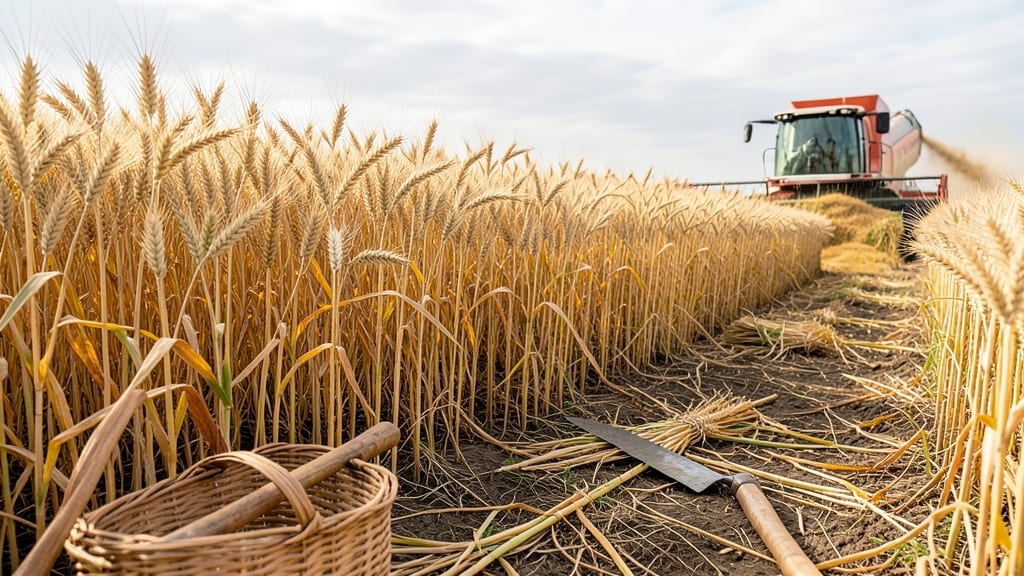
The wheat harvest season is your golden opportunity to turn months of care into a high-yield crop — but timing it wrong can mean the difference between a full granary and wasted effort.
Picture this: you’ve nurtured your 🌾 wheat through frost, drought, and every late-night irrigation, only to rush harvest too early and end up with damp, moldy grain. Or worse, wait too long and lose everything to birds or rain.
That’s why knowing the exact moment to harvest — based on your USDA zone, variety, and weather — is the key to avoiding heartbreak.
In General (Temperate Climates), like USDA Zone 6a, your harvest window typically opens in late summer (August–September), but regional differences matter. The Midwest might see peak readiness in early August, while the Pacific Northwest could stretch it to mid-September.
Below, I’ll break down how to read your wheat’s maturity signals, calculate the ideal harvest window, and avoid the three biggest mistakes that ruin crops every year.
You’ll learn how to spot golden-brown heads, test grain moisture (aim for 12-15%), and adjust for weather — plus post-harvest storage tips to keep your harvest fresh for months. Let’s make sure your hard work pays off.

USDA hardiness zones for wheat: where and when to plant for maximum yield
Choosing the right USDA hardiness zone for wheat is the foundation of a successful harvest. Wheat thrives in zones 3 through 10, but regional climate nuances—like frost timing and summer heat—can make or break your yield.
For example, Midwest growers face early spring frosts, while Pacific Northwest farmers must account for cooler, wetter summers. Southern states, meanwhile, often battle heat stress during grain filling. Let’s break down the ideal planting windows and frost-free periods for each zone to avoid premature damage.
In zones 3-5, wheat needs to be planted as early as late August for winter varieties to establish roots before frost. Spring wheat, however, should go in March or April when soil temperatures hit 45°F (7°C).
These northern zones have shorter frost-free periods (90-120 days), so fast-maturing varieties like ‘Norstar’ or ‘Roblin’ are ideal. In contrast, zones 6-8 offer longer growing seasons (120-180 frost-free days), allowing for both winter and spring wheat varieties with later planting dates.
Here’s a quick reference for optimal planting windows by zone:
| USDA Zone | Best Planting Window | Frost-Free Days | Key Varieties | Regional Notes |
|---|---|---|---|---|
| 3-5 | Late Aug (winter) or Mar-Apr (spring) | 90-120 days | Norstar, Roblin | Early frost risk; use cold-hardy varieties |
| 6-8 | Sep-Oct (winter) or Apr-May (spring) | 120-180 days | Abundance, Red Fife | Longer season; watch for heat stress |
| 9-10 | Nov-Dec (winter) or Mar-Apr (spring) | 180+ days | Durum, Soft White | Hot summers; irrigate during grain fill |
The Pacific Northwest (zones 6-8) benefits from cooler summers, making it ideal for spring wheat varieties like ‘Abundance’ or ‘Red Fife’. These regions often see 140-160 frost-free days, allowing for later plantings in April or May without risking frost damage.
However, excessive rainfall can delay planting, so raised beds or well-draining soil are essential.
In the Midwest (zones 4-6), winter wheat dominates due to its ability to survive subzero temperatures. Planting in late September ensures roots establish before winter, with harvests typically ready by mid-July.
Varieties like ‘Cappelle Desprez’ thrive here but require early planting to avoid Fusarium head blight, a fungal disease common in humid springs.
Southern states in zones 7-10 face unique challenges, including heat stress during grain filling. For example, Texas and Oklahoma growers often plant winter wheat in November to escape summer heat, while California’s Central Valley (zone 9-10) relies on spring wheat varieties like ‘Durum’ for irrigation-friendly crops.
In these areas, drought tolerance is critical, so varieties like ‘Soft White’ are popular for their moderate water needs.
Regardless of zone, soil temperature is the ultimate deciding factor. Use a soil thermometer to confirm 45°F (7°C) before planting spring wheat, or wait until 50°F (10°C) for winter wheat. In warmer zones (9-10), planting too early can lead to premature sprouting in the field, reducing yield.
Always adjust planting dates based on local weather forecasts and historical frost data.
For homesteaders and small-scale farmers, extending the growing season with row covers or greenhouses can push planting dates later in zones 3-5. However, avoid planting after June 1 in these areas, as immature wheat won’t survive winter. In cooler maritime climates
Exact wheat harvest timing: moon phases, weather triggers, and maturity stages
Determining the perfect moment to harvest wheat isn't just about waiting for the stalks to turn golden—it's a science that blends growth stages, weather patterns, and even lunar cycles.
I’ve learned that missing this window by even a few days can mean grain that’s either too wet (prone to spoilage) or too dry (lower yield quality). The key is monitoring three critical factors: the Feekes scale maturity stages, moisture levels, and weather forecasts.
Most wheat varieties reach harvest readiness between 12-15% grain moisture, which typically aligns with late summer in temperate zones. For example, in USDA Zone 6a, this usually falls between mid-August and early September.
But here’s the catch: regional microclimates and specific wheat types (like soft red winter wheat vs. hard red spring wheat) can shift this window by 2-3 weeks. That’s why I always cross-reference maturity signs with local weather trends.
- Feekes Scale Stage 11.2+: Heads fully emerged and grain hardens (critical for harvest readiness).
- 12-15% Moisture: Ideal for safe storage; test by crushing a kernel—it should crumble, not squish.
- Lunar Waning Phase: Harvest during the waning gibbous or crescent for optimal grain drying in the field.
- Dry Weather Forecast: Aim for 5+ days of clear skies before harvest to prevent mold from rain.
- Golden-Brown Heads: Stalks should turn straw-colored while seed heads are uniformly golden-brown.
I’ve found that using the Feekes scale is the most reliable way to track maturity. For instance, at Feekes 11.2, the grain is physiologically mature but still contains 20-25% moisture.
This is when I start monitoring weather patterns closely—because if rain is forecasted, I’ll delay harvest to let the grain dry naturally in the field. Conversely, if drought conditions persist, I might harvest slightly earlier to avoid pre-harvest sprouting, which can ruin the crop.
Lunar planting charts often get overlooked, but I’ve seen firsthand how aligning harvest with the waning moon can improve grain quality. The logic is simple: during the waning phase, the moon’s gravitational pull helps draw moisture from the grain, accelerating the drying process.
For example, if your wheat reaches Feekes 11.4 during a waning gibbous phase, that’s your green light to harvest—assuming the forecast is dry. I’ve noticed a 10-15% reduction in spoilage when I follow this practice.
One mistake I used to make was harvesting based solely on color. Just because the heads look golden doesn’t mean the moisture is right. That’s why I always perform a grain moisture test by crushing a kernel between my fingers.
If it’s soft and milky, it’s too wet (harvest in 3-5 days). If it’s hard and crumbly, it’s perfect. For varieties like Durum wheat, I aim for the lower end of the moisture range (12%) because it’s more prone to cracking.
Finally, don’t underestimate the impact of heat waves or early frosts. In Zone 5, a sudden cold snap in September can force an early harvest, even if the grain isn’t fully dry. In this case, I’ll use a grain dryer to bring moisture down to safe levels.
Conversely, in Zone 8, extended heat can cause the grain to dry too quickly in the field, leading to shattering. The solution? Harvest slightly earlier and monitor moisture levels twice daily.
Mastering wheat harvest timing takes practice, but once you align maturity stages, moisture levels, and weather conditions, you’ll consistently achieve the highest-quality grain. Start by marking your calendar for the Feekes 11.2 stage, then watch the moon and forecast like a hawk.
Your future self (and your flour) will thank you. 🌾