
Vegetables
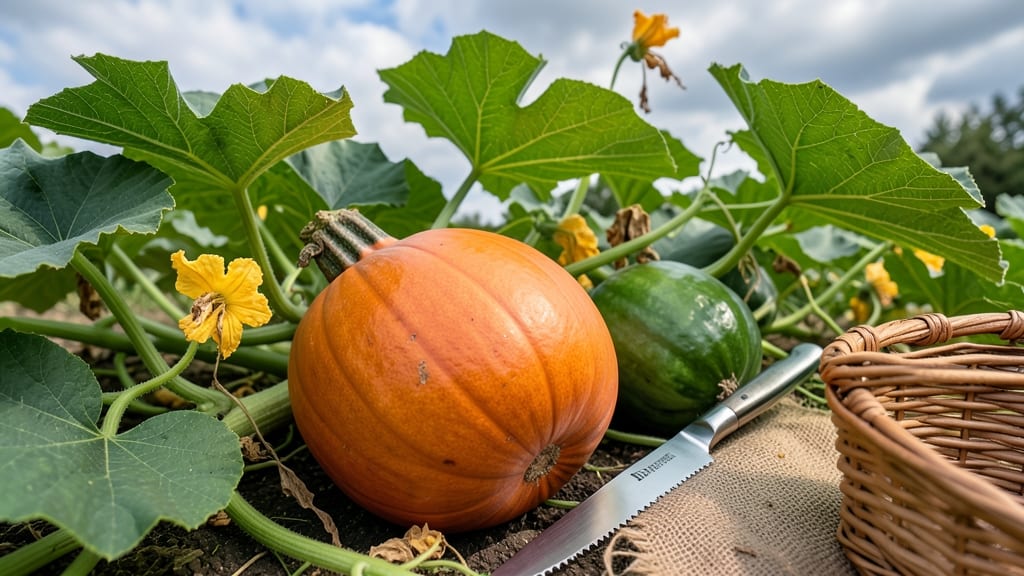
Harvesting winter squash 🎃 at the right time ensures sweet, flavorful fruit that stores for months—so timing matters more than you might think.
Picture this: you’ve nurtured your squash all season, but if you wait too long, the flesh turns tough and bland. Or worse, a surprise frost ruins your harvest before it’s ready. The key is catching those three telltale signs—rind hardness, vine color, and stem drying—that signal peak ripeness.
Most winter squash varieties, like butternut, acorn, or pumpkin, take 85–100 days to mature, but climate plays a role. In Zone 6a, that means aiming for late September or early October before the first frost hits. Miss the window, and you’re left with squash that’s either underripe or overripe.
Below, I’ll walk you through the nail test, vine clues, and color changes to harvest at the perfect moment—so you can enjoy your squash at its best all winter long.
How to test winter squash rind hardness for perfect harvest timing
Harvesting winter squash at the right moment ensures sweet, flavorful flesh and long-term storage potential. The most reliable way to judge readiness is by testing the rind hardness, which changes dramatically as the fruit matures.
Unlike summer squash, winter varieties need time to develop a thick, tough skin—this is your cue that the inside is perfectly ripe.
I’ve learned the hard way that harvesting too early means watery, bland squash, while waiting too long results in overly tough flesh and wasted storage space. The key is combining physical tests with visual cues to nail the timing.
Let’s break down the three most effective methods I use in my garden every season.
Comparison Table: Winter Squash Rind Hardness Tests
| Test Method | How to Perform | Ready Signs | Not Ready Signs |
|---|---|---|---|
| Nail Test | Press thumbnail firmly into rind | Thumbnail does not puncture skin | Thumbnail easily pierces rind |
| Thump Test | Gently tap squash with knuckle | Sound is deep and hollow | Sound is dull or flat |
| Visual Color | Observe rind color changes | Color is deep and consistent (e.g., orange for butternut) | Color is pale or patchy |
| Stem Check | Gently twist stem near fruit | Stem dries and separates cleanly | Stem is green and attached firmly |
The nail test is my go-to method because it’s quick and foolproof. Simply press your thumbnail into the rind—if it doesn’t puncture, the squash is ready.
For butternut varieties, aim for a rind that’s hard enough to resist your nail but not so tough it’s rock-like. Acorn squash and pumpkins follow the same rule, though their smaller size makes the test easier to perform.
For a non-destructive test, try the thump test. Tap the squash with your knuckle—ready squash will sound hollow, like knocking on a wooden door. Unripe squash feels more like thumping a balloon.
I always do this test first because it doesn’t leave marks, making it perfect for checking multiple squash in a row.
Don’t overlook visual cues like rind color. A fully mature butternut squash will have a deep golden-orange hue, while acorn squash turns a rich, glossy green. Pumpkins develop a consistent color too—no more pale patches. Pair these visuals with the nail test for the most accurate results.
One mistake I see often is harvesting by size alone. A squash might look big but still be soft inside. Always combine size, color, and hardness tests for the best results. For example, a butternut squash should be 18-24 inches long before testing, but length doesn’t guarantee ripeness.
If you’re in a cooler climate, time becomes critical. Winter squash won’t ripen properly if exposed to early frost, so prioritize the nail test when temperatures drop. In warmer zones, you have more flexibility, but don’t wait too long—overripe squash develops tough skin and poor flavor.
Pro tip: Harvest in dry weather to prevent rot. Use a sharp knife or pruners to cut the stem, leaving a 2-inch attachment. Cure your squash for 10 days in warm, dry conditions (70-85°F) to develop full flavor and storage life. This step is non-negotiable for long-term storage success.
Remember, every winter squash variety has slight differences. Butternut and acorn ripen faster (80-90 days), while pumpkins take longer (100+ days). Adjust your tests accordingly, and you’ll never miss the perfect harvest window again.
Vine color and growth signs that indicate harvest readiness
Winter squash doesn’t just ripen on the vine—it sends clear visual signals through vine color and growth patterns. Ignoring these cues often leads to overripe squash with tough flesh or underripe fruit that lacks sweetness. The key is learning to read your plants like a seasoned gardener.
Start by observing the vine health. Healthy vines stay green and vigorous until harvest, but as squash mature, you’ll notice yellowing leaves and curling foliage. This isn’t a disease—it’s nature’s way of telling you the plant is redirecting energy to the fruit.
If you see 50-70% of leaves yellowing while the rest remain green, your squash is likely nearing readiness.
- ✅ Stem drying: The stem where the squash attaches turns brown and papery, detaching easily with a gentle twist.
- ✅ Vine dieback: Vines near the fruit wilt or brown as nutrients shift to the squash.
- ✅ Color shift: Butternut turns deep golden-orange; acorn squash develops rich tan stripes.
- ✅ Leaf drop: Leaves on the fruit-bearing vine yellow and fall off naturally.
- ⚠️ Warning sign: If leaves crisp or blacken from frost, harvest immediately—even if the squash isn’t fully ripe.
Pay close attention to the stem condition. A dry, woody stem that snaps cleanly when pulled is a foolproof sign of readiness. If the stem stays green and flexible, the squash needs more time.
This is especially critical for acorn and pumpkin varieties, which can overmature quickly in warm climates.
Don’t rely solely on fruit color—some varieties like spaghetti squash stay pale until fully ripe. Instead, combine color with the hardness test (from Section 1) for accuracy.
For example, a butternut squash with deep orange skin that resists your thumbnail is ready, while one that’s still light green needs 1-2 more weeks.
Harvesting too early risks spongy, seedy flesh, while waiting too long turns the squash woody and flavorless. For cold climates, prioritize harvesting 2-3 weeks before frost—even if the squash isn’t perfect—to avoid freeze damage.
Cure your harvest immediately by placing squash in a warm, dry spot for 7-10 days to develop full flavor.
Pro tip: Mark your calendar 85-100 days after planting (varies by variety) and check vines daily in late summer. The sooner you spot these signs, the sooner you’ll enjoy homegrown squash at peak sweetness! 🎃