
How To
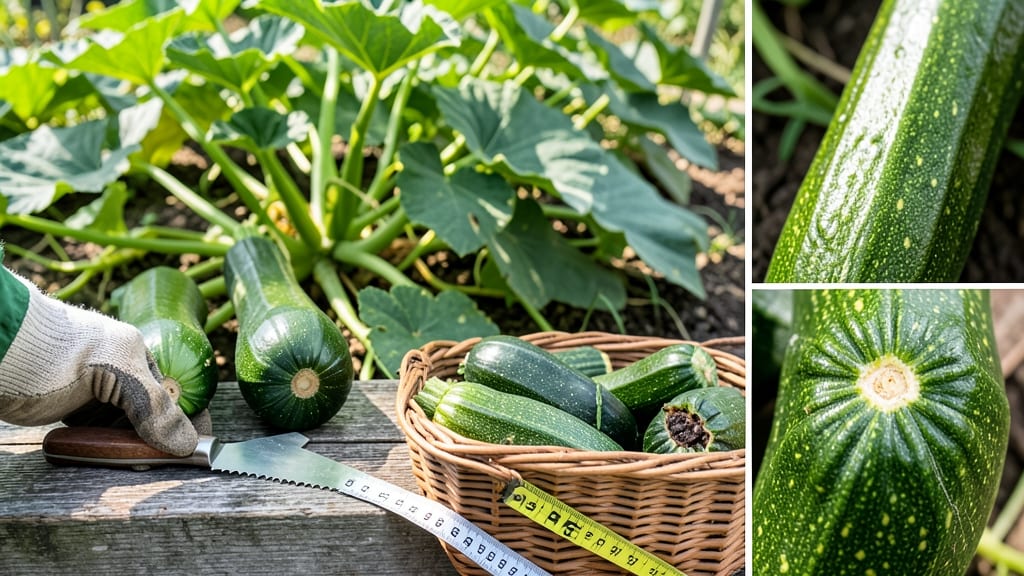
Knowing when to harvest squash 🎃 means the difference between a meal-worthy prize and a tough, seedy letdown.
Picking squash at the perfect moment means the difference between a tender, flavorful meal and a tough, seedy disappointment—so how do you know when it’s truly ready?
Most gardeners rely on size or color alone, but squash ripeness is actually a mix of texture, vine signals, and even the time since flowering. Miss the window, and you’ll end up with overgrown, stringy squash that’s more suitable for compost than the kitchen.
In this guide, I’ll walk you through the foolproof thumbprint test, what to watch for on the vine, and the three biggest mistakes that lead to wasted harvests—so you can pull your squash at peak perfection every time.
The thumbprint test: how to check squash ripeness by touch
One of the simplest ways to determine if your summer squash or winter squash is ready for harvest is the thumbprint test. This tactile method helps you gauge skin firmness without damaging the fruit.
When done correctly, it tells you exactly when to pick for peak flavor and texture. I’ve used this trick for years in my garden, and it never fails—once you know what to look for!
The thumbprint test works by applying gentle pressure to the squash’s skin with your thumb. The key is to press just hard enough to leave a slight indentation but not so hard that you bruise the fruit.
This test is especially useful for zucchini, butternut squash, and acorn squash, where skin hardness directly correlates with ripeness. If you press too lightly, you might miss the signs of readiness.
How to Perform the Thumbprint Test
- Step 1: Choose the right squash Pick a squash that’s close to its expected mature size (check seed packet guidelines). For zucchini, this is usually 6-8 inches long.
- Step 2: Press gently with your thumb Place your thumb on the squash’s skin and press firmly enough to leave a small indentation. Use your other hand to hold the squash steady.
- Step 3: Observe the indentation If your thumb leaves a shallow dent that springs back slowly, the squash is not yet ripe. The skin should feel slightly soft but not mushy.
- Step 4: Check for resistance If the skin resists your thumb and the indentation barely forms or disappears instantly, the squash is ready to harvest. This means the skin has hardened.
- Step 5: Avoid overripe squash If the skin doesn’t dent at all or feels rock-hard, the squash is overripe. Overripe squash often develops a woody texture and tough seeds.
- Step 6: Confirm with other signs Cross-check with color changes (deep green, yellow, or orange) and stem drying. A slightly shriveled stem is another sign of ripeness.
Timing is everything when it comes to the thumbprint test. I recommend testing squash in the morning when the skin is cool and firm. Heat during the day can make squash skin softer, leading to false readings.
For example, a butternut squash might feel firmer in the morning but softer by afternoon—so always test early!
One common mistake I see is pressing too hard and accidentally bruising the squash. To avoid this, use the lightest pressure that still creates a visible dent. Think of it like pressing your thumb into a ripe avocado—just enough to feel resistance, not enough to crush it.
This gentle approach preserves the squash’s quality and makes the test repeatable for multiple checks.
For winter squash varieties like pumpkins or hubbard squash, the thumbprint test works slightly differently. These squash types mature slower and develop a thicker rind, so you’ll need to press harder to feel resistance.
A good rule of thumb is to press until you feel the squash push back—this indicates the rind has fully hardened.
If you’re harvesting for storage, aim for squash that passes the thumbprint test with minimal indentation. These squash will store longer because their skins are tougher and less prone to bruising.
For immediate use, like roasting or grilling, you can harvest slightly earlier when the skin is still tender but firming up. Just remember: the sooner you pick, the more tender the flesh will be!
Pro tip: Keep a small harvest journal to track when your squash pass the thumbprint test each season. Note the days from planting to harvest, as this helps you predict future harvests. Over time, you’ll develop a feel for when your specific squash varieties are ready—no test required!
Just don’t skip the thumbprint check your first few times—it’s the foolproof way to avoid tough, seedy squash.
Squash vine color guide: what to watch for beyond the thumbprint
While the thumbprint test is reliable, your squash vines often reveal hidden clues about ripeness. Watch for leaf color changes and stem drying—these subtle shifts can signal the perfect harvest window.
Different squash varieties show unique vine behaviors, so knowing what to expect saves you from picking too early or too late.
For zucchini and summer squash, focus on yellowing leaves near the fruit. When the vine’s leaves closest to the squash start turning yellow and crispy, it’s time to harvest within 2-3 days.
This happens because the plant redirects nutrients to the maturing fruit. Ignore this sign, and your squash may become woody and seedy.
| Squash Type | Vine Color Clues | Stem Condition | Harvest Window |
|---|---|---|---|
| Zucchini | Yellowing leaves near fruit | Slightly dried, brown edges | 2-3 days after color change |
| Butternut | Dark green leaves with brown tips | Fully dried, papery texture | 5-7 days after stem drying |
| Acorn | Yellowing lower leaves | Soft stem at base | Immediately after stem softens |
| Pumpkin | Brown curling leaves | Completely dried stem | 10+ days after leaf curl |
Butternut squash vines show a more dramatic shift: the leaves near the fruit turn a dark green with brown tips before the stem dries out completely. Unlike zucchini, butternut squash need their stems to become papery and dry—this indicates full sugar development. Harvest too soon, and you’ll miss the nutty sweetness that defines this variety.
For acorn squash, prioritize the stem condition over leaf color. When the stem at the squash’s base softens and turns brown, it’s ready—even if the leaves are still green.
This variety matures faster than others, so act quickly to avoid overgrowth and tough flesh. A soft stem means the squash is at peak flavor and texture.
If you’re growing pumpkins, watch for brown curling leaves at the vine’s base. This happens when the pumpkin is nearly fully mature, but the stem must be completely dried before harvesting. Wait until the stem is brittle and hollow-sounding when tapped—this ensures maximum shelf life and sweetness.
Pro tip: Combine vine clues with the thumbprint test for foolproof results. For example, if your zucchini vine shows yellowing leaves but the skin still yields to pressure, wait another day. These visual cues work best when used together with your fingertips.