
How To
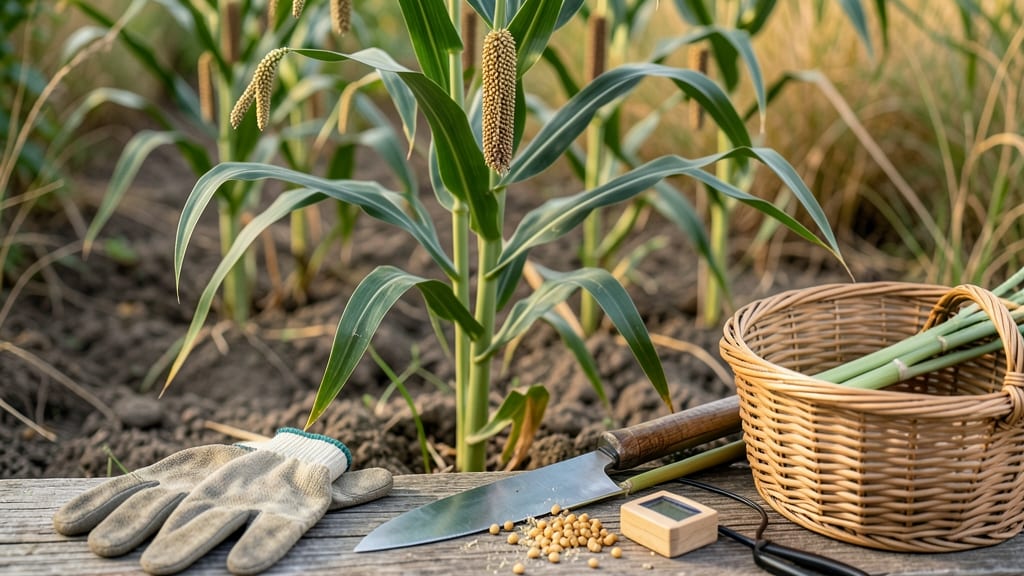
Harvesting sorghum at the right time ensures perfect, moisture-controlled grain that stores well for months.
If you’ve ever waited too long and watched your sorghum heads shatter in the field—or picked too soon and ended up with damp, moldy seeds—you know timing is everything.
The difference between a high-quality harvest and wasted effort often comes down to one critical factor: seed moisture levels dropping below 14%. Overlook this, and you risk spoilage or losing your entire crop.
Sorghum 🌾 thrives in Zone 6a from July through September, but the exact moment to harvest depends on more than just the calendar. Visual cues like brown, dry seed heads and crispy leaves signal readiness, while environmental factors—like humidity and weather—can speed up or delay maturity.
For grain sorghum, patience is key; sweet sorghum, on the other hand, demands a quicker harvest window to lock in its flavor.
In this guide, you’ll learn how to read your plants for the perfect harvest, test moisture without fancy equipment, and avoid common mistakes that turn a bountiful crop into a storage nightmare. Let’s get your sorghum ready for long-term success.

How to check sorghum seed moisture for perfect harvest timing
Knowing exactly when to harvest sorghum depends on one critical factor: seed moisture content. If your seeds contain more than 14% moisture, they’ll spoil during storage—even if they look dry.
But checking moisture doesn’t require expensive equipment. With these simple methods, you can test your sorghum and harvest at the perfect time for long-term storage.
Most home growers skip moisture testing, relying instead on visual cues like seed head color or plant maturity. While these help, they’re not foolproof. For example, a brown seed head might still hide damp seeds inside.
That’s why I recommend combining visual checks with a quick moisture test—it’s the only way to guarantee your grain stays dry and viable for months.
Pick one of these approaches based on tools you have available.
-
Grain Moisture Tester (most accurate)
Plug in a digital tester, insert a sample, and wait for the percentage reading. Aim for 12-14% moisture.
-
Oven-Drying Test (DIY-friendly)
Weigh 100 seeds, bake at 212°F (100°C) for 7 hours, then reweigh. Subtract the weight loss from 100% to get moisture content.
-
Squeeze Test (quick but less precise)
Press a seed between thumb and forefinger. If it feels damp or squishy, it’s not dry enough. If it crumbles easily, it’s ready.
-
Seed Color Check (visual cue)
Dry sorghum seeds turn deep brown or tan. If they’re still light green or white, they need more time on the stalk.
⚠️ Harvest Too Early? Seeds may sprout in storage. Harvest Too Late? Seeds shatter and lose quality.
For the oven-drying test, accuracy is key. Preheat your oven to 212°F (100°C)—any hotter, and you risk burning the seeds. Place your sample in a small metal tray (glass can crack) and bake for exactly 7 hours.
Let it cool completely before weighing. The difference in weight equals your moisture percentage.
If you’re harvesting sweet sorghum (for syrup), aim for 25-30% moisture—but for grain sorghum, 12-14% is non-negotiable. Sweet sorghum’s higher moisture makes it ideal for immediate processing, while grain sorghum needs to dry thoroughly to avoid mold and spoilage.
Watch for environmental clues too. If morning dew lingers on your sorghum heads past 10 AM, your seeds likely still hold excess moisture. On the other hand, if the seed heads rattle when shaken and the stems snap easily, they’re probably dry enough—just confirm with a test.
Regional differences matter. In humid climates, sorghum may take 2-3 extra weeks to dry naturally compared to dry, sunny regions. If you’re in a wet area, consider artificial drying with a fan or dehumidifier to speed up the process safely.
Once your seeds pass the 14% moisture threshold, harvest within 24-48 hours to avoid reabsorbing humidity. Use a sharp sickle or pruning shears to cut stalks, then bundle them in small groups for drying.
Hang them in a well-ventilated, shaded area to prevent sun damage while finishing the drying process.
Pro tip: Store a small sample of your harvested seeds in a ziplock bag with a moisture absorber (like silica gel) to monitor for any lingering dampness over the first week of storage. This simple step can save your entire crop from spoilage.
Remember, patience pays off with sorghum. Rushing the harvest might seem tempting, but waiting for the perfect moisture level ensures your seeds stay viable for years—whether you’re saving them for next season’s planting or storing them for emergency food supplies. 🌾
Signs of overripe vs. underripe sorghum: what to watch for
Knowing when to harvest sorghum depends on visual and physical cues that signal maturity. Overripe grain loses quality and may shatter, while underripe seeds won’t store well. The key is spotting these signs early to avoid wasting your crop.
First, examine the seed head color. Ready-to-harvest sorghum turns a uniform brown, while green or partially green heads mean the seeds are still developing. Overripe heads may appear dull yellow or brittle.
Next, check the seed separation by gently rubbing a few seeds between your fingers. If they crush easily, they’re underripe. Fully mature seeds should resist crushing but still separate from the head with light pressure.
Look at the plant stalk—it should feel woody and dry at harvest time. Soft or pliable stalks indicate underripe sorghum, while overly dry, hollow stalks signal overripeness.
Listen for the rattle test: Shake the seed head. A loud, crisp rattle means the seeds are ready. A soft or muted sound suggests they’re still too moist, while a weak, scattered rattle indicates overripeness.
Finally, observe the leaf condition. Healthy, yellowing leaves signal readiness, while fully green leaves mean the sorghum needs more time. If leaves turn brown and brittle, your crop is past its prime.
Harvesting at the right moment ensures high-quality grain that stores well. Use these visual cues to time your harvest perfectly and avoid common mistakes that lead to wasted crops. 🌾